Introduction to This Section
This section brings you the use of Camera in Android. Simply put, it is taking photos, and there are only two ways:
1. Use the system's built-in camera to take photos, and then retrieve the image after taking the photo
2. Or write your own photo-taking page
In this section, we will write two simple examples to experience the above two situations~
1. Invoke the system's built-in Camera
We only need the following piece of code to invoke the system camera. After taking a photo, the camera returns an intent to onActivityResult. The extra part of the intent contains an encoded Bitmap~
Intent it = new Intent(MediaStore.ACTION_IMAGE_CAPTURE);
startActivityForResult(it,Activity.DEFAULT_KEYS_DIALER);

//重写onActivityResult方法
    @Override
    protected void onActivityResult(int requestCode, int resultCode, Intent data) {
        if(requestCode == Activity.RESULT_OK){
            Bundle bundle = data.getExtras();
            Bitmap bitmap = (Bitmap) bundle.get("data");
            img_show.setImageBitmap(bitmap);
        }
}
Running effect screenshot:
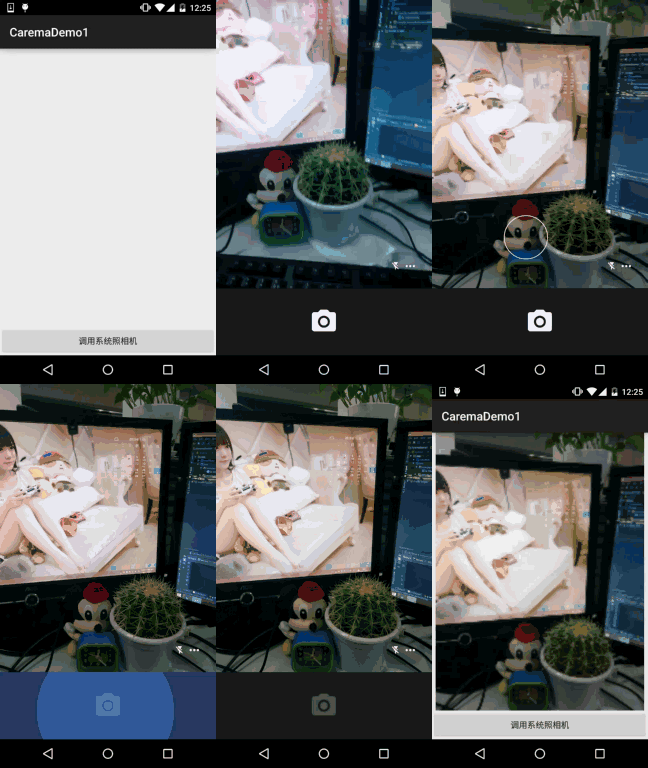
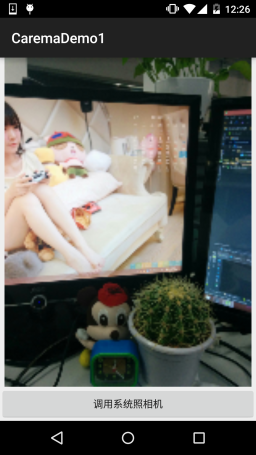
This blurry AV quality... after all, it is an encoded Bitmap. By the way, the image taken will not be saved locally. We can write code to save the image to our SD card, and then display it. Such an image will be much clearer. Well, let's write code to try it~
//定义一个保存图片的File变量
private File currentImageFile = null;

//在按钮点击事件处写上这些东西,这些是在SD卡创建图片文件的:
            @Override
            public void onClick(View v) {
                File dir = new File(Environment.getExternalStorageDirectory(),"pictures");
                if(dir.exists()){
                    dir.mkdirs();
                }
                currentImageFile = new File(dir,System.currentTimeMillis() + ".jpg");
                if(!currentImageFile.exists()){
                    try {
                        currentImageFile.createNewFile();
                    } catch (IOException e) {
                        e.printStackTrace();
                    }
                }

                Intent it = new Intent(MediaStore.ACTION_IMAGE_CAPTURE);
                it.putExtra(MediaStore.EXTRA_OUTPUT, Uri.fromFile(currentImageFile));
                startActivityForResult(it, Activity.DEFAULT_KEYS_DIALER);
            }

//onActivityResult:
 @Override
    protected void onActivityResult(int requestCode, int resultCode, Intent data) {
        if (requestCode == Activity.DEFAULT_KEYS_DIALER) {
        img_show.setImageURI(Uri.fromFile(currentImageFile));
        }
}
Okay, it's very simple. Let's look at the running result:
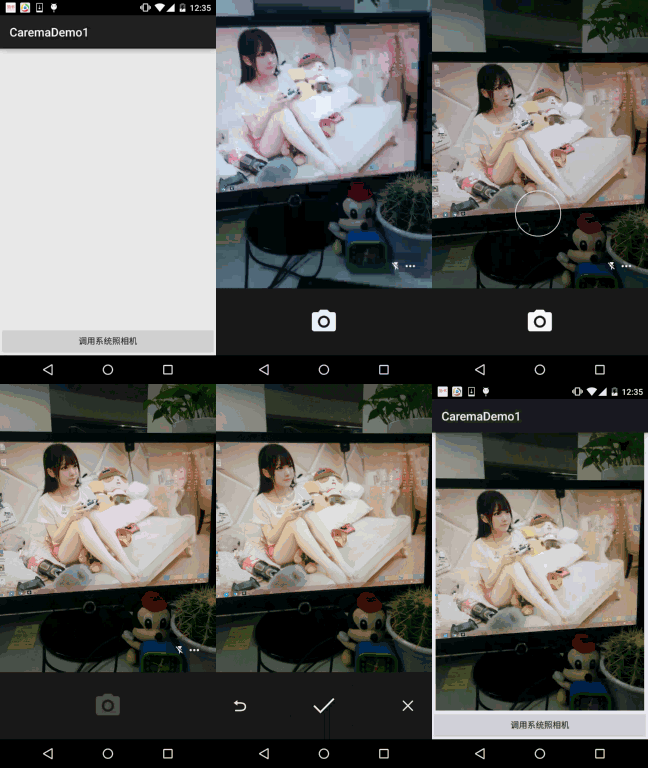
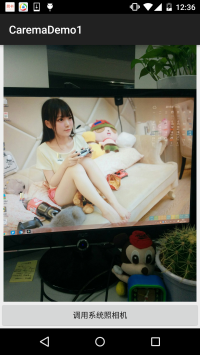
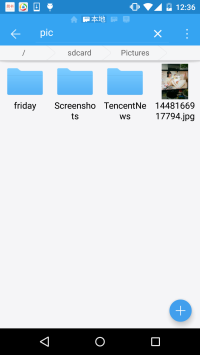
Compared with the one above, it is much clearer~ Calling the system's built-in Camera is that simple~
2. Write your own photo-taking page
Here we need to use a SurfaceView as our preview interface, and it is also very simple to use!
Running effect screenshot:
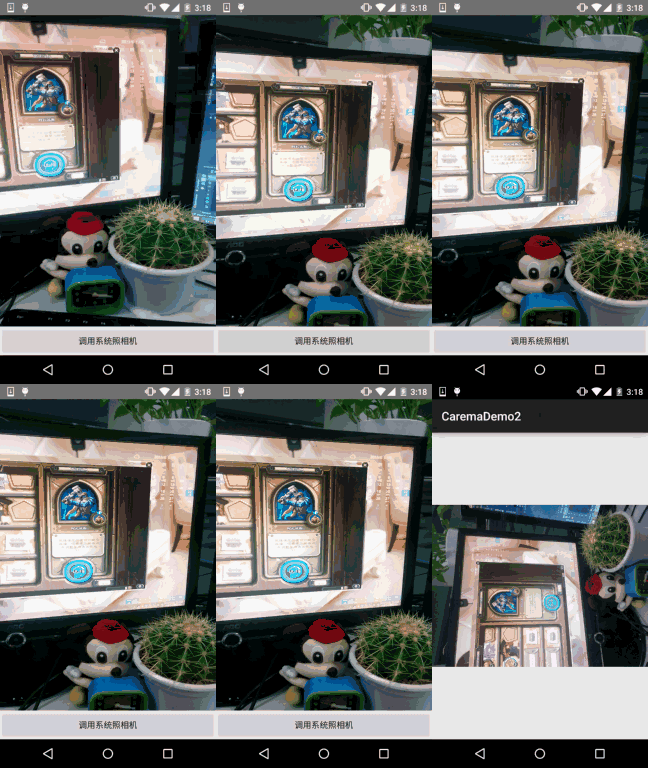
Code Implementation:
Layout code:activity_main.xmlA simple surfaceView + Button
<LinearLayout xmlns:android="http://schemas.android.com/apk/res/android"
    android:layout_width="match_parent"
    android:layout_height="match_parent"
    android:orientation="vertical">

    <SurfaceView
        android:id="@+id/sfv_preview"
        android:layout_width="match_parent"
        android:layout_height="wrap_content"
        android:layout_weight="1" />

    <Button
        android:id="@+id/btn_take"
        android:layout_width="match_parent"
        android:layout_height="wrap_content"
        android:text="调用系统照相机" />

</LinearLayout>
MainActivity.java:
public class MainActivity extends AppCompatActivity {

    private SurfaceView sfv_preview;
    private Button btn_take;
    private Camera camera = null;
    private SurfaceHolder.Callback cpHolderCallback = new SurfaceHolder.Callback() {
        @Override
        public void surfaceCreated(SurfaceHolder holder) {
            startPreview();
        }

        @Override
        public void surfaceChanged(SurfaceHolder holder, int format, int width, int height) {

        }

        @Override
        public void surfaceDestroyed(SurfaceHolder holder) {
            stopPreview();
        }
    };

    @Override
    protected void onCreate(Bundle savedInstanceState) {
        super.onCreate(savedInstanceState);
        setContentView(R.layout.activity_main);
        bindViews();
    }

    private void bindViews() {
        sfv_preview = (SurfaceView) findViewById(R.id.sfv_preview);
        btn_take = (Button) findViewById(R.id.btn_take);
        sfv_preview.getHolder().addCallback(cpHolderCallback);

        btn_take.setOnClickListener(new View.OnClickListener() {
            @Override
            public void onClick(View v) {
                camera.takePicture(null, null, new Camera.PictureCallback() {
                    @Override
                    public void onPictureTaken(byte[] data, Camera camera) {
                        String path = "";
                        if ((path = saveFile(data)) != null) {
                            Intent it = new Intent(MainActivity.this, PreviewActivity.class);
                            it.putExtra("path", path);
                            startActivity(it);
                        } else {
                            Toast.makeText(MainActivity.this, "保存照片失败", Toast.LENGTH_SHORT).show();
                        }
                    }
                });
            }
        });
    }

    //保存临时文件的方法
    private String saveFile(byte[] bytes){
        try {
            File file = File.createTempFile("img","");
            FileOutputStream fos = new FileOutputStream(file);
            fos.write(bytes);
            fos.flush();
            fos.close();
            return file.getAbsolutePath();
        } catch (IOException e) {
            e.printStackTrace();
        }
        return "";
    }


    //开始预览
    private void startPreview(){
        camera = Camera.open();
        try {
            camera.setPreviewDisplay(sfv_preview.getHolder());
            camera.setDisplayOrientation(90);   //让相机旋转90度
            camera.startPreview();
        } catch (IOException e) {
            e.printStackTrace();
        }
    }

    //停止预览
    private void stopPreview() {
        camera.stopPreview();
        camera.release();
        camera = null;
    }

}
Finally, there is another PreviewActivity.java, which just displays the image on the interface~
/**
 * Created by Jay on 2015/11/22 0022.
 */
public class PreviewActivity extends AppCompatActivity {
    @Override
    public void onCreate(Bundle savedInstanceState) {
        super.onCreate(savedInstanceState);
        ImageView img = new ImageView(this);
        String path = getIntent().getStringExtra("path");
        if(path != null){
            img.setImageURI(Uri.fromFile(new File(path)));
        }
        setContentView(img);
    }
}
Well, they are all very simple. Don't forget to add permissions:
<uses-permission android:name="android.permission.CAMERA"/>
<uses-permission android:name="android.permission.WRITE_EXTERNAL_STORAGE"/>
In addition, there is one thing to mention: if the camera is not released, then the next time you call the camera, it will report an error. The error content is: java.lang.RuntimeException:fail to connect to camera service. Therefore, you need to release() the Camera; if the above error keeps appearing, please restart your phone~
3. Download sample code for this section
CaremaDemo1.zip
CaremaDemo2.zip
Section Summary
Okay, this section explained how to call the system's built-in camera to obtain images after taking photos, and how to write your own Camera to implement a custom camera. Hehe, in some scenarios we don't need a photo preview interface. We can just create a floating frame, and then click the floating frame to trigger the photo-taking event. Isn't this able to achieve surreptitious shooting without anyone knowing? (candid photography)
Hehe, that's interesting. If you want to have fun, write the code yourself~