1. Introduction to this section:
Some questions you may have:
1. What is a .9 image?
Answer: An image with .9 before its filename extension, such as pic1.9.png.2. What can .9 images do?Answer: When the image is stretched, specific areas will not be distorted, and the undistorted areas can be drawn by ourselves.3. What are .9 images made with?Answer: A craftsman must first sharpen his tools if he wants to do his work well. The tools for making .9 images are:
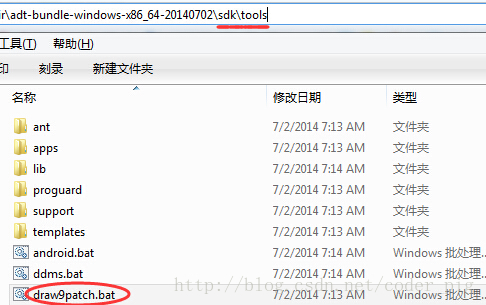
①Android SDK comes with: draw9patch.batHowever, this thing has been out for a long time, and Google surprisingly hasn't updated it...
②NinePatchEditorCompared with the built-in one, it has some optimizations, supports batch operations, and the interface looks nicer. If you are interested, you can download it. The author usually uses this one. Download link:NinePatchEditor.zip
③NinePng, the magic tool for .9 imagesIt is a mobile version of a .9 image processing tool. It's quite good, but you need to connect to wifi to transfer images between devices, which is a bit troublesome in practice. Its functions are quite powerful. If you are interested, search and download it in the relevant app market:
④PhotoShopThis seems a bit exaggerated. Generally, those who use this to make .9 images are graphic designers. If you are interested, you can search for related tutorials!
2. How to make .9 images?
!! Core points: top-left for stretching, bottom-right for content!!!!!!Actually, the core is just the above! Let's find an image and give it a try!
1. Example of making .9 images with draw9patch.bat:
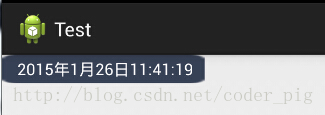
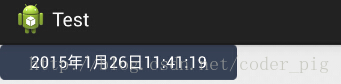
Here is an image like this: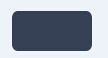 We can set it as a background of a TextView via android:blackground. It's normal when the content is short, but once it gets longer, the following situation may occur: You will find the image is stretched and distorted. Obviously, this does not meet our needs. Therefore, we need to process this image so that the rounded corners are not stretched with the length, and only the middle part is stretched.
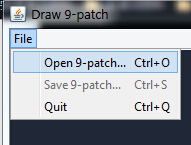
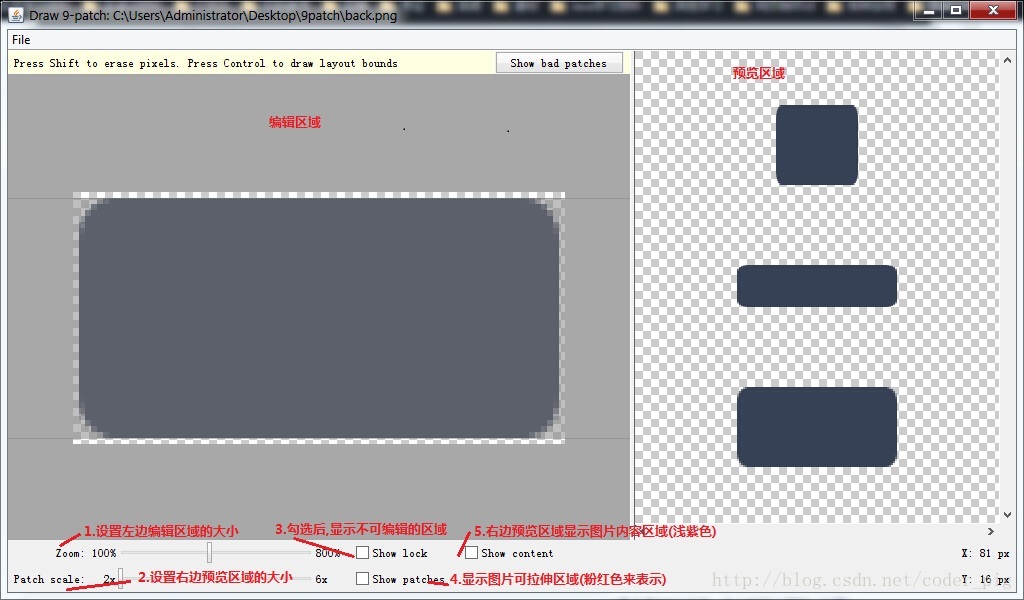
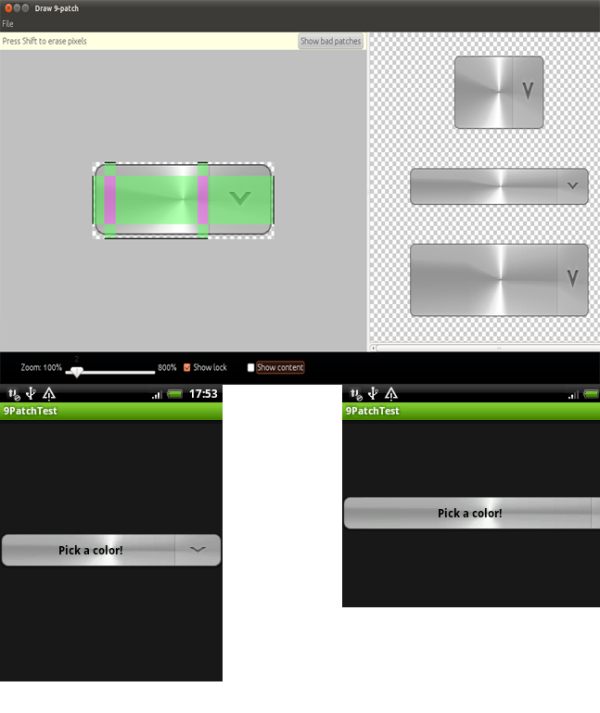
Open our draw9patch.bat, click File in the upper-left corner, go to the corresponding directory and open the image material we want to process. Next, you can see the main interface of our tool:
The preview areas on the right are: vertical stretch, horizontal stretch, and the preview of stretching in both directions.
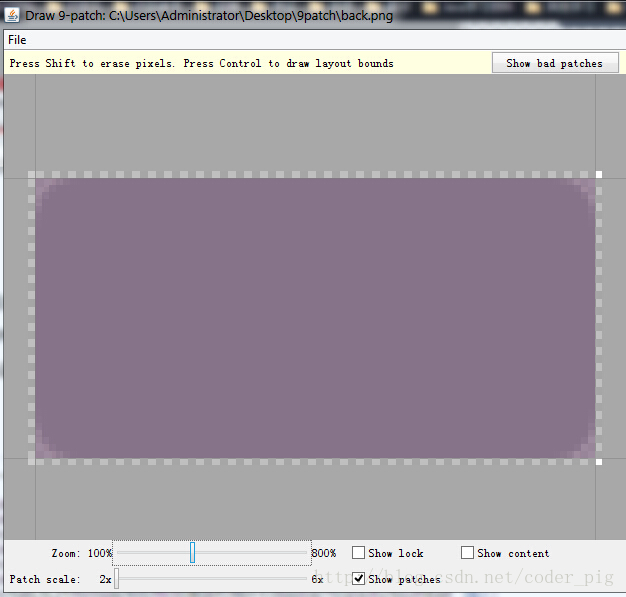
Okay, next let's start processing the image:
Step 1.Adjust Zoom and Patch scale: set a zoom ratio that suits you, and check "show patch". You can make Zoom large enough, because later we need to handle the "zebra stripes".
Step 2.Next, we just need to operate on the "zebra stripes": PS: The black line is drawn dot by dot. If you want to remove a dot, hold Shift and click!
Step 3.Save the image, ending with .9.png. For example, the filename saved here is back.9.png.
Hehe, then add it to our project and set it as the background of a TextView:
The effect is awesome. From now on, no matter how long the displayed characters are, the result will be as shown in the figure. New skill get~
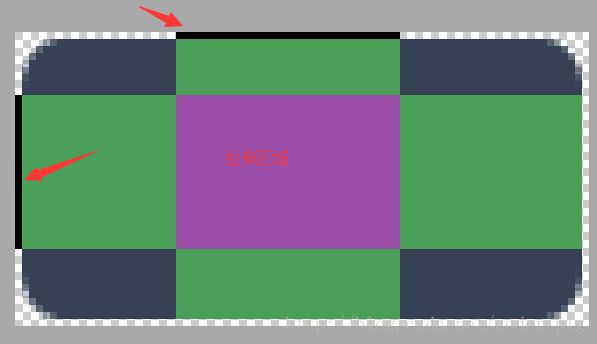
2. See how others make .9 images:
According to different situations, we may need to make different .9 images. Below, let's look at a few examples of slightly more complex .9 images made by others! Examples:
1. Original link:http://www.miued.com/2074/Well, I like this material; too bad there isn't any. QAQ!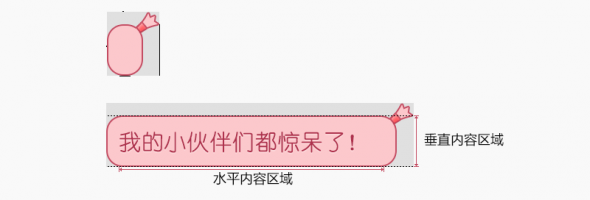
2. Original link:http://blog.csdn.net/lizzy115/article/details/7950959
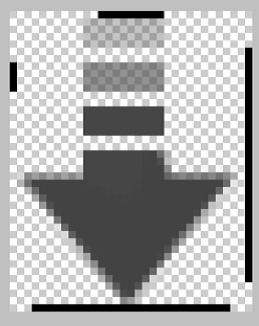
3. Original link:http://www.cnblogs.com/vanezkw/archive/2012/07/19/2599092.html
3. Summary of this section:
Okay, this section's tutorial on making stretchable .9 images ends here. It's relatively simple. Remember our mnemonic: top-left for stretching, bottom-right for content! After making a few .9 images, I believe you will have a deep understanding. See you~