Ollama Installation
Ollama supports multiple operating systems, including macOS, Windows, Linux, and running via Docker containers.
Ollama has low system requirements and can run models with pure CPU, but whether you have a dedicated GPU directly determines generation speed.
| Platform | System Requirements | GPU Support |
|---|---|---|
| macOS | macOS Sonoma (v14) or later | Apple M-series chips are accelerated via Metal; Intel chips are CPU-only. |
| Windows | Windows 10 22H2 or later (Home/Pro) | NVIDIA driver 551.61+; AMD requires ROCm v7 or Vulkan driver |
| Linux | Mainstream distributions (Ubuntu, Debian, CentOS, etc.) | NVIDIA / AMD ROCm v7 / Vulkan, also supports pure CPU |
| Docker | A working Docker environment | Linux and Windows (WSL2) support GPU passthrough; macOS does not. |
Model files range from a few GB to hundreds of GB. Please reserve enough disk space before installation. Models are stored in the user's home directory by default. When space is insufficient, you can use environment variablesOLLAMA_MODELSto migrate them to another disk.
Linux/macOS one-line installation command:
curl -fsSL https://ollama.com/install.sh | sh
Windows one-line installation command:
irm https://ollama.com/install.ps1 | iex
You can also download the installer directly. Official download address:https://ollama.com/download。
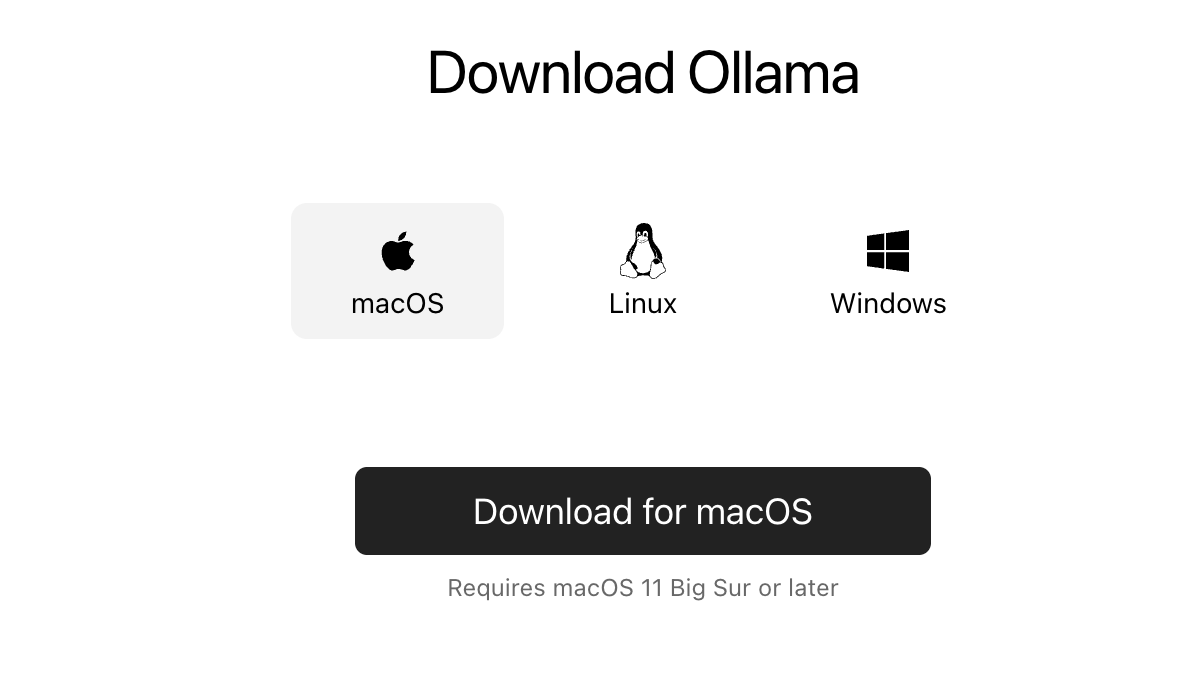
You can download the corresponding package according to your system. For server environments, the Linux script or Docker is recommended.
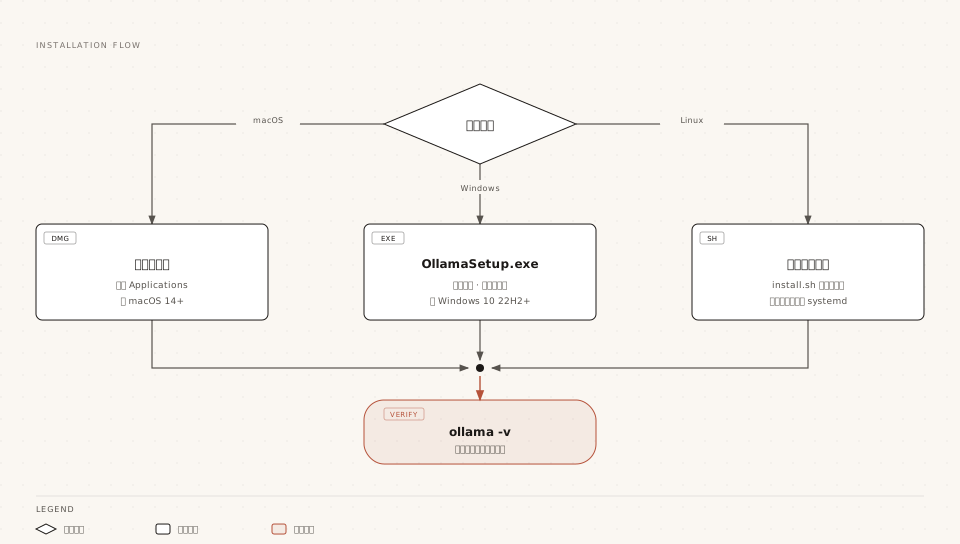
The Ollama interface is as follows:

1. Windows Installation
Open a browser and visit the Ollama official website:https://ollama.com/downloadand download the installer for Windows.
The download address is:https://ollama.com/download/OllamaSetup.exe。
After the download is complete, double-click the installer and follow the prompts to finish the installation.
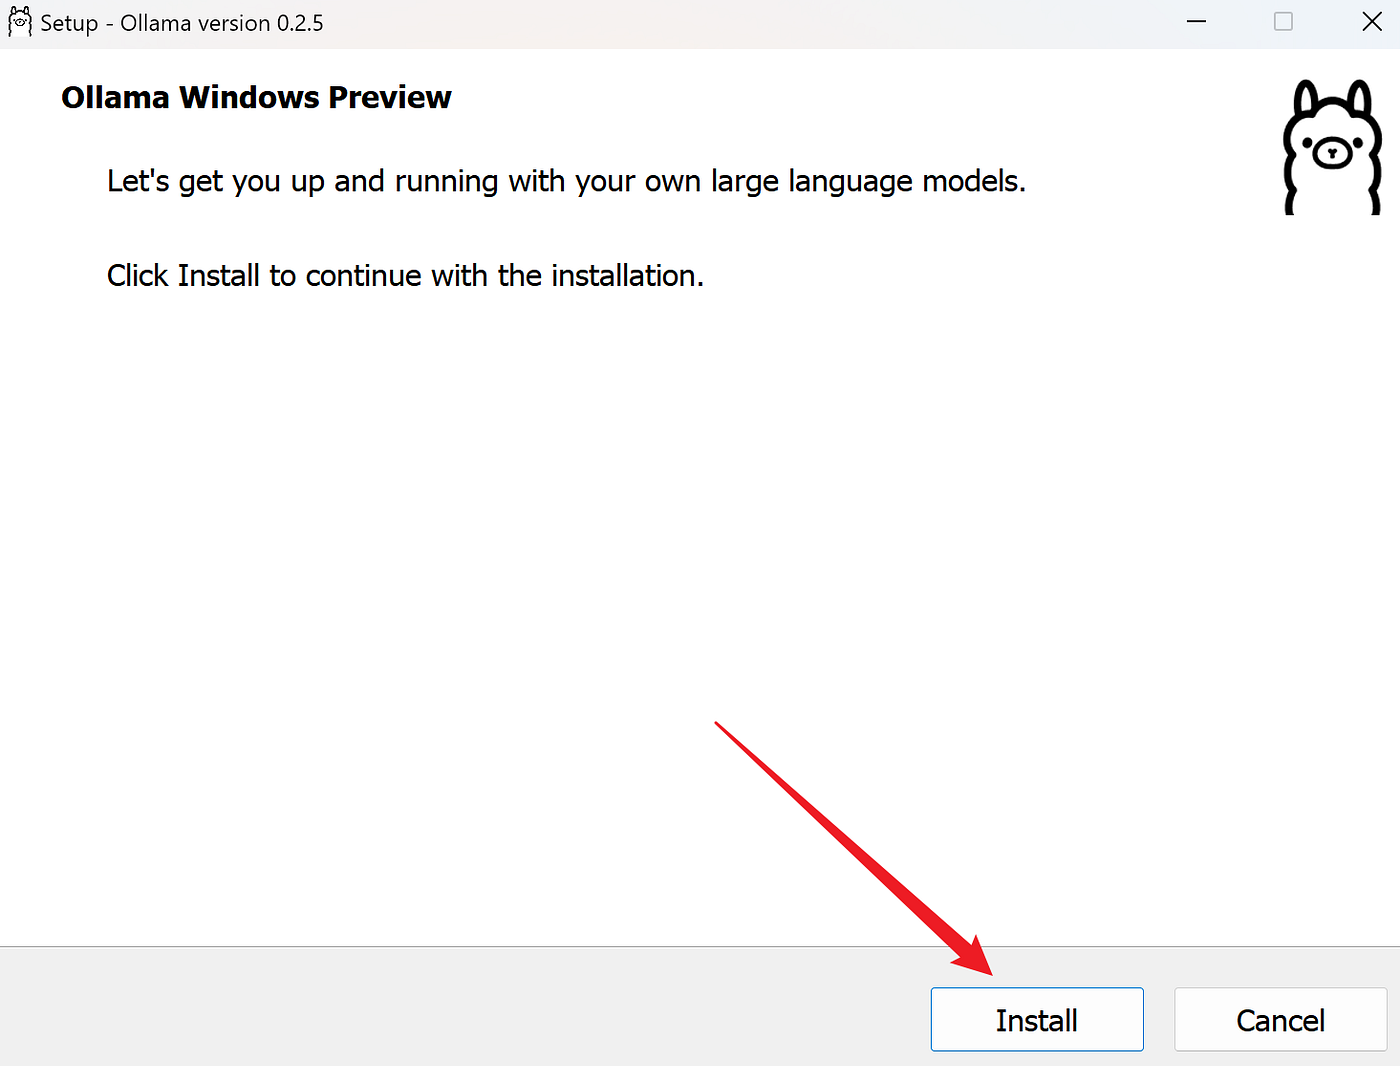
After installation, the ollama command can be used directly in cmd, PowerShell, or Windows Terminal.
You can also install via the command line:
irm https://ollama.com/install.ps1 | iex
Verify Installation
Open Command Prompt or PowerShell and enter the following command to verify whether the installation was successful:
ollama --version
If a version number is shown, the installation was successful.
Change Installation Path (Optional)
If you need to install Ollama to a non-default path, you can specify the path via the command line during installation, for example:
OllamaSetup.exe /DIR="d:\some\location"
This installs Ollama to the specified directory.
2. macOS Installation
Open a browser and visit the Ollama official website:https://ollama.com/downloadand download the installer for macOS.
The download address is:https://ollama.com/download/Ollama.dmg。
You can also install with a one-line command:
curl -fsSL https://ollama.com/install.sh | shAfter the download is complete, double-click the installer package and follow the prompts to finish the installation.
After installation, verify with the following command:
ollama --version
If a version number is shown, the installation was successful.
3. Linux Installation
On Linux, you can use the one-line installation script. Open a terminal and run the following command:
curl -fsSL https://ollama.com/install.sh | bash
After installation, verify with the following command:
ollama --version
If a version number is shown, the installation was successful.
Docker Deployment
Docker is suitable for servers and scenarios requiring environment isolation. The official image is ready to use, and a CPU environment can be started with a single command.
# 启动 Ollama 容器:数据卷持久化模型,映射 11434 端口
docker run -d -v ollama:/root/.ollama -p 11434:11434 --name ollama ollama/ollama
NVIDIA GPU Passthrough
To let the container use an NVIDIA GPU, you need to install the NVIDIA Container Toolkit first. Using Ubuntu/Debian as an example:
# 1. 配置软件仓库
curl -fsSL https://nvidia.github.io/libnvidia-container/gpgkey \
    | sudo gpg --dearmor -o /usr/share/keyrings/nvidia-container-toolkit-keyring.gpg
curl -fsSL https://nvidia.github.io/libnvidia-container/stable/deb/nvidia-container-toolkit.list \
    | sed 's#deb https://#deb [signed-by=/usr/share/keyrings/nvidia-container-toolkit-keyring.gpg] https://#g' \
    | sudo tee /etc/apt/sources.list.d/nvidia-container-toolkit.list
sudo apt-get update

# 2. 安装工具包
sudo apt-get install -y nvidia-container-toolkit

# 3. 配置 Docker 运行时并重启
sudo nvidia-ctk runtime configure --runtime=docker
sudo systemctl restart docker
Then add the--gpus=allparameter to start the container:
# 带 GPU 的启动命令
docker run -d --gpus=all -v ollama:/root/.ollama -p 11434:11434 --name ollama ollama/ollama
AMD GPU Passthrough
For AMD GPUs, use an image with the rocm tag and mount the devices:
# AMD ROCm 版本,挂载 GPU 设备
docker run -d --device /dev/kfd --device /dev/dri -v ollama:/root/.ollama -p 11434:11434 --name ollama ollama/ollama:rocm
Run Models in a Container
After the container starts, use exec to run ollama commands inside the container:
# 在容器内拉取并运行 qwen3.5
docker exec -it ollama ollama run qwen3.5
For example:
$ docker exec -it ollama ollama run qwen3.5
>>> 用一句话介绍 Example
Example是一个面向编程初学者的中文教程网站。
>>> /bye
Docker Desktop for macOS does not support GPU passthrough; containers can only perform CPU inference. Apple Silicon users who want GPU acceleration should use the native installer directly.
Verify Installation
No matter which method you use to install, finally verify with three unified steps: check the version, run a conversation, and connect to the API.
Step 1: Confirm the Version
# 输出版本号说明命令行可用
ollama -v
Step 2: Open the Interactive Menu
Entering ollama directly without arguments enters the interactive menu, where you can select a model to start a conversation:
$ ollama
Welcome to Ollama

  Run a model     Start an interactive chat
  Launch tools    Claude Code, VS Code, and more
Step 3: Check the API Service
After installation, Ollama provides an API on local port 11434. Use curl to request the version endpoint to confirm the service is listening:
# 本地 API 默认地址,返回 JSON 版本信息
curl http://localhost:11434/api/version
{"version":"0.17.0"}
On macOS and Windows, Ollama runs in the background (menu bar / tray icon) after installation, and the API is automatically available. On Linux, when using the systemd service, it is also available at boot; only the manual ollama serve method requires keeping the terminal open.
Upgrade and Uninstall
Upgrading is simple, but uninstalling differs by platform. Be especially careful not to accidentally delete downloaded models.
Upgrade to a New Version
| Platform | Upgrade Method |
|---|---|
| macOS / Windows | Automatically downloads updates. Click 'Restart to update' in the menu bar or tray icon to apply. |
| Linux (script installation) | Re-run the installation script |
| Linux (manual installation) | First delete the old library, then re-download and extract the new package. |
| Docker | Pull the latest image and rebuild the container; data volumes retain models. |
Uninstall: macOS
On macOS, you need to manually clean up the application and residual files. Execute each line:
Example
sudo rm -rf /Applications/Ollama.app
sudo rm /usr/local/bin/ollama
# Delete app residual files
rm -rf "~/Library/Application Support/Ollama"
rm -rf "~/Library/Caches/com.electron.ollama/"
rm -rf ~/Library/Caches/ollama
# Delete models and configuration (large size, only delete if you are sure you don't need them)
rm -rf ~/.ollama
Uninstall: Windows
In Settings, find Ollama under 'Apps - Installed apps' and click Uninstall.
If you have migrated models to another directory via OLLAMA_MODELS, the uninstaller will not delete these model files; you need to clean them up manually.
Uninstall: Linux
Example
sudo systemctl stop ollama
sudo systemctl disable ollama
sudo rm /etc/systemd/system/ollama.service
# Delete program files (the lib directory may be /usr/local/lib, /usr/lib, or /lib)
sudo rm -r $(which ollama | tr 'bin' 'lib')
sudo rm $(which ollama)
# Delete the service user and model data
sudo userdel ollama
sudo groupdel ollama
sudo rm -r /usr/share/ollama
Common Installation Issues
Most problems during installation are related to the network, disk, and terminal environment. The table below summarizes the most frequent ones.
| Symptom | Cause | Solution |
|---|---|---|
| Terminal says the ollama command does not exist | CLI is not in PATH | On macOS, restart the Ollama app once and agree to create the /usr/local/bin link; on Windows, open a new terminal window. |
| Model download is slow or fails | Network to the origin server is unstable | Configure the HTTPS_PROXY proxy; interrupted downloads resume automatically from breakpoints, just re-run pull. |
| Download is especially slow in WSL2 | Win10 WSL network adapter feature issue | Disable Large Send Offload V2 (IPv4/IPv6) on the vEthernet (WSL) adapter. |
| Windows terminal displays garbled square characters | Old terminal font does not support progress characters | Change the terminal font or switch to Windows Terminal |
| Disk space insufficient prompt | The disk where the user directory resides has limited space | Use OLLAMA_MODELS to migrate models to a large-capacity disk (detailed in the environment variables section) |
Other extensionsWhen configuring the proxy, only setHTTPS_PROXYThat's it. Do not set HTTP_PROXY: Ollama only pulls models over HTTPS. Adding an HTTP proxy may instead interrupt the connection between the client and server.