Ollama Open WebUI
Open WebUI is a user-friendly AI interface (supports Ollama, OpenAI API, etc.).
Open WebUI supports multiple language model runners (such as Ollama and OpenAI-compatible APIs) and includes a built-in inference engine for Retrieval-Augmented Generation (RAG), making it a powerful AI deployment solution.
Open WebUI allows custom OpenAI API URLs to connect LMStudio, GroqCloud, Mistral, OpenRouter, etc.
Open WebUI administrators can create detailed user roles and permissions, ensuring a secure user environment while providing a customized user experience.
Open WebUI supports desktops, laptops, and mobile devices, and offers a Progressive Web App (PWA) on mobile devices with offline access.
Open source address:https://github.com/open-webui/open-webui
-
Official documentation:https://docs.openwebui.com/
Install
Open WebUI provides multiple installation methods, including via Python pip, Docker, Docker Compose, Kustomize, and Helm.
Quick Start with Docker
If Ollama is already installed on your computer, use the following command:
docker run -d -p 3000:8080 --add-host=host.docker.internal:host-gateway -v open-webui:/app/backend/data --name open-webui --restart always ghcr.io/open-webui/open-webui:main
Run Open WebUI with Nvidia GPU support:
docker run -d -p 3000:8080 --gpus all --add-host=host.docker.internal:host-gateway -v open-webui:/app/backend/data --name open-webui --restart always ghcr.io/open-webui/open-webui:cuda
Install Open WebUI bundled with Ollama
This installation method uses a single container image that bundles Open WebUI with Ollama, making it easy to set up with one command.
Choose the appropriate command based on your hardware configuration.
Enable GPU support:
docker run -d -p 3000:8080 --gpus=all -v ollama:/root/.ollama -v open-webui:/app/backend/data --name open-webui --restart always ghcr.io/open-webui/open-webui:ollama
CPU only:
docker run -d -p 3000:8080 -v ollama:/root/.ollama -v open-webui:/app/backend/data --name open-webui --restart always ghcr.io/open-webui/open-webui:ollama
Both commands help simplify the installation process, allowing Open WebUI and Ollama to run seamlessly.
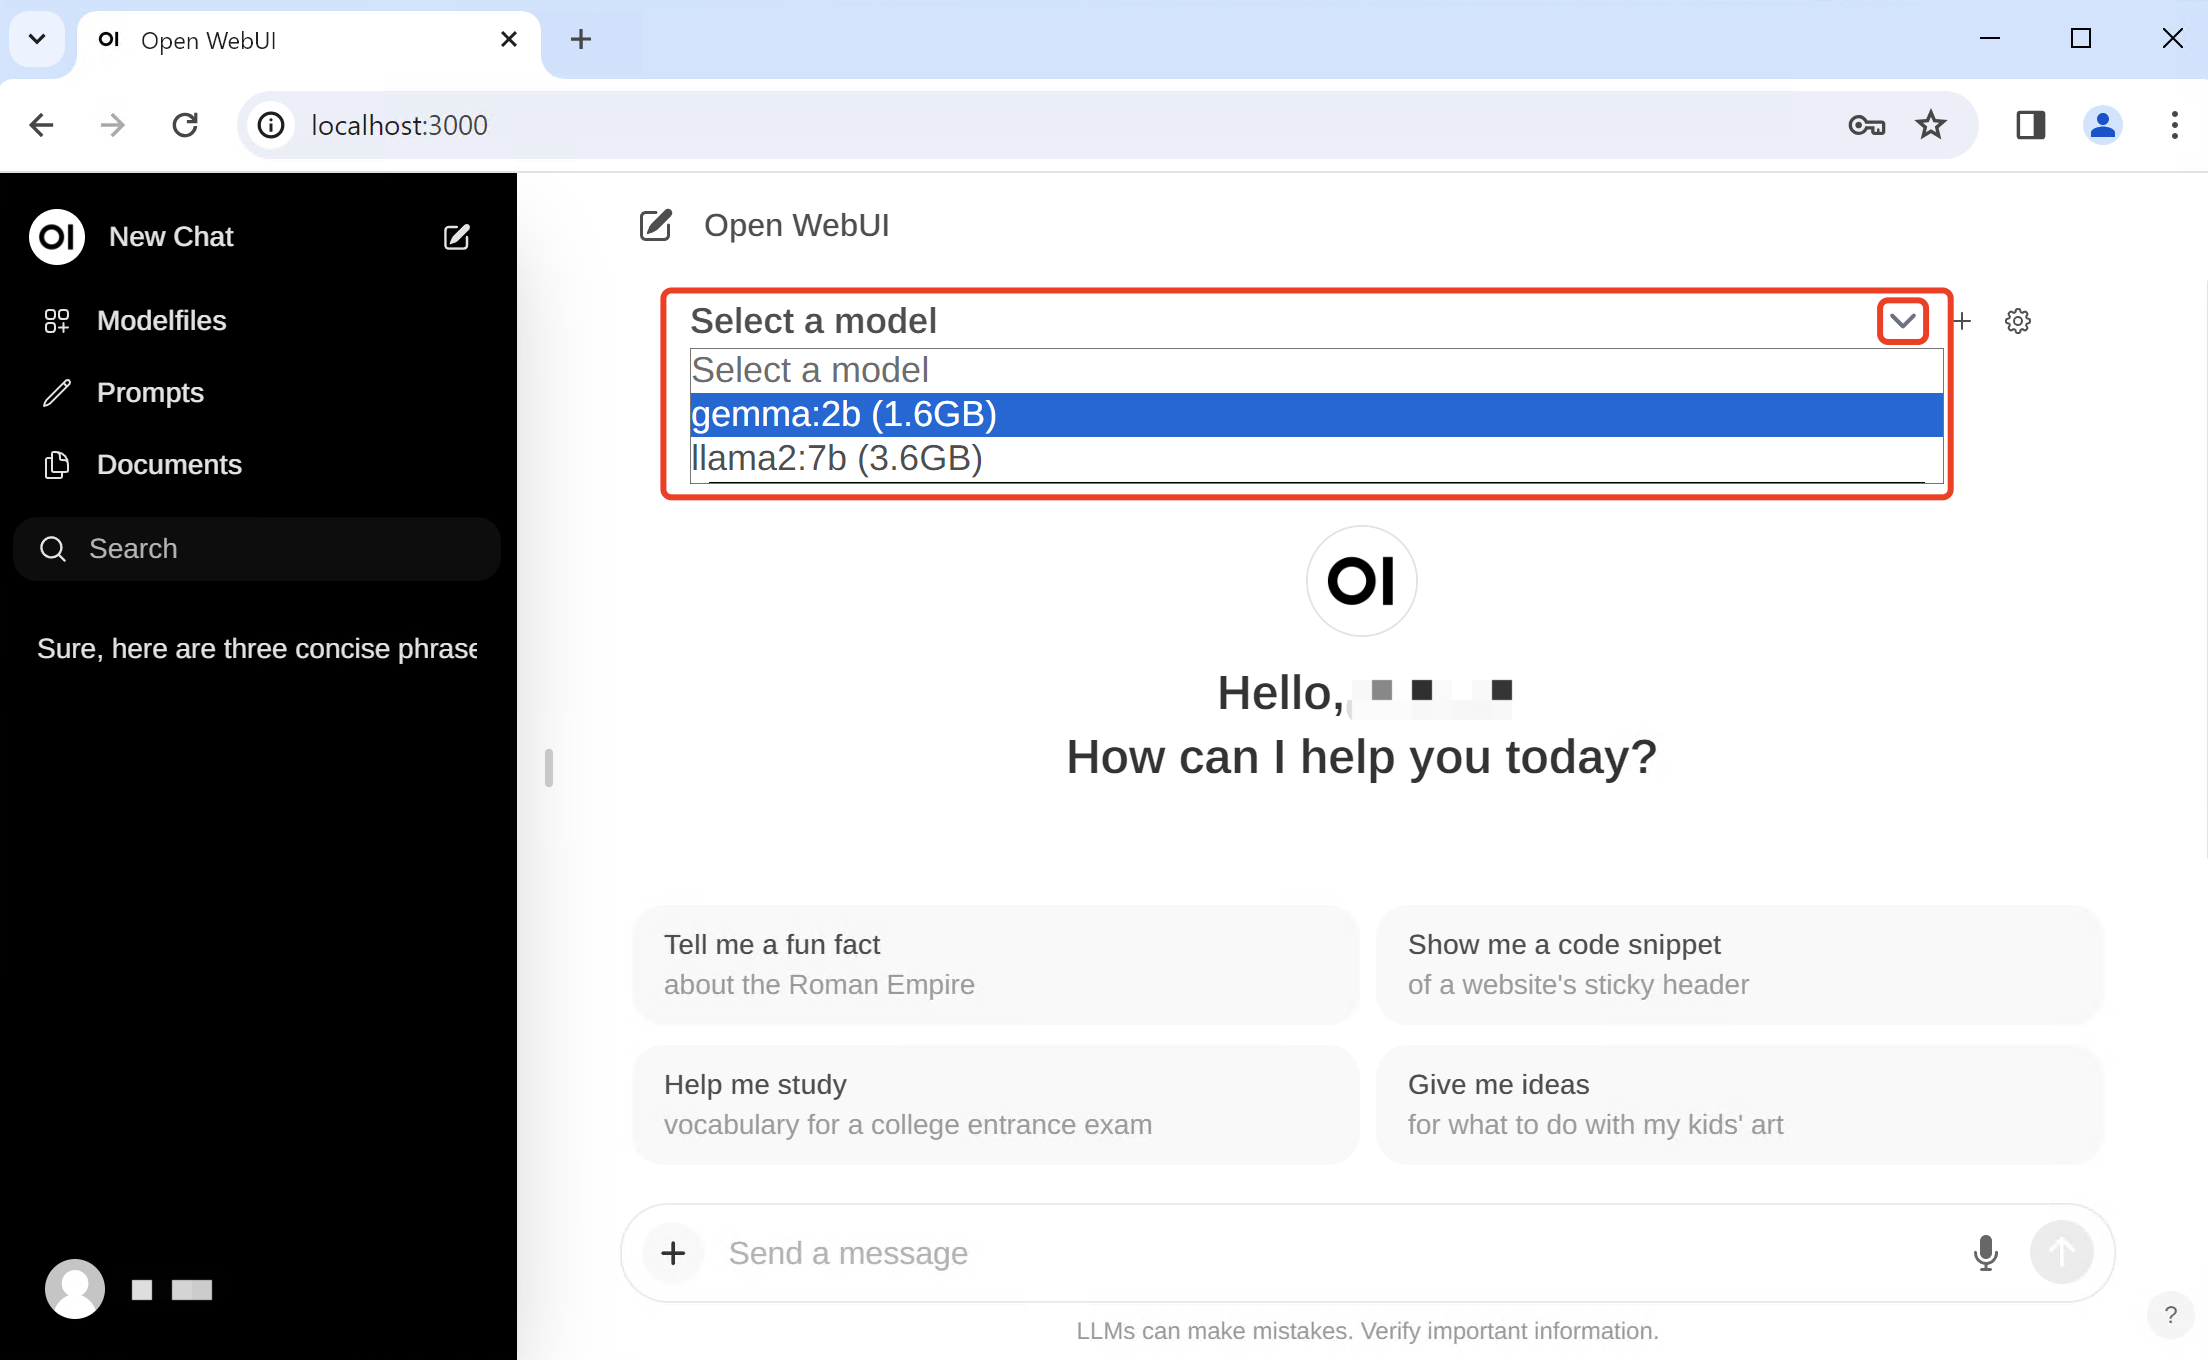
After installation, you can access it by visitinghttp://localhost:3000Use Open WebUI.
Update Open WebUI
Manual update
Manually update Docker containers using Watchtower:
docker run --rm -v /var/run/docker.sock:/var/run/docker.sock containrrr/watchtower --run-once open-webui
Automatic update
Automatically update containers every 5 minutes:
docker run -d --name watchtower --restart unless-stopped -v /var/run/docker.sock:/var/run/docker.sock containrrr/watchtower --interval 300 open-webui
Note:If your container name is different, replace open-webui with your container name.
Manual Installation
There are two main methods to install Open WebUI: using the uv runtime manager or Python's pip.
Using uv is recommended as it simplifies environment management and reduces potential conflicts.
Install using uv (Recommended)
macOS/Linux:
curl -LsSf https://astral.sh/uv/install.sh | sh
Windows:
powershell -ExecutionPolicy ByPass -c "irm https://astral.sh/uv/install.ps1 | iex"
Run Open WebUI
After installing UV, running Open WebUI is relatively simple.
Use the following command, ensuring the DATA_DIR environment variable is set to avoid data loss.
macOS/Linux:
DATA_DIR=~/.open-webui uvx --python 3.11 open-webui@latest serve
Windows:
$env:DATA_DIR="C:\open-webui\data"; uvx --python 3.11 open-webui@latest serve
Install via pip
Open WebUI can be installed via Python's package installer pip. Before starting the installation, make sure you are using Python 3.11 to avoid potential compatibility issues.
Open your terminal and run the following command to install Open WebUI:
pip install open-webui
After installation, you can start Open WebUI with the following command:
open-webui serve
Once started, the Open WebUI server will run at http://localhost:8080. You can access this address via your browser to use Open WebUI.
Other extensions