Python AI Painting
In this article, we will introduce how to build your own AI image generation tool based on some development APIs or open-source libraries.
Text-to-Image API
Through the Text-to-Image API, you can create brand-new original images based on text descriptions.
Alibaba Cloud Bailian provides two major series of models:
- Tongyi Qianwen (Qwen-Image): Good at rendering complex Chinese and English text. This chapter uses this as an example.
- Tongyi Wanxiang (Wan series): Used to generate realistic images and photographic-level visual effects.
Install the DashScope Python SDK by running the following command:
# 如果运行失败,您可以将pip替换成pip3再运行
pip install -U requests dashscope
We need to activate the Alibaba Cloud Bailian model service and obtain an API-KEY.
We can first use the Alibaba Cloud primary account to access the Bailian model service platform:https://bailian.console.aliyun.com/, then click login in the upper right corner. After logging in, click the gear ⚙️ icon in the upper right corner, select API key, then copy the API key. If you don't have one, you can also create an API key:
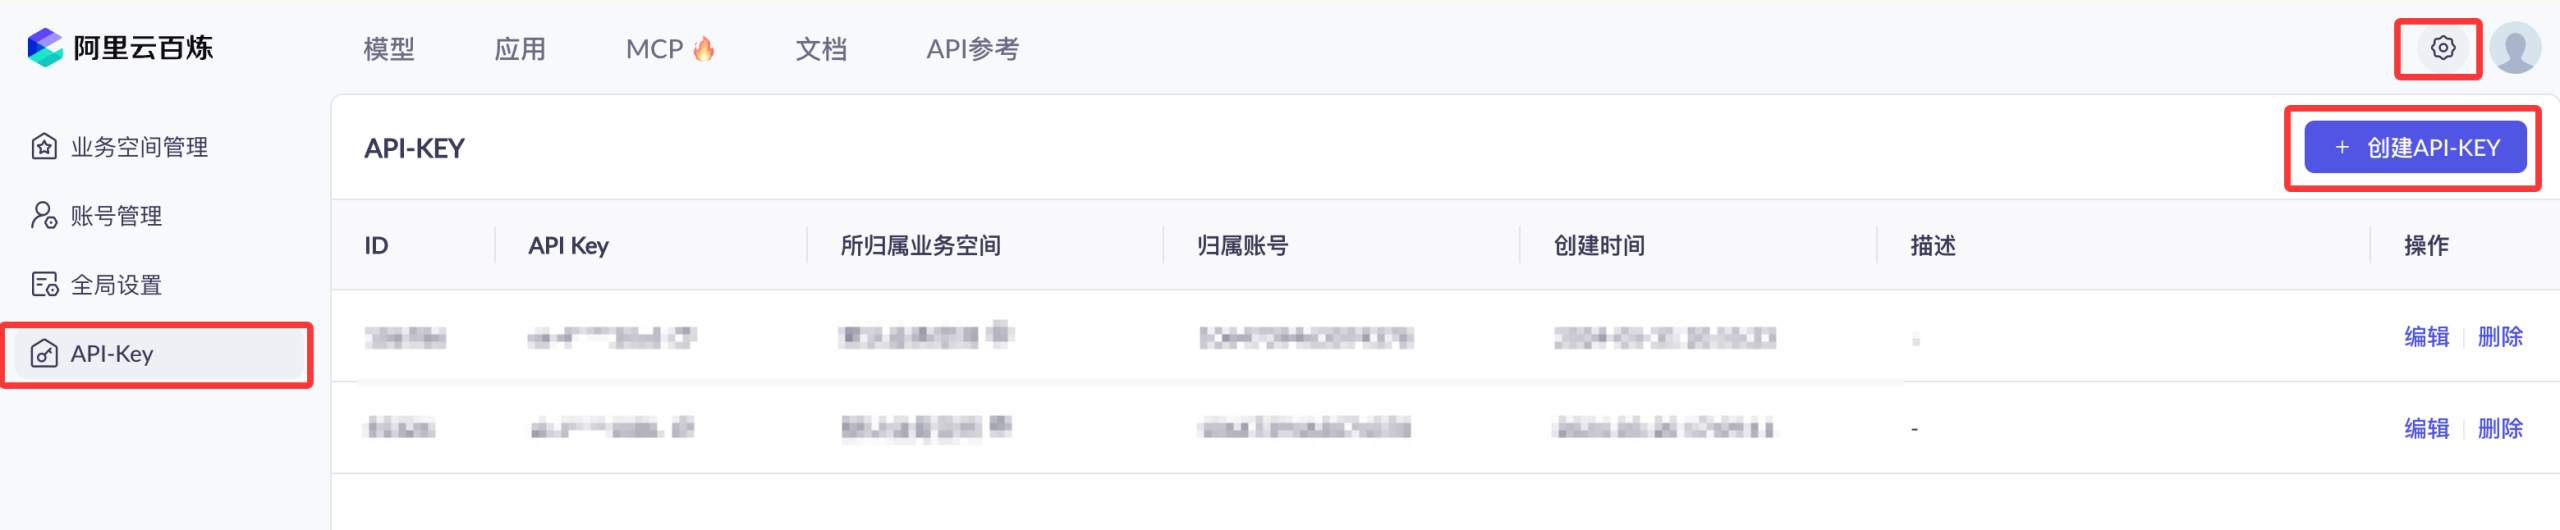

Activating Alibaba Cloud Bailian does not incur fees. Only model invocation (after exceeding the free quota), model deployment, and model tuning will incur corresponding charges.
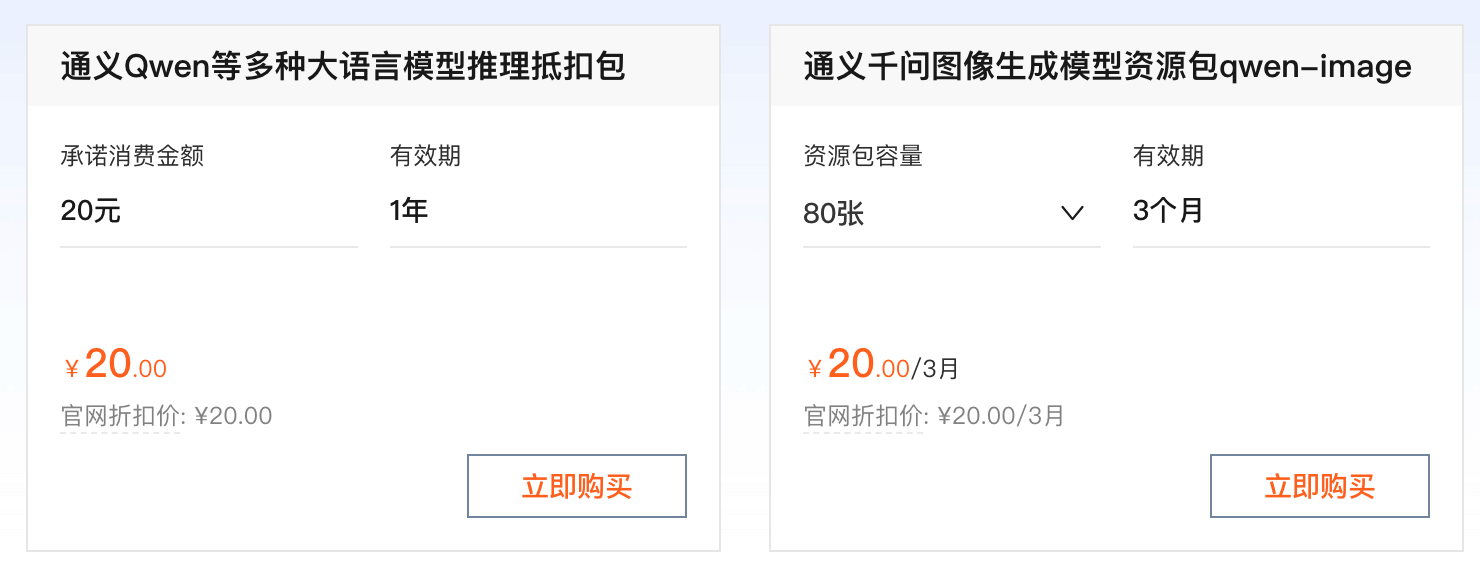
Now to use the API, you need to be billed by token. Fortunately, it's not expensive. We can first purchase the cheapest package:Alibaba Cloud Bailian Large Model Service Platform。
Next, we generate images by setting prompts:
Example
from urllib.parse import urlparse, unquote
from pathlib import PurePosixPath
import requests
from dashscope import ImageSynthesis
import os
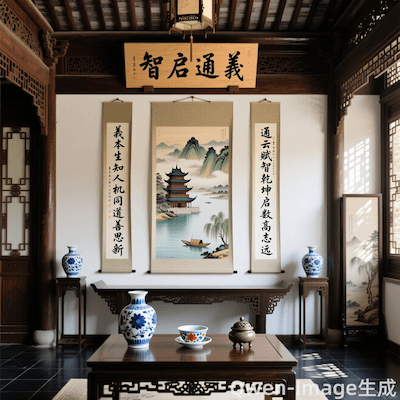
prompt = "An elegant and solemn couplet hangs in the hall. The room is a quiet, classical Chinese arrangement, with some blue-and-white porcelain on the table. On the left of the couplet is written 'Righteousness is innate, humans and machines share the same path, and good at thinking anew'; on the right is written 'Clouds convey wisdom, heaven and earth initiate numbers, and lofty aspirations go far'; the horizontal scroll reads 'Wisdom enlightens Tongyi'. The calligraphy is flowing and elegant. In the middle hangs a Chinese-style painting, the content of which is Yueyang Tower."
# Please use the Bailian API Key
api_key = "sk-xxx"
print('---- Synchronous call, please wait for the task to execute ----')
rsp = ImageSynthesis.call(api_key=api_key,
model="qwen-image",
prompt=prompt,
n=1,
size='1328*1328',
prompt_extend=True,
watermark=True)
print('response: %s' % rsp)
if rsp.status_code == HTTPStatus.OK:
# Save the image in the current directory
for result in rsp.output.results:
file_name = PurePosixPath(unquote(urlparse(result.url).path)).parts[-1]
with open('./%s' % file_name, 'wb+') as f:
f.write(requests.get(result.url).content)
else:
print('Synchronous call failed, status_code: %s, code: %s, message: %s' %
(rsp.status_code, rsp.code, rsp.message))
The output result is similar to the following. You will see a url parameter. We can access it to download the image described by the prompt:
----同步调用,请等待任务执行----
response: {"status_code": 200, "request_id": "1968746e-f434-4f77-9f8c-9b1adb80e8d7", "code": null, "message": "", "output": {"task_id": "d85c65d9-c4ff-4d66-a895-7c7746620b0c", "task_status": "SUCCEEDED", "results": [{"url": "https://dashscope-result-sh.oss-cn-shanghai.aliyuncs.com/7d/05/20250916/8d68e658/d85c65d9-c4ff-4d66-a895-7c7746620b0c-1.png?xxxxxxxxx",
...
The image generated by the above example is as follows:
For more content, please refer to the official documentation:https://help.aliyun.com/zh/model-studio/text-to-image
Stable Diffusion
The open-source library to use is Stable Diffusion web UI, which is a Stable Diffusion browser interface based on the Gradio library.
Stable Diffusion web UI GitHub address:https://github.com/AUTOMATIC1111/stable-diffusion-webui
Running Stable Diffusion requires relatively high hardware requirements and consumes significant resources during runtime, especially the graphics card.
Windows Environment Installation
The local environment requires Python 3.10.6 or above to be installed, and it should be added to the machine's environment variables.
Download the Stable Diffusion web UI GitHub source codehttps://github.com/AUTOMATIC1111/stable-diffusion-webui。
git clone https://github.com/AUTOMATIC1111/stable-diffusion-webui.git
If Git is not installed, you can download the zip package in the upper right corner.
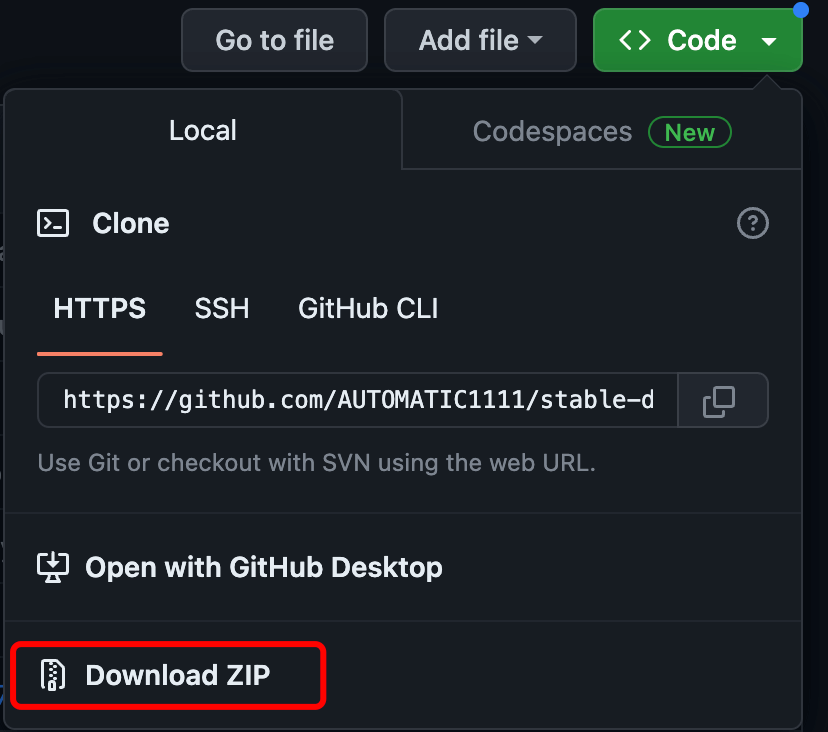
Unzip stable-diffusion-webui and enter the stable-diffusion-webui directory.
Next, we need to download the model. Download address:https://huggingface.co/CompVis/stable-diffusion-v-1-4-original
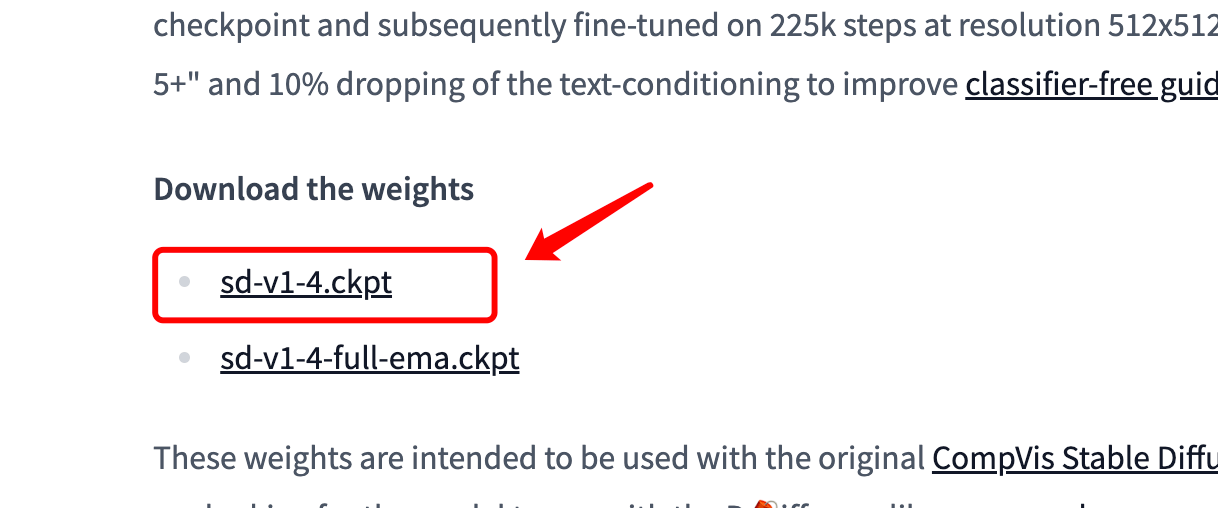
Move the downloaded model tostable-diffusion-webui/models/Stable-diffusiondirectory.
Enter the stable-diffusion-webui directory:
Windows: run as a non-administrator:
webui-user.bat
For Linux and Mac OS environments, execute the following command:
./webui.sh
Next, the program will automatically install and start. After successful startup, you will see an accessible URL address.http://127.0.0.1:7860:
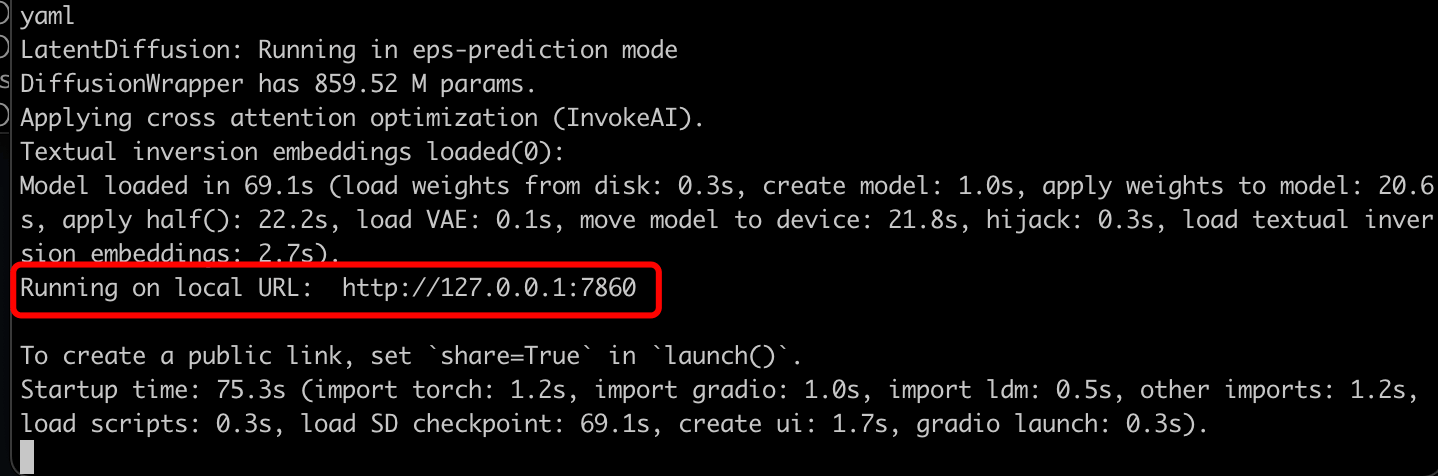
Visithttp://127.0.0.1:7860, the interface is as follows:
Note:If the installation gets stuck, it is likely a problem with downloading the GitHub source code. You can use some GitHub mirrors to solve it. There is currently no very stable mirror, so it is recommended to search on Google. On April 6, 2023, I used the following mirror addresshttps://hub.fgit.ml, open the launch.py file in the stable-diffusion-webui directory, and replace the GitHub address in the following part of the code (the code is roughly between lines 230 and 240):

Introduction to Civitai
Civitai has many customized models, and they can be downloaded for free. We use theGuofeng 3model to test. Download address:https://civitai.com/models/10415/3-guofeng3?modelVersionId=36644
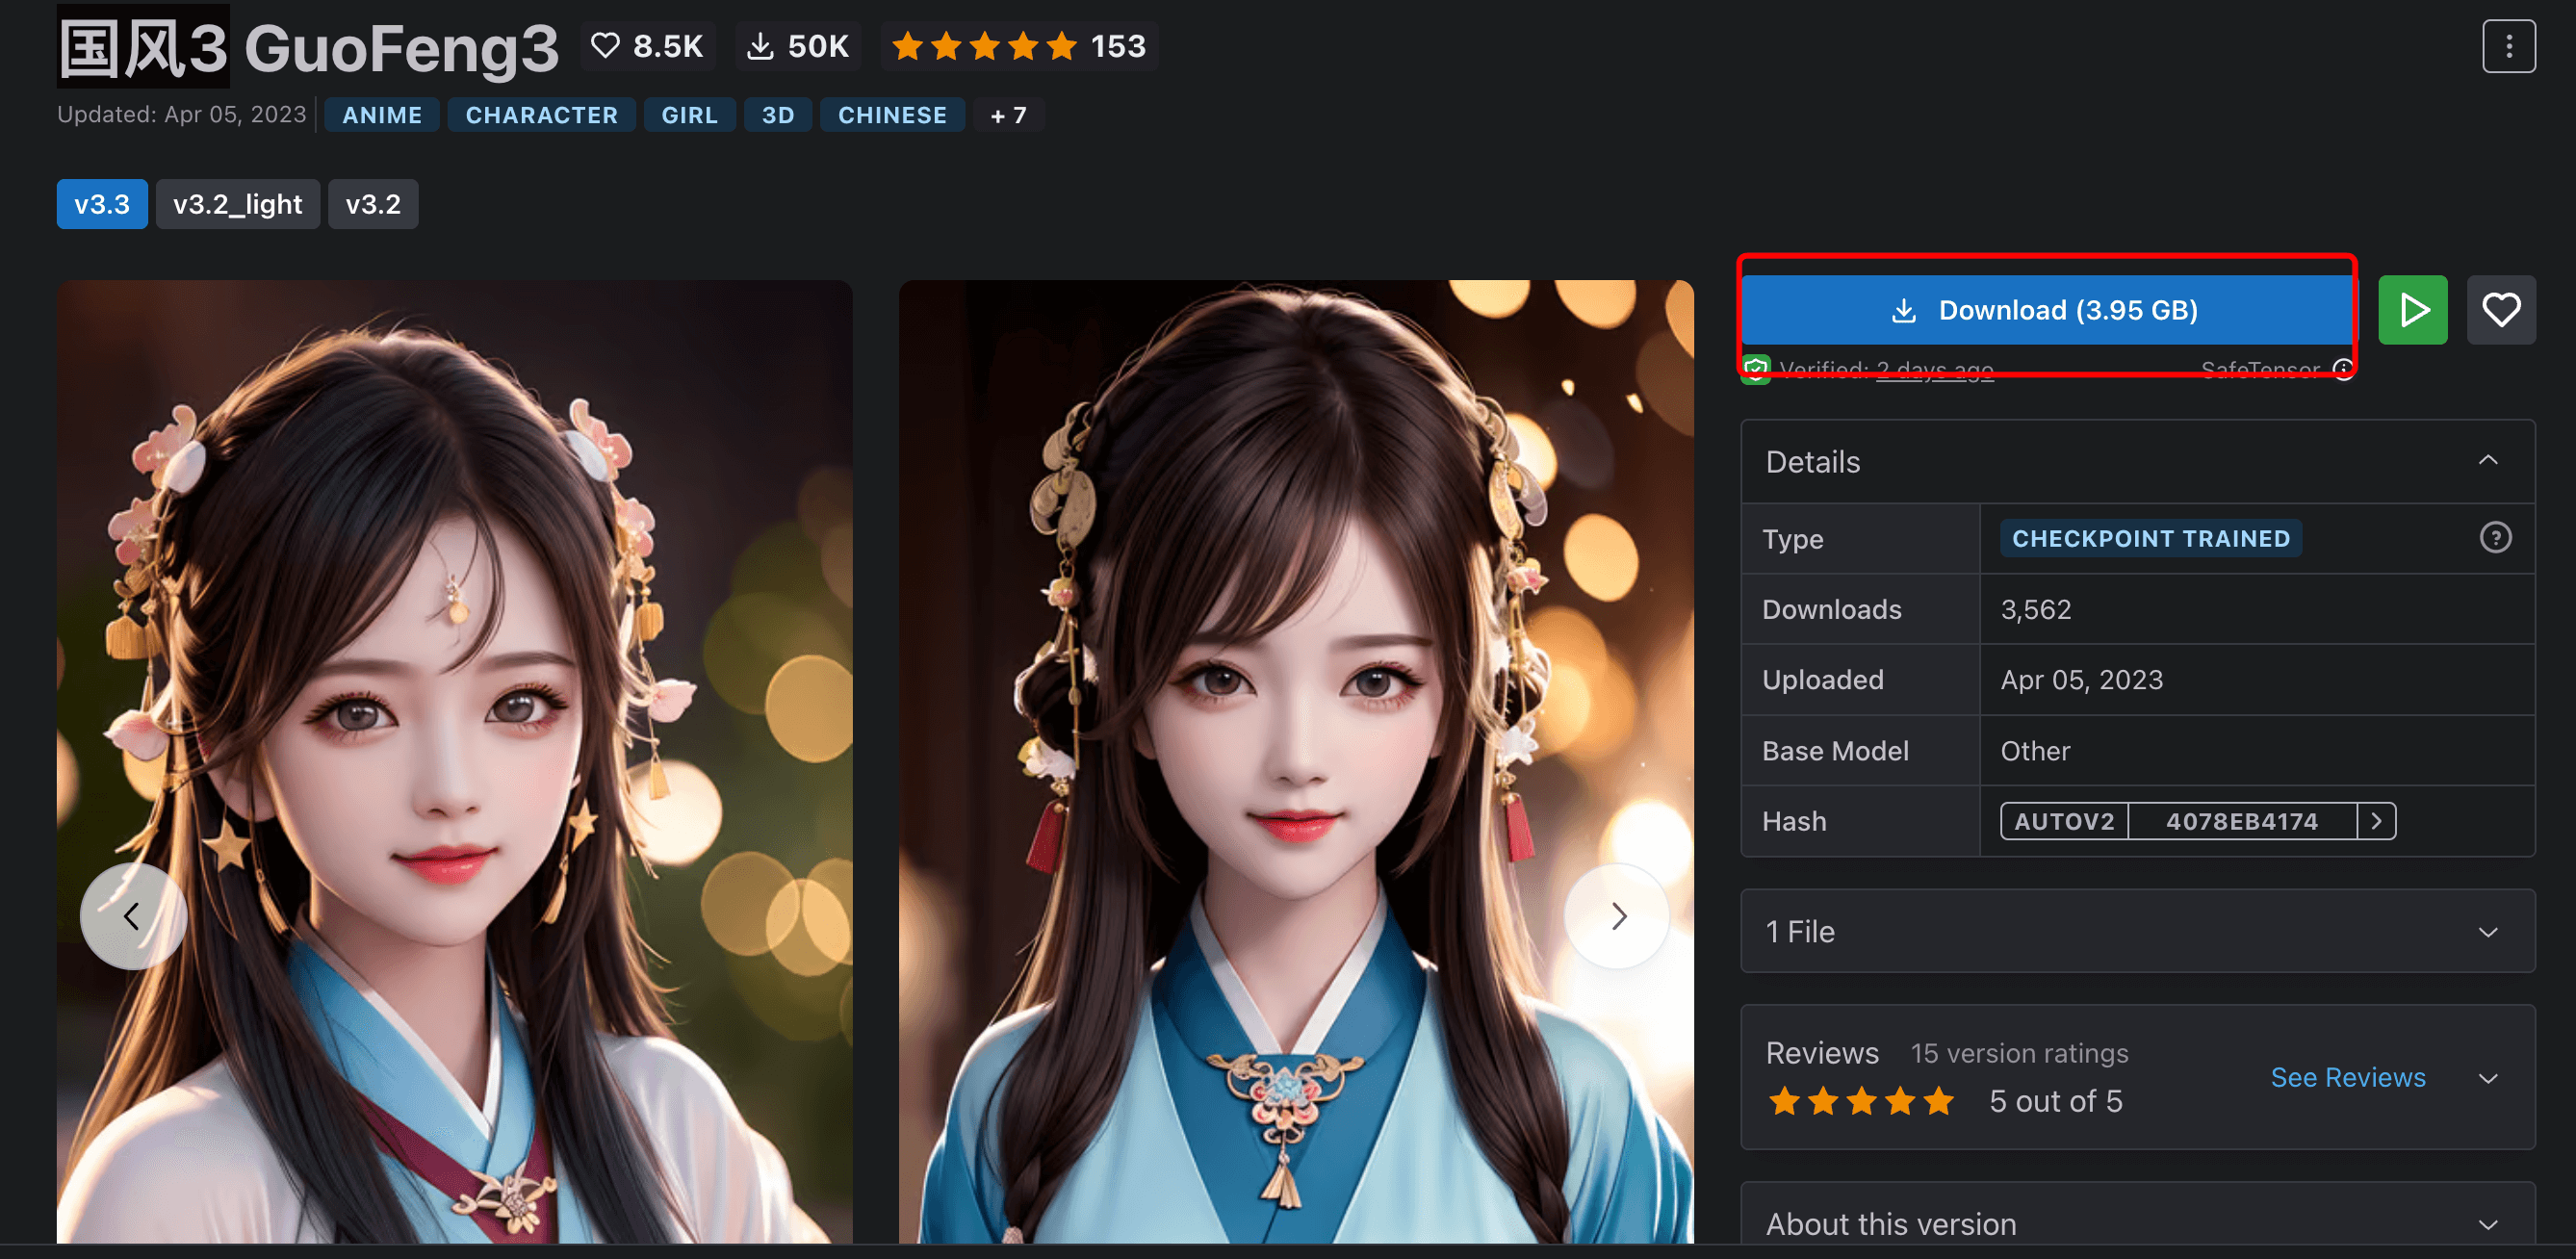
After downloading, we move the model tostable-diffusion-webui/models/Stable-diffusiondirectory, and restart stable-diffusion-webui:
./webui.sh
In this way, we can select theGuofeng 3model in the model list:
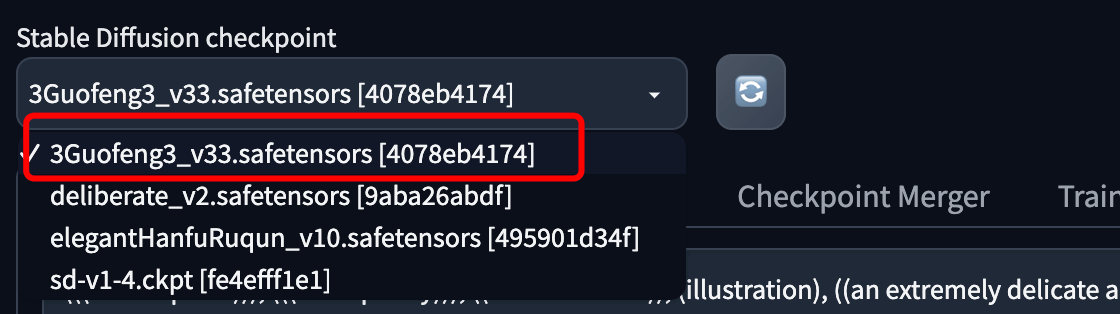
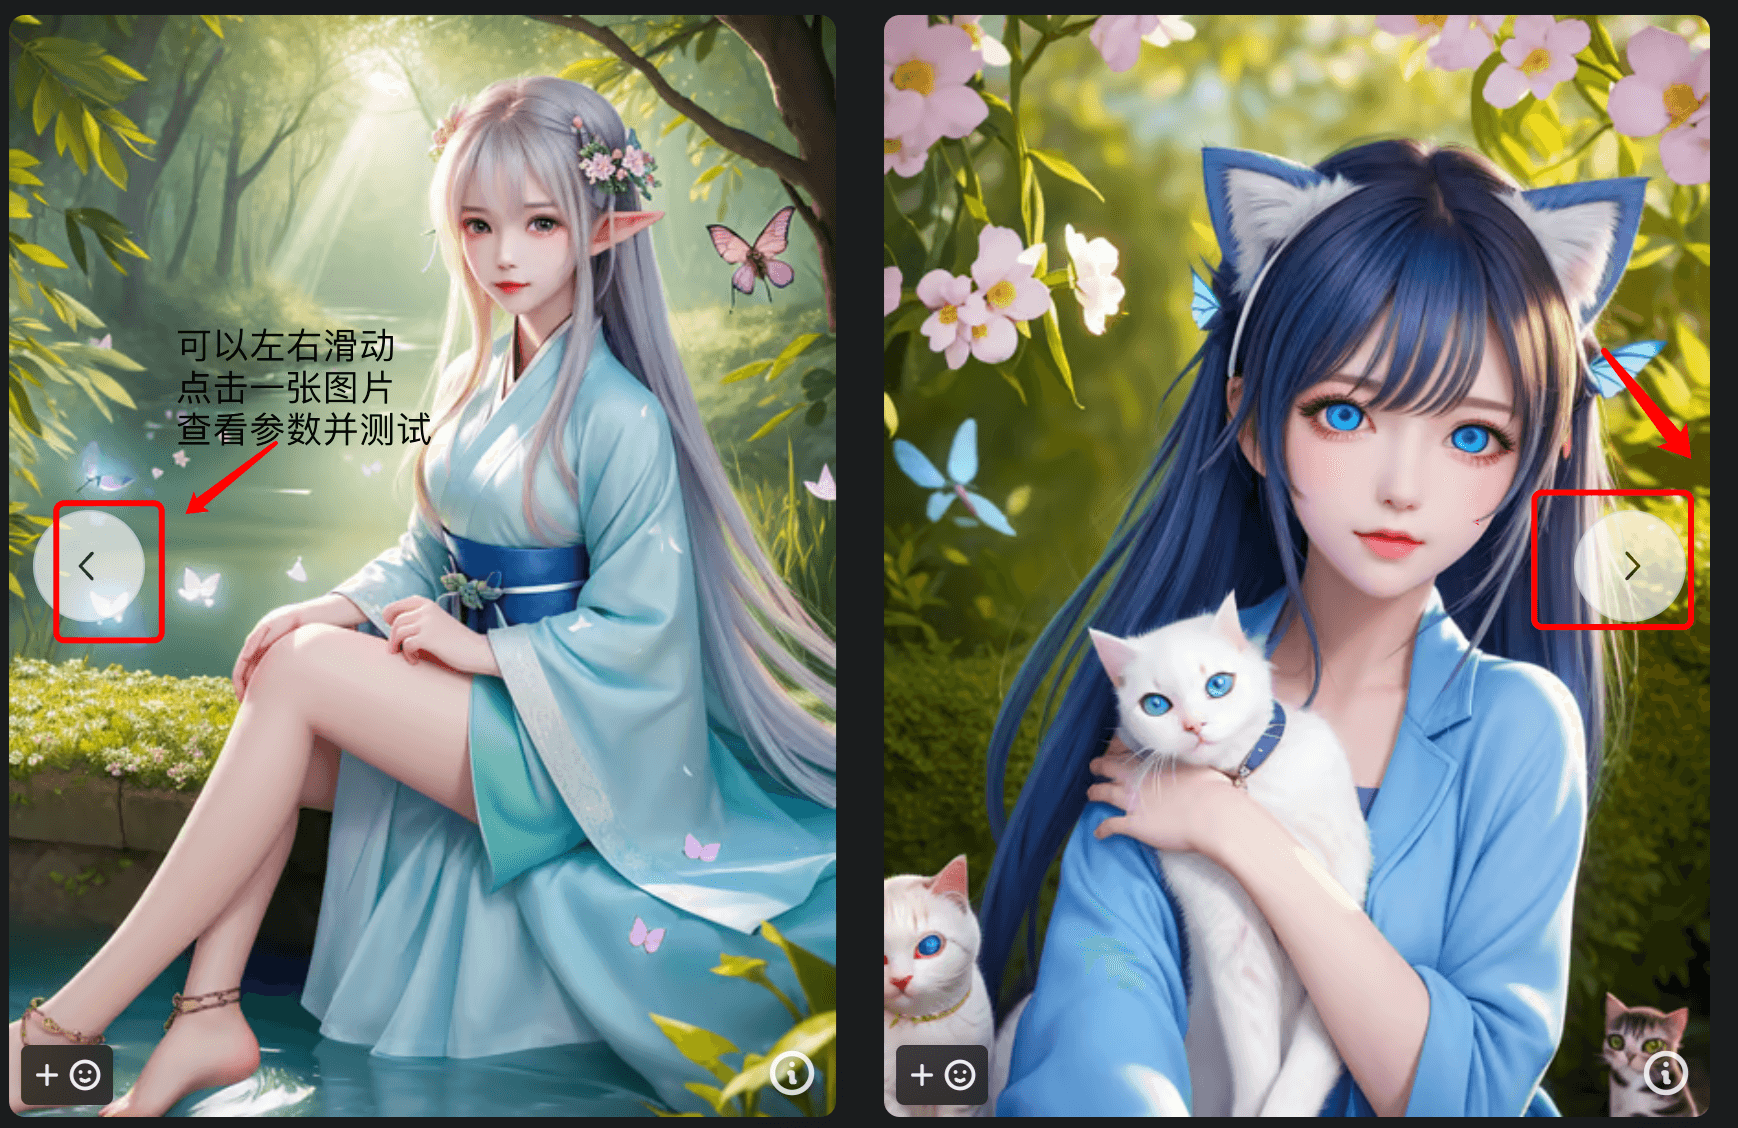
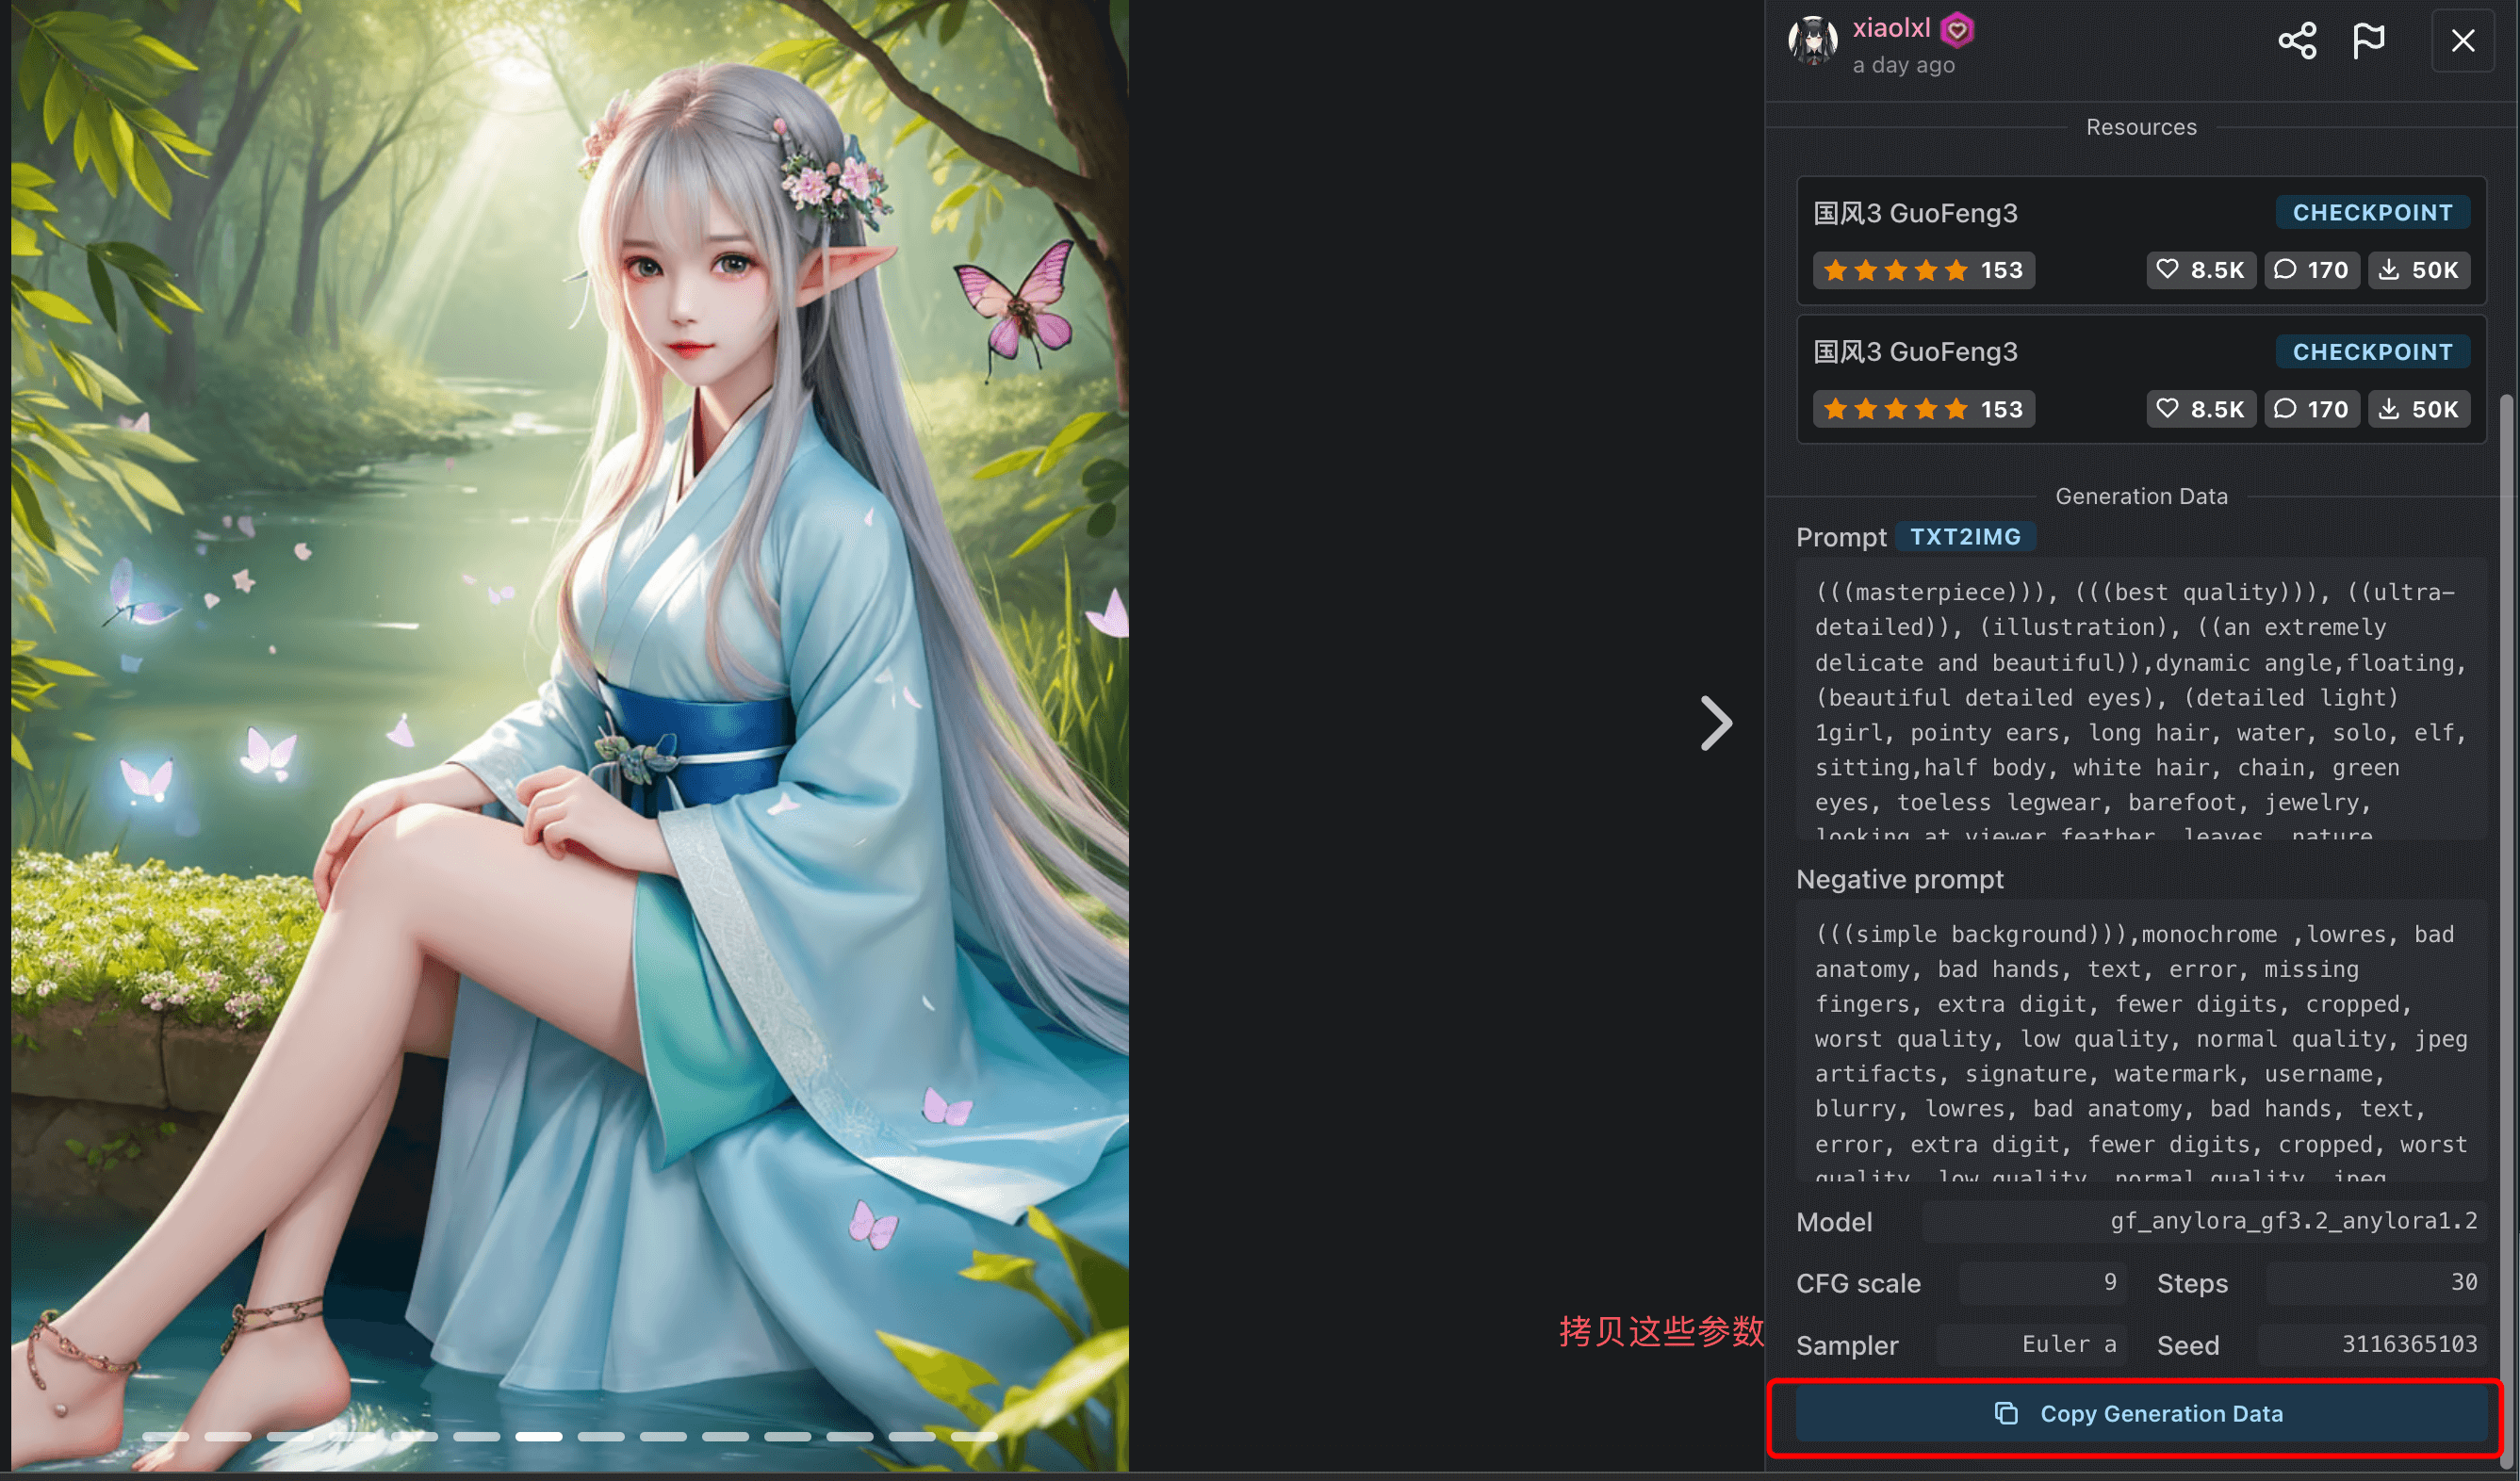
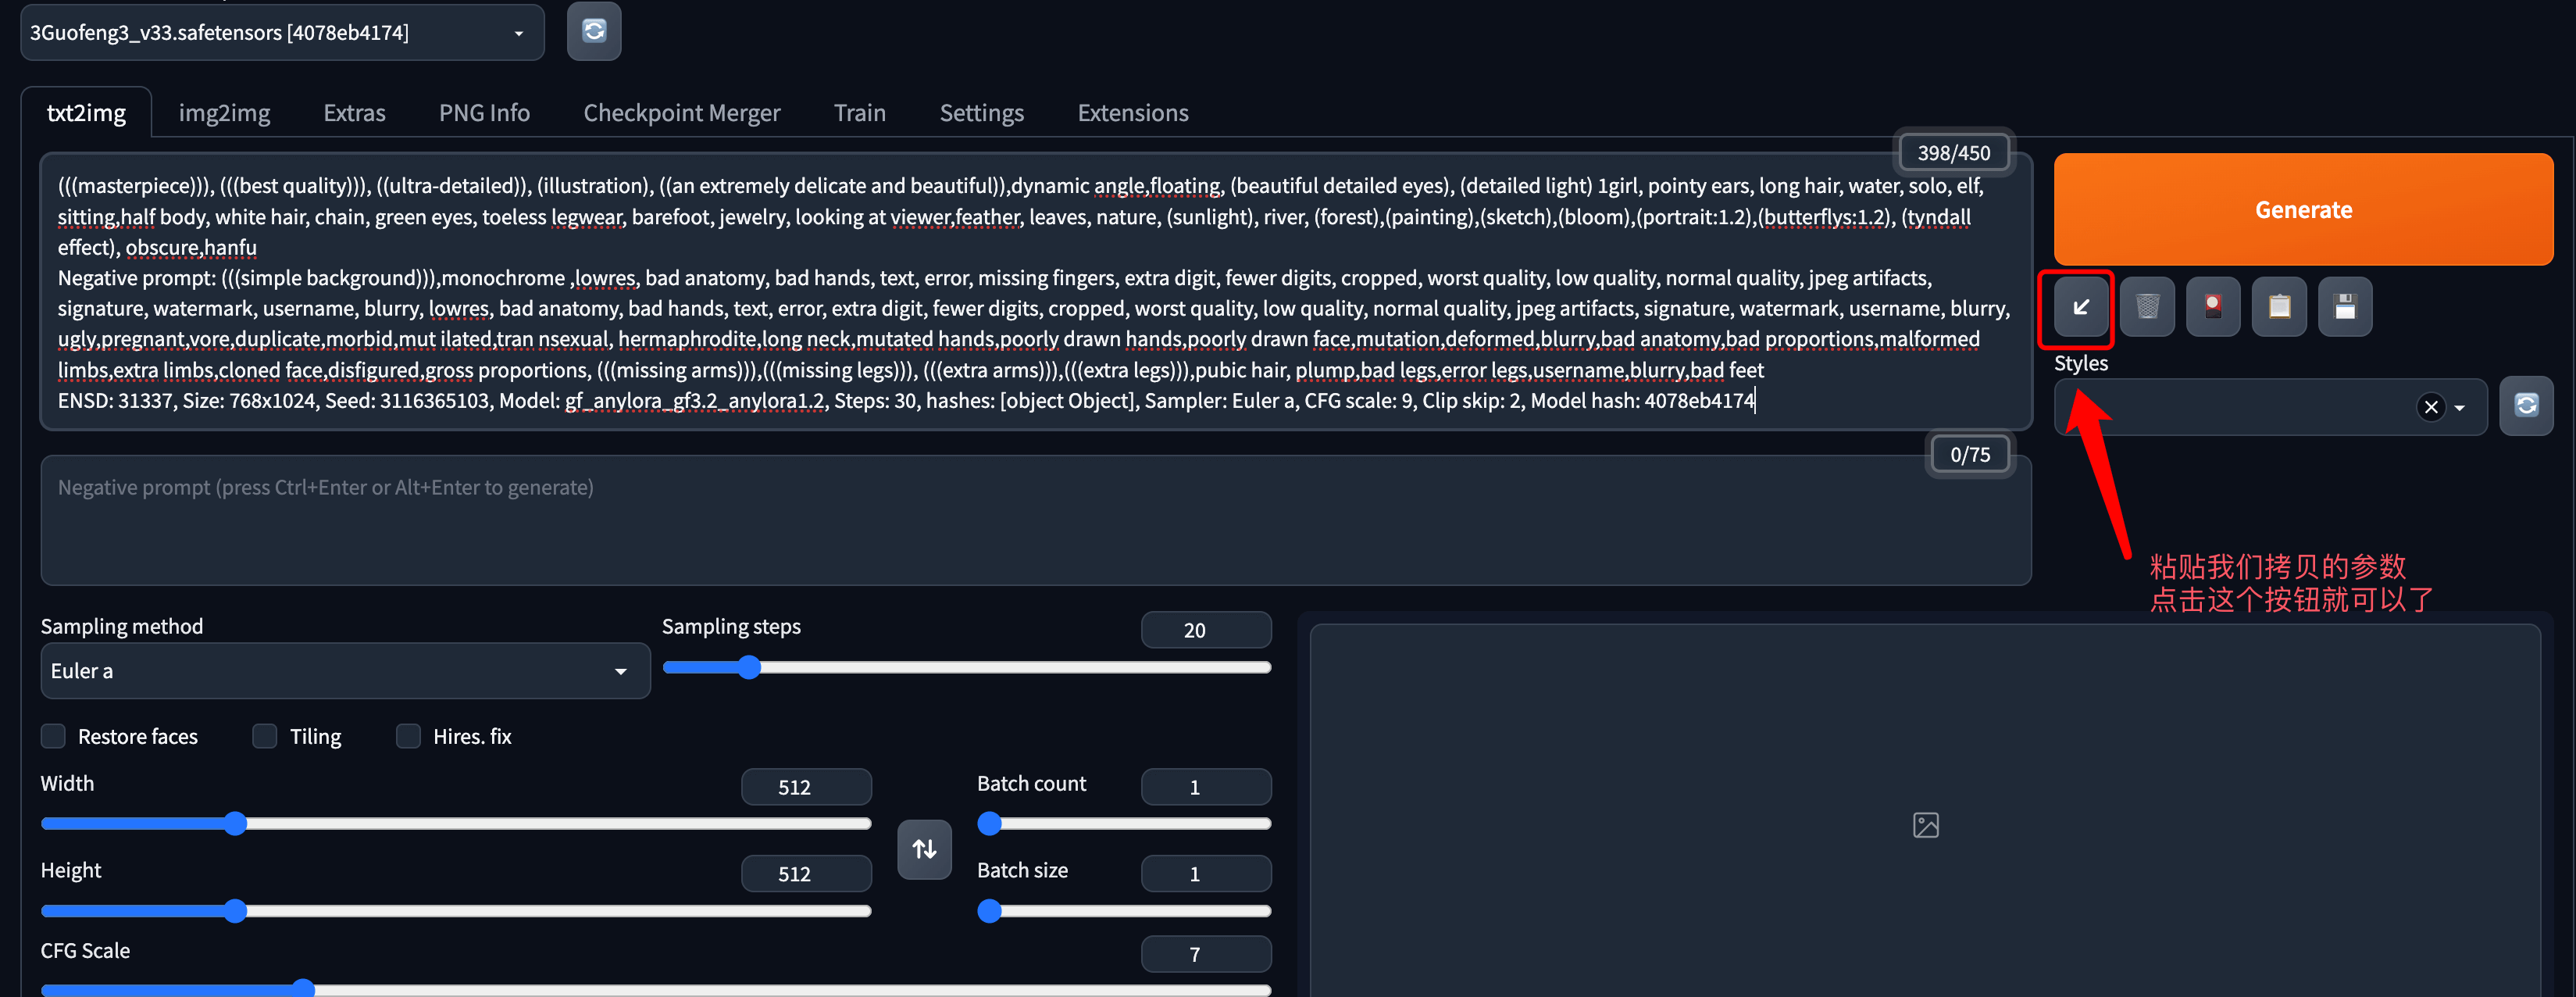
After selecting, we can go to the model introduction page to copy some prompts and test parameters:
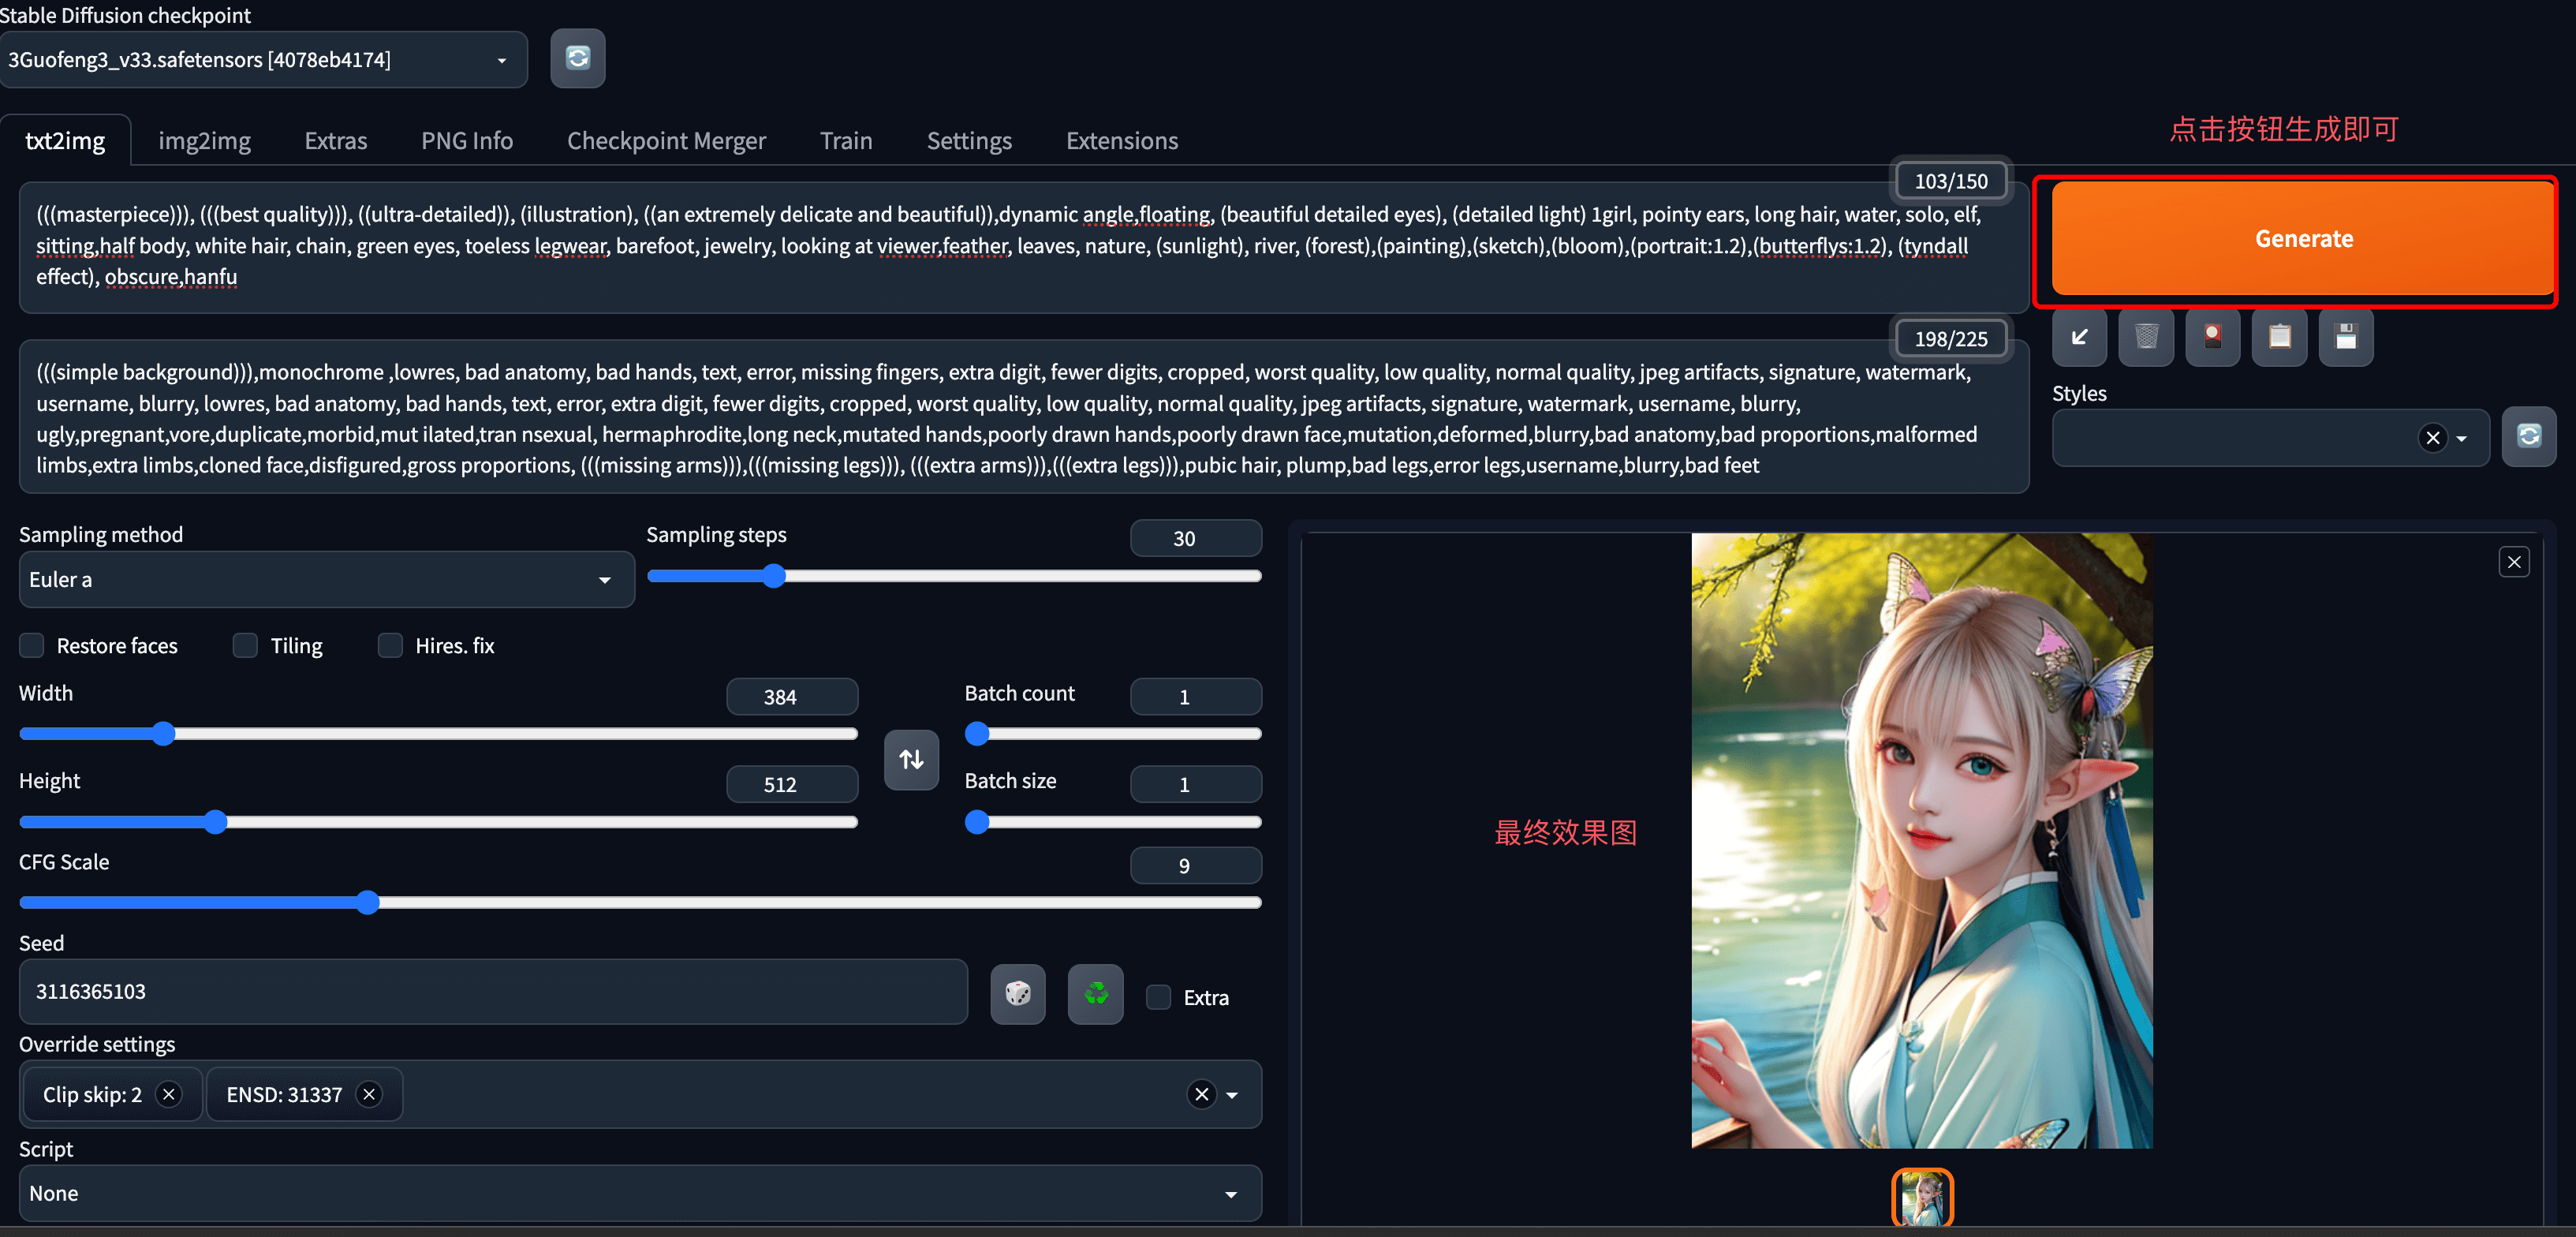
To generate faster, I halved both the height and width, then click the Generate button:
For the complete generation process, you can follow our WeChat video channel to watch: