Node.js Creating Your First Application
In traditional PHP development, an HTTP server like Apache or Nginx is required, and mod_php or php-cgi needs to be configured to handle PHP scripts, thereby generating dynamic content. In other words, PHP relies on an external HTTP server to receive requests and serve web pages.
Node.js itself has a built-in HTTP server module. This means that when developing with Node.js, developers can directly use Node.js's HTTP module to create a server, handle HTTP requests, and generate web pages. Therefore, in Node.js, the logic of a web application and the implementation of the HTTP server are tightly integrated, and developers do not need to rely on external HTTP server software.
Before creating our first Node.js "Hello, World!" application, let's first understand what parts a Node.js application consists of:
require directive: In Node.js, the require directive is used to load and import modules. The imported modules can be built-in modules, third-party modules, or custom modules.
Create a server:The server can listen for client requests, similar to HTTP servers like Apache and Nginx.
Receive requests and respond to requestsThe server is very easy to create. Clients can send HTTP requests using a browser or terminal, and after receiving the request, the server returns response data.
Create a Node.js Application
Step 1: Use the require directive to load and import modules
The syntax is as follows:
const module = require('module-name');
Here, module-name can be a file path (relative or absolute) or a module name. If it is a module name, Node.js will automatically look up the module from the node_modules directory.
The require directive returns the exported object of the loaded module, through which you can access the properties and methods defined in the module. If the module has multiple exported objects, you can use destructuring assignment to obtain them.
We userequiredirective to load the http module, and assign the instantiated HTTP to the variable http, as shown in the example below:
var http = require("http");
Step 2: Create a server
Next, we use the http.createServer() method to create a server, and use the listen method to bind to port 8888. The function receives and responds to data through the request and response parameters.
Here is an example. Create a file named server.js in the root directory of your project and write the following code:
Example
http.createServer(function (request, response) {
// Send HTTP header
// HTTP status value: 200 : OK
// Content type: text/plain
response.writeHead(200, {'Content-Type': 'text/plain'});
// Send response data "Hello World"
response.end('Hello World\n');
}).listen(8888);
// The terminal prints the following information
console.log('Server running at http://127.0.0.1:8888/');
With the above code, we have completed a working HTTP server.
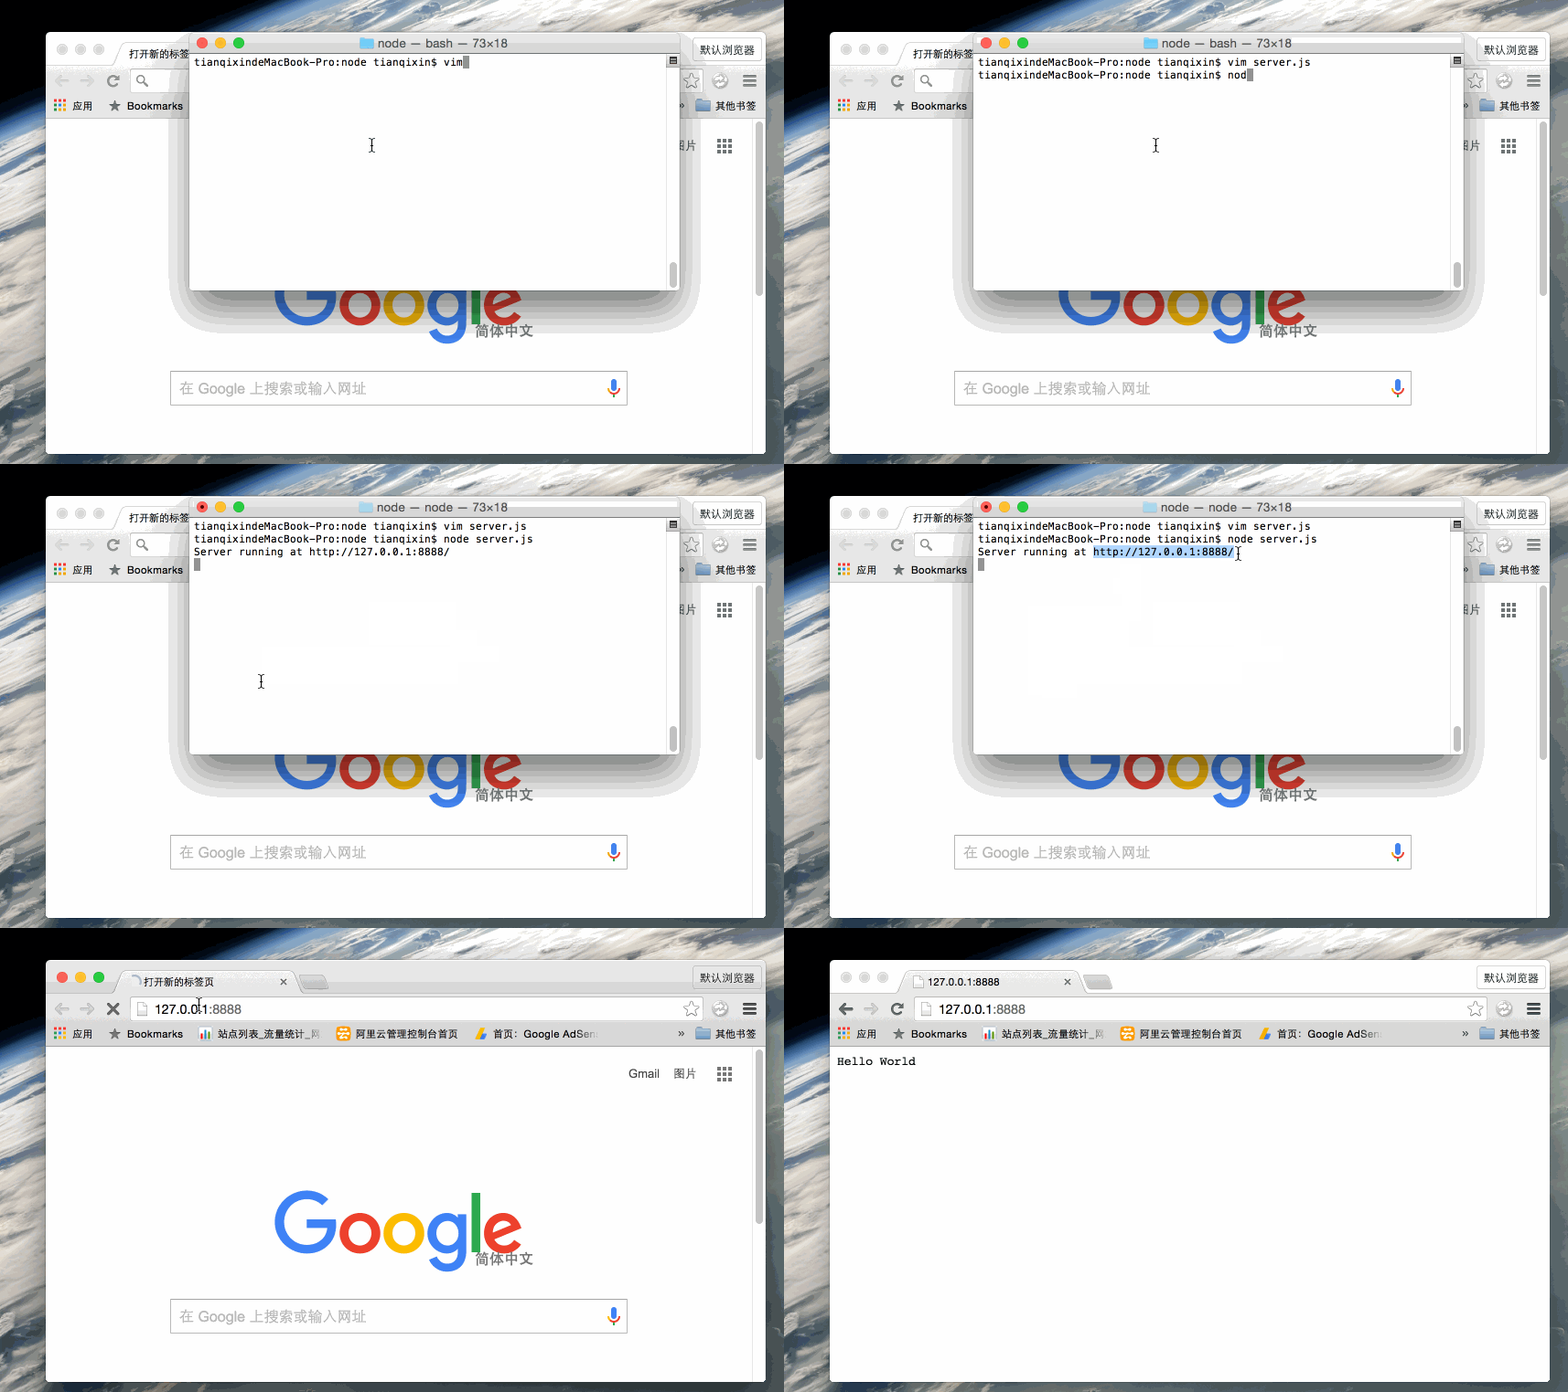
Usenodecommand to execute the above code:
node server.js
Server running at http://127.0.0.1:8888/

Next, open a browser and visit http://127.0.0.1:8888/. You will see a web page with "Hello World".
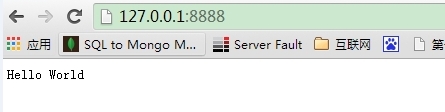
Analyze the Node.js HTTP server:
const http = require('http');: Import Node.js built-inhttpmodule.http.createServer((req, res) => { ... });: Create a new HTTP server that executes the callback function every time a request is made.res.writeHead(200, { 'Content-Type': 'text/plain' });: Set the response status code and content type.res.end('Hello World\n');: End the response and send data.server.listen(PORT, () => { ... });: Listen on the specified port and output information after the server starts.
GIF Example Demonstration
Next, we will demonstrate the example operation using a GIF:
 Other Extensions