Node.js Express Framework
Express Introduction
Express is a concise and flexible Node.js web application framework that provides a series of powerful features to help you create various web applications, and rich HTTP tools.
With Express, you can quickly build a fully functional website.
Express framework core features:
You can set up middleware to respond to HTTP requests.
A routing table is defined to execute different HTTP request actions.
You can dynamically render HTML pages by passing parameters to templates.
Install Express
Install Express and save it to the dependency list:
$ cnpm install express --save
The above command will install the Express framework in the current directory'snode_modulesdirectory,node_modulesAn express directory will be automatically created under that directory. The following important modules need to be installed together with the express framework:
body-parser- Node.js middleware for handling JSON, Raw, Text, and URL-encoded data.
cookie-parser- This is a tool for parsing cookies. You can get the incoming cookies via req.cookies and convert them into objects.
multer- Node.js middleware for handling form data with enctype="multipart/form-data" (sets the MIME encoding of the form).
$ cnpm install body-parser --save
$ cnpm install cookie-parser --save
$ cnpm install multer --save
After installation, we can check the version number used by express:
$ cnpm list express
/data/www/node
└── [email protected]  -> /Users/tianqixin/www/node/node_modules/.4.15.2@express
First Express Framework Example
Next, we use the Express framework to output "Hello World".
In the following example, we introduce the express module and respond with the string "Hello World" after the client makes a request.
Create the express_demo.js file, with the following code:
express_demo.js file code:
Execute the above code:
$ node express_demo.js
应用实例,访问地址为 http://0.0.0.0:8081
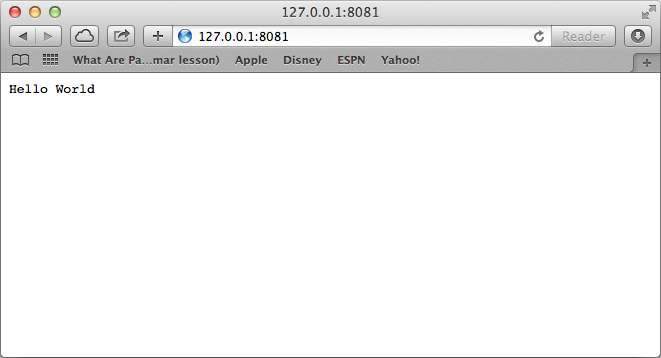
Visit http://127.0.0.1:8081 in the browser, the result is shown in the figure below:
Request and Response
Express applications use the parameters of callback functions:requestandresponseobjects to handle request and response data.
app.get('/', function (req, res) {
   // --
})
requestandresponseDetailed introduction to the objects:
Request Object- The request object represents an HTTP request and contains properties such as the request query string, parameters, content, and HTTP headers. Common properties include:
- req.app: When the callback is an external file, use req.app to access the express instance
- req.baseUrl: Get the URL path where the route is currently mounted
- req.body / req.cookies: Get the "request body" / Cookies
- req.fresh / req.stale: Determine whether the request is still "fresh"
- req.hostname / req.ip: Get the hostname and IP address
- req.originalUrl: Get the original request URL
- req.params: Get the route's parameters
- req.path: Get the request path
- req.protocol: Get the protocol type
- req.query: Get the query parameter string of the URL
- req.route: Get the currently matched route
- req.subdomains: Get the subdomains
- req.accepts(): Check the acceptable document types for the request
- req.acceptsCharsets / req.acceptsEncodings / req.acceptsLanguages: Returns the first acceptable character encoding of the specified charsets
- req.get(): Get the specified HTTP request header
- req.is(): Determine the MIME type of the request header Content-Type
Response Object- The response object represents the HTTP response, i.e., the HTTP response data sent to the client upon receiving a request. Common properties include:
- res.app: Same as req.app
- res.append(): Append the specified HTTP header
- res.set() will reset the previously set headers after res.append()
- res.cookie(name, value [, option]): Set Cookie
- opition: domain / expires / httpOnly / maxAge / path / secure / signed
- res.clearCookie(): Clear Cookie
- res.download(): Transfer the file at the specified path
- res.get(): Return the specified HTTP header
- res.json(): Send a JSON response
- res.jsonp(): Send a JSONP response
- res.location(): Only set the Location HTTP header of the response, without setting the status code or closing the response.
- res.redirect(): Set the Location HTTP header of the response and set status code 302
- res.render(view, [locals], callback): Render a view and pass the rendered string to the callback. If an error occurs during rendering, next(err) will be automatically called. The callback will be passed any possible error and the rendered page, so there will be no automatic output.
- res.send(): Send an HTTP response
- res.sendFile(path [, options] [, fn]): Transfer the file at the specified path - Automatically sets Content-Type based on the file extension
- res.set(): Set HTTP headers; you can set multiple headers at once by passing an object
- res.status(): Set the HTTP status code
- res.type(): Set the MIME type of Content-Type
Routing
We have already learned the basic applications of HTTP requests, and routing determines who (the specified script) responds to client requests.
In HTTP requests, we can extract the requested URL and GET/POST parameters through routing.
Next, we extend Hello World by adding some features to handle more types of HTTP requests.
Create the express_demo2.js file, with the following code:
express_demo2.js file code:
Execute the above code:
$ node express_demo2.js
应用实例,访问地址为 http://0.0.0.0:8081
Next, you can try accessing different addresses like http://127.0.0.1:8081 to see the effect.
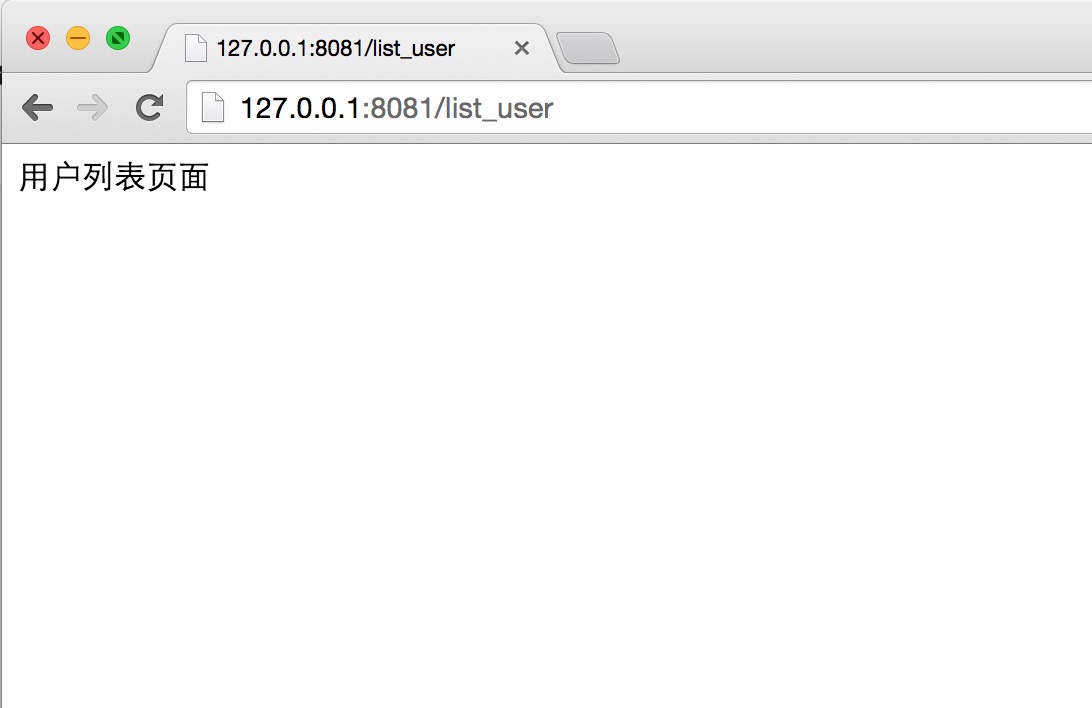
Access http://127.0.0.1:8081/list_user in the browser, the result is shown in the figure below:
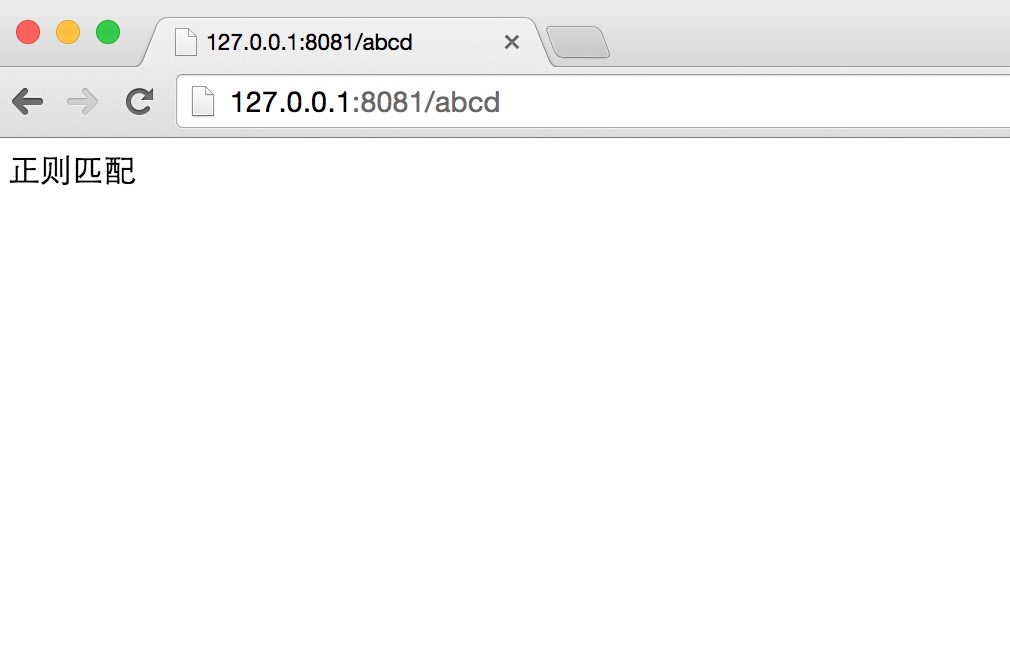
Access http://127.0.0.1:8081/abcd in the browser, the result is shown in the figure below:
Access http://127.0.0.1:8081/abcdefg in the browser, the result is shown in the figure below:

Static Files
Express provides built-in middleware express.static to set static files such as images, CSS, JavaScript, etc.
You can use express.static middleware to set the static file path. For example, if you put images, CSS, and JavaScript files in the public directory, you can write:
app.use('/public', express.static('public'));
We can put some images in the public/images directory, as shown below:
node_modules
server.js
public/
public/images
public/images/logo.png
Let's modify the "Hello World" application again to add the functionality of handling static files.
Create the express_demo3.js file, the code is as follows:
express_demo3.js file code:
Execute the above code:
$ node express_demo3.js
应用实例,访问地址为 http://0.0.0.0:8081
Execute the above code:
Access http://127.0.0.1:8081/public/images/logo.png in the browser (this example uses the Example tutorial logo), the result is shown in the figure below:

GET Method
The following example demonstrates submitting two parameters via the GET method in a form. We can use theprocess_getrouter to handle the input:
index.html file code:
server.js file code:
Execute the above code:
node server.js
应用实例,访问地址为 http://0.0.0.0:8081
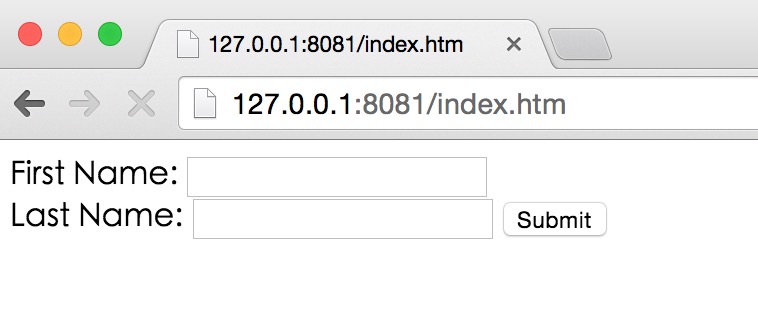
Access http://127.0.0.1:8081/index.html in the browser, as shown in the figure:
Now you can enter data into the form and submit it, as demonstrated below:

POST Method
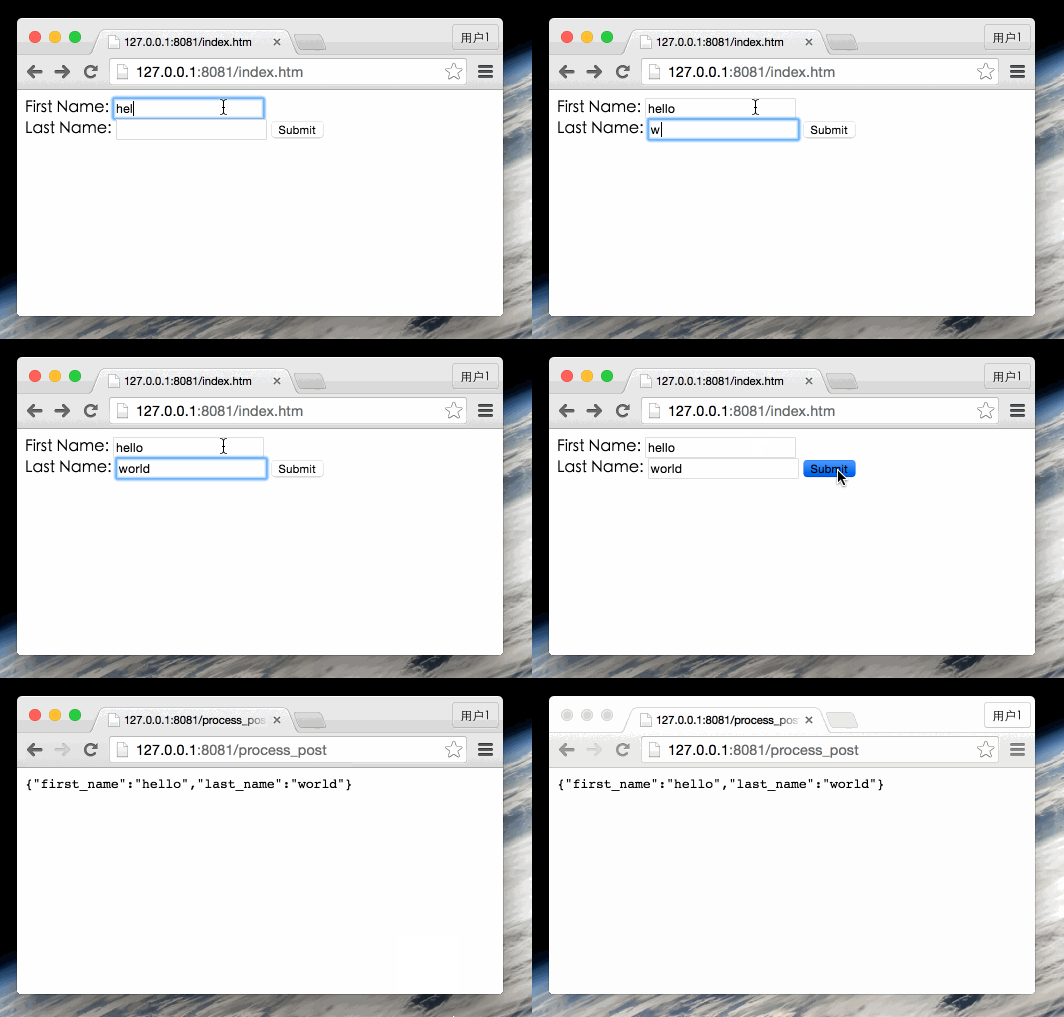
The following example demonstrates submitting two parameters via the POST method in a form. We can use theprocess_postrouter to handle the input:
index.html file code:
server.js file code:
Execute the above code:
$ node server.js
应用实例,访问地址为 http://0.0.0.0:8081
Access http://127.0.0.1:8081/index.html in the browser, as shown in the figure:
Now you can enter data into the form and submit it, as demonstrated below:
File Upload
Below we create a form for uploading files, using the POST method, with the form enctype attribute set to multipart/form-data.
index.html file code:
server.js file code:
Execute the above code:
$ node server.js
应用实例,访问地址为 http://0.0.0.0:8081
Access http://127.0.0.1:8081/index.html in the browser, as shown in the figure:
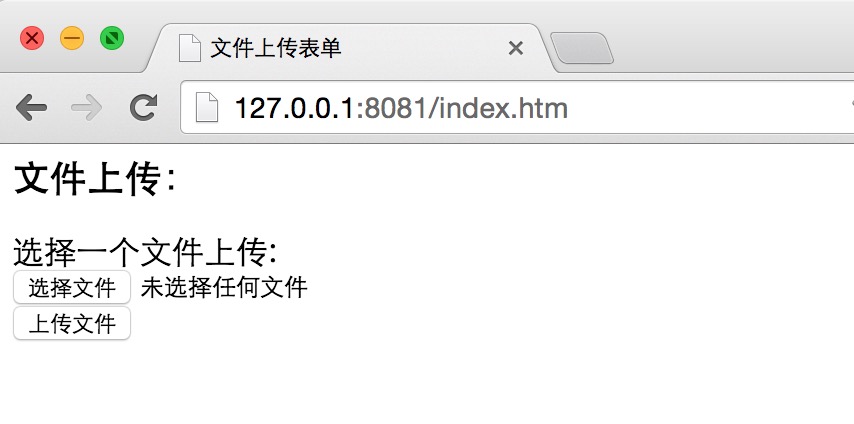
Now you can enter data into the form and submit it, as demonstrated below:

Cookie Management
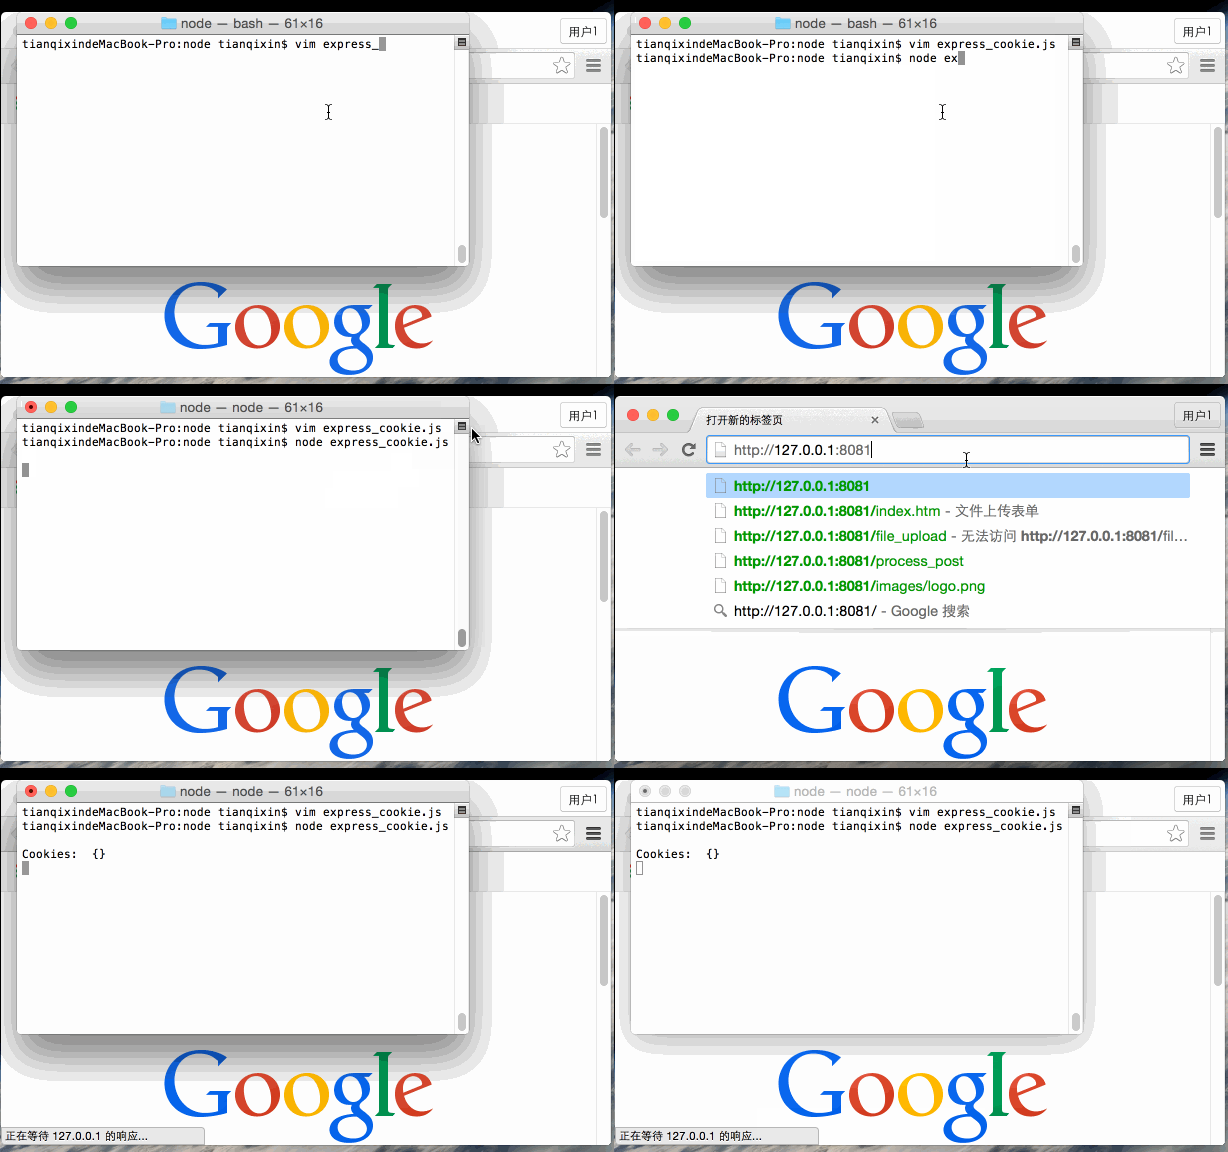
We can use middleware to send cookie information to the Node.js server. The following code outputs the cookie information sent by the client:
express_cookie.js file code:
Execute the above code:
$ node express_cookie.js
Now you can access http://127.0.0.1:8081 and view the terminal output, as demonstrated below:
Related Materials
- Express official website:http://expressjs.com/
- Express 4.x API Chinese version:Express4.x API Chinese
- Express4.x API:http://expressjs.com/zh-cn/4x/api.html