Node.js Building a Simple Application
Building a simple application in Node.js usually includes the following steps:
- Install Node.js
- Set up the project directory
- Initialize the project
- Create a server
- and handle requests and responses
Next, we will introduce step by step how to build a simple HTTP application with Node.js.
1. Install Node.js
First, make sure Node.js and npm are installed on your system. You can verify by entering the following command in the command line:
node -v
npm -v
If not installed yet, please refer to:Node.js Installation and Configuration。
2. Create a project folder
In the terminal, create a project foldermy-first-node-appand enter that folder:
mkdir my-first-node-app
cd my-first-node-app
3. Initialize the project
Using thenpm initcommand to generate the package.json file, which contains the project configuration information.
Run the following command and fill in the information as prompted (you can simply press Enter to skip):
npm init -y
Modify the package.json file to the following content:
{
  "name": "my-first-node-app",
  "version": "1.0.0",
  "main": "app.js",
  "scripts": {
    "start": "node app.js"
  },
  "dependencies": {}
}
4. Create the application entry file
In the project root directorymy-first-node-appcreate aapp.jsfile, which is the entry file of the application, used to set up the server and handle requests.
5. Write server code
Write the following code in the app.js file to create a simple HTTP server:
Example
// Create a server
const server = http.createServer((req, res) => {
// Set the HTTP response status code and header information
res.writeHead(200, {
// Set the content type to HTML and specify the character set as UTF-8, so Chinese characters are not garbled
'Content-Type': 'text/html; charset=utf-8'
});
// Send the response body
res.end(<h1>Hello, World!</h1><p>This is my first Node.js application.</p>);
});
// Listen on the port
const PORT = 3000;
server.listen(PORT, () => {
console.log(`Server is running on http://localhost:${PORT}`);
});
6. Run the server
Run the following command in the project root directory to start the server:
npm start
You will see the following output in the console:
Server is running on http://localhost:3000
7. Access the server
Open a browser and visit http://localhost:3000, and you will see the page display as follows:
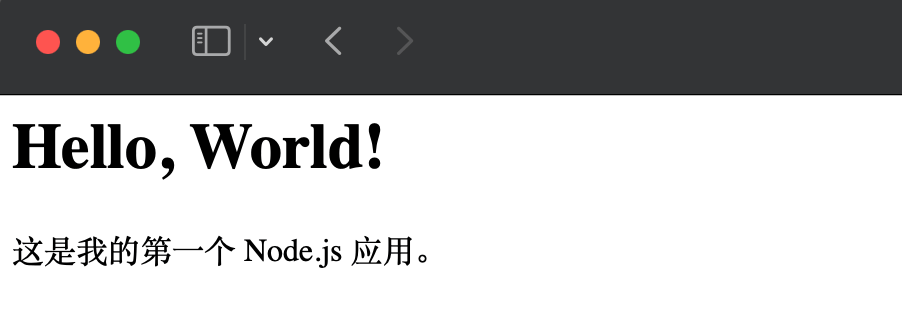
This indicates that the server is running successfully.
8. Add routing
To handle different request paths, you can add simple routing to the server code, for example:
Example
const server = http.createServer((req, res) => {
if (req.url === '/') {
res.writeHead(200, { 'Content-Type': 'text/plain' });
res.end('Welcome to the homepage!');
} else if (req.url === '/about') {
res.writeHead(200, { 'Content-Type': 'text/plain' });
res.end('This is the about page.');
} else {
res.writeHead(404, { 'Content-Type': 'text/plain' });
res.end('404 Not Found');
}
});
const PORT = 3000;
server.listen(PORT, () => {
console.log(`Server is running on http://localhost:${PORT}`);
});
Through the above steps, you have built a simple Node.js application and can handle different request paths.
This basic application can be further extended, such as adding database support, introducing the Express framework to handle complex routing, etc., laying a foundation for more complex projects.
Other Extensions