React Creating Your First Project
In this chapter, we will detail how to use React to create your first project.
Before you begin, make sure you have installed the following tools:
Node.js and npm (Node Package Manager): React projects rely on Node.js and npm to manage dependencies and start the development server.
You can check the versions with the following commands to ensure they are installed successfully:
node -v
npm -v
It is recommended to use VS Code as the code editor. For detailed VS Code usage, refer to:VS Code Tutorial。
Creating a Project with Vite
Vite is currently the preferred tool recommended by the official React team. It is faster, more lightweight, and provides a better development experience than the traditional Create React App.
Install using npm:
npm create vite@latest my-first-react-app -- --template react
Prompt options, just press Enter to accept the defaults:
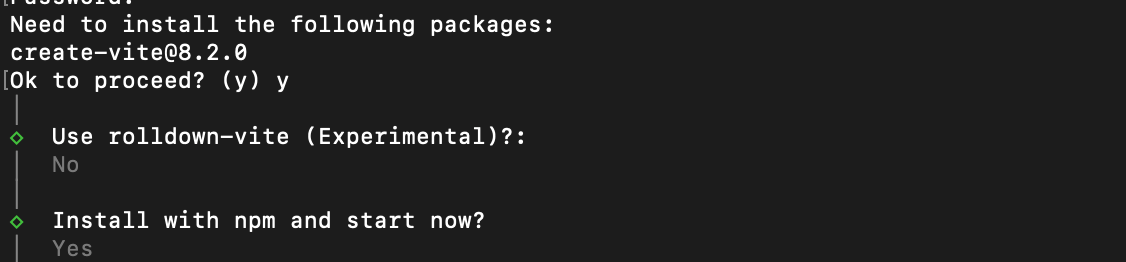
Command explanation:
create vite@latest: Use the latest version of the Vite creation tool.my-first-react-app: Your project name (lowercase letters + hyphens recommended).-- --template react: Specify the React template.
Interactive process(You will be prompted to select):
- Project name: Press Enter to confirm directly or modify it.
- Select framework: SelectReact。
- Select variant:
- JavaScript(Recommended for beginners, start with pure JS).
- TypeScript(Recommended for advanced users, better type safety, can switch later).
Here we chooseJavaScript。
Wait a few seconds, and the project skeleton will be created!
Install Dependencies and Start the Project
Enter the project directorycd my-first-react-app, install dependencies:
npm install
Start the development server:
npm run dev
The browser will automatically open http://localhost:5173 (Vite's default port).
You will see a welcome page with the Vite + React logo and a counter example. This is your first React application running!
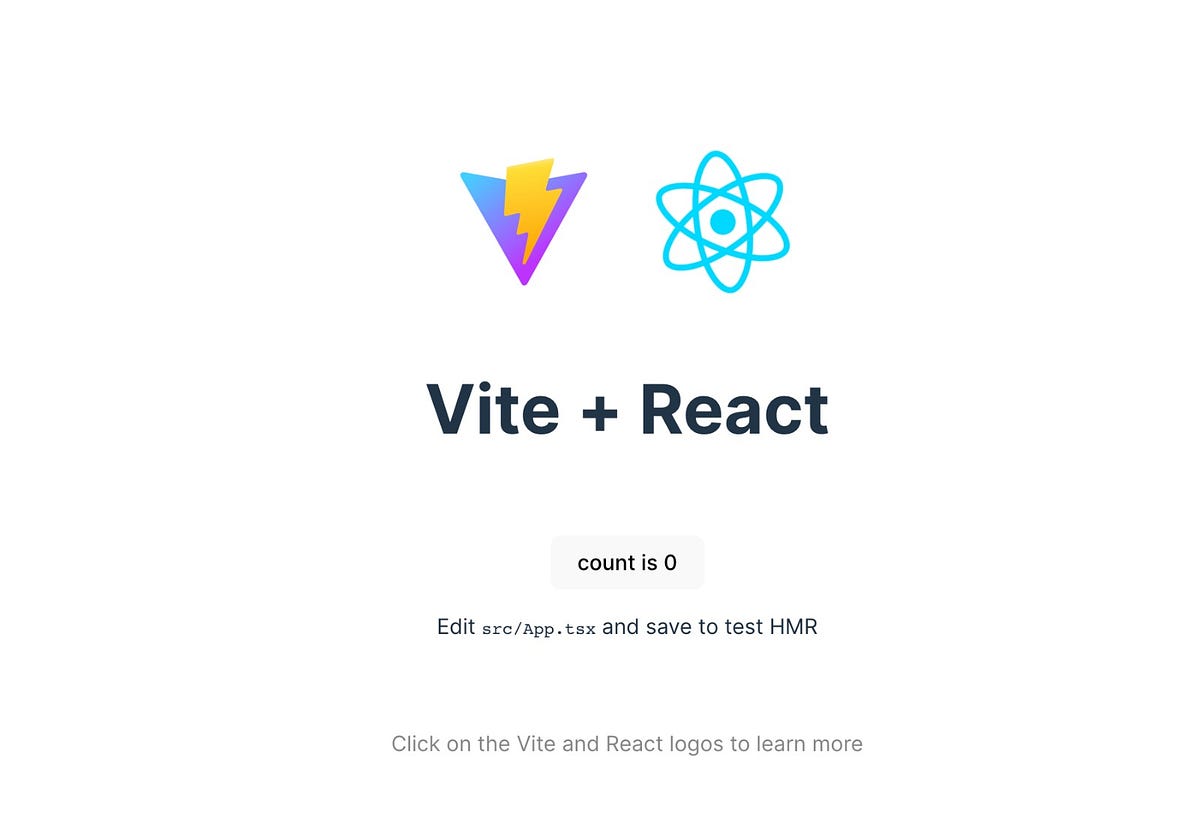
Hot Module Replacement (HMR) experience: modify any code (we'll teach you later), save it, and the page updates automatically without refreshing. That's the magic of Vite!
Creating a Project with Create React App
Create React App is an officially supported scaffolding tool that helps you quickly create a new React project.
In the terminal or command prompt, run the following command to globally install Create React App:
npm install -g create-react-app
Then, use Create React App to create a new project. Suppose your project name is my-app:
npx create-react-app my-app
npx is a tool that comes with npm version 5.2+ and is used to run local or remote npm packages.
After successful execution, the following output will be displayed:
The directory my-app contains files that could conflict:

  node_modules/
  package-lock.json
  package.json
  public/
  src/

Either try using a new directory name, or remove the files listed above.
The project directory structure is as follows:
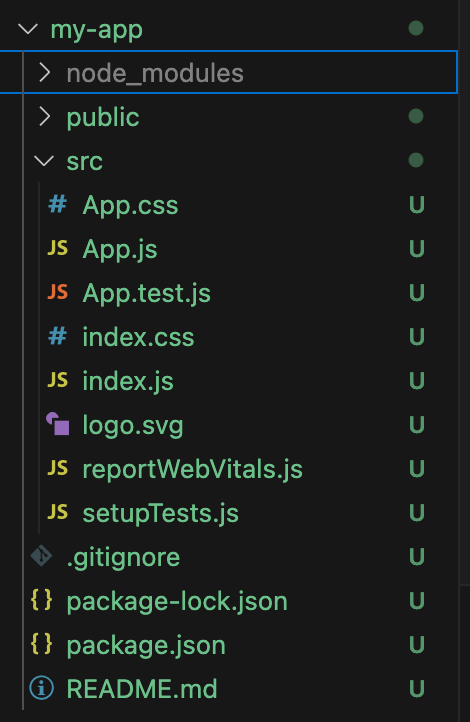
my-app/
├── node_modules/           # 项目依赖库
├── public/                 # 存放静态文件
│   ├── index.html          # 应用的 HTML 模板文件
│   ├── favicon.ico         # 浏览器图标
├── src/                    # 存放源代码
│   ├── App.css             # 样式文件
│   ├── App.js              # 主要的 React 组件
│   ├── index.css           # 全局样式
│   ├── index.js            # React 入口文件
├── package.json            # 配置信息和依赖列表
└── .gitignore              # Git 忽略文件
For the directory structure description, see:React Installation (NPM)。
App.js is the main component file. It defines a basic React component, and you will mainly modify this file later.
After creating the project, enter the project directory:
cd my-app
In the project directory, run the following command to start the development server:
npm start
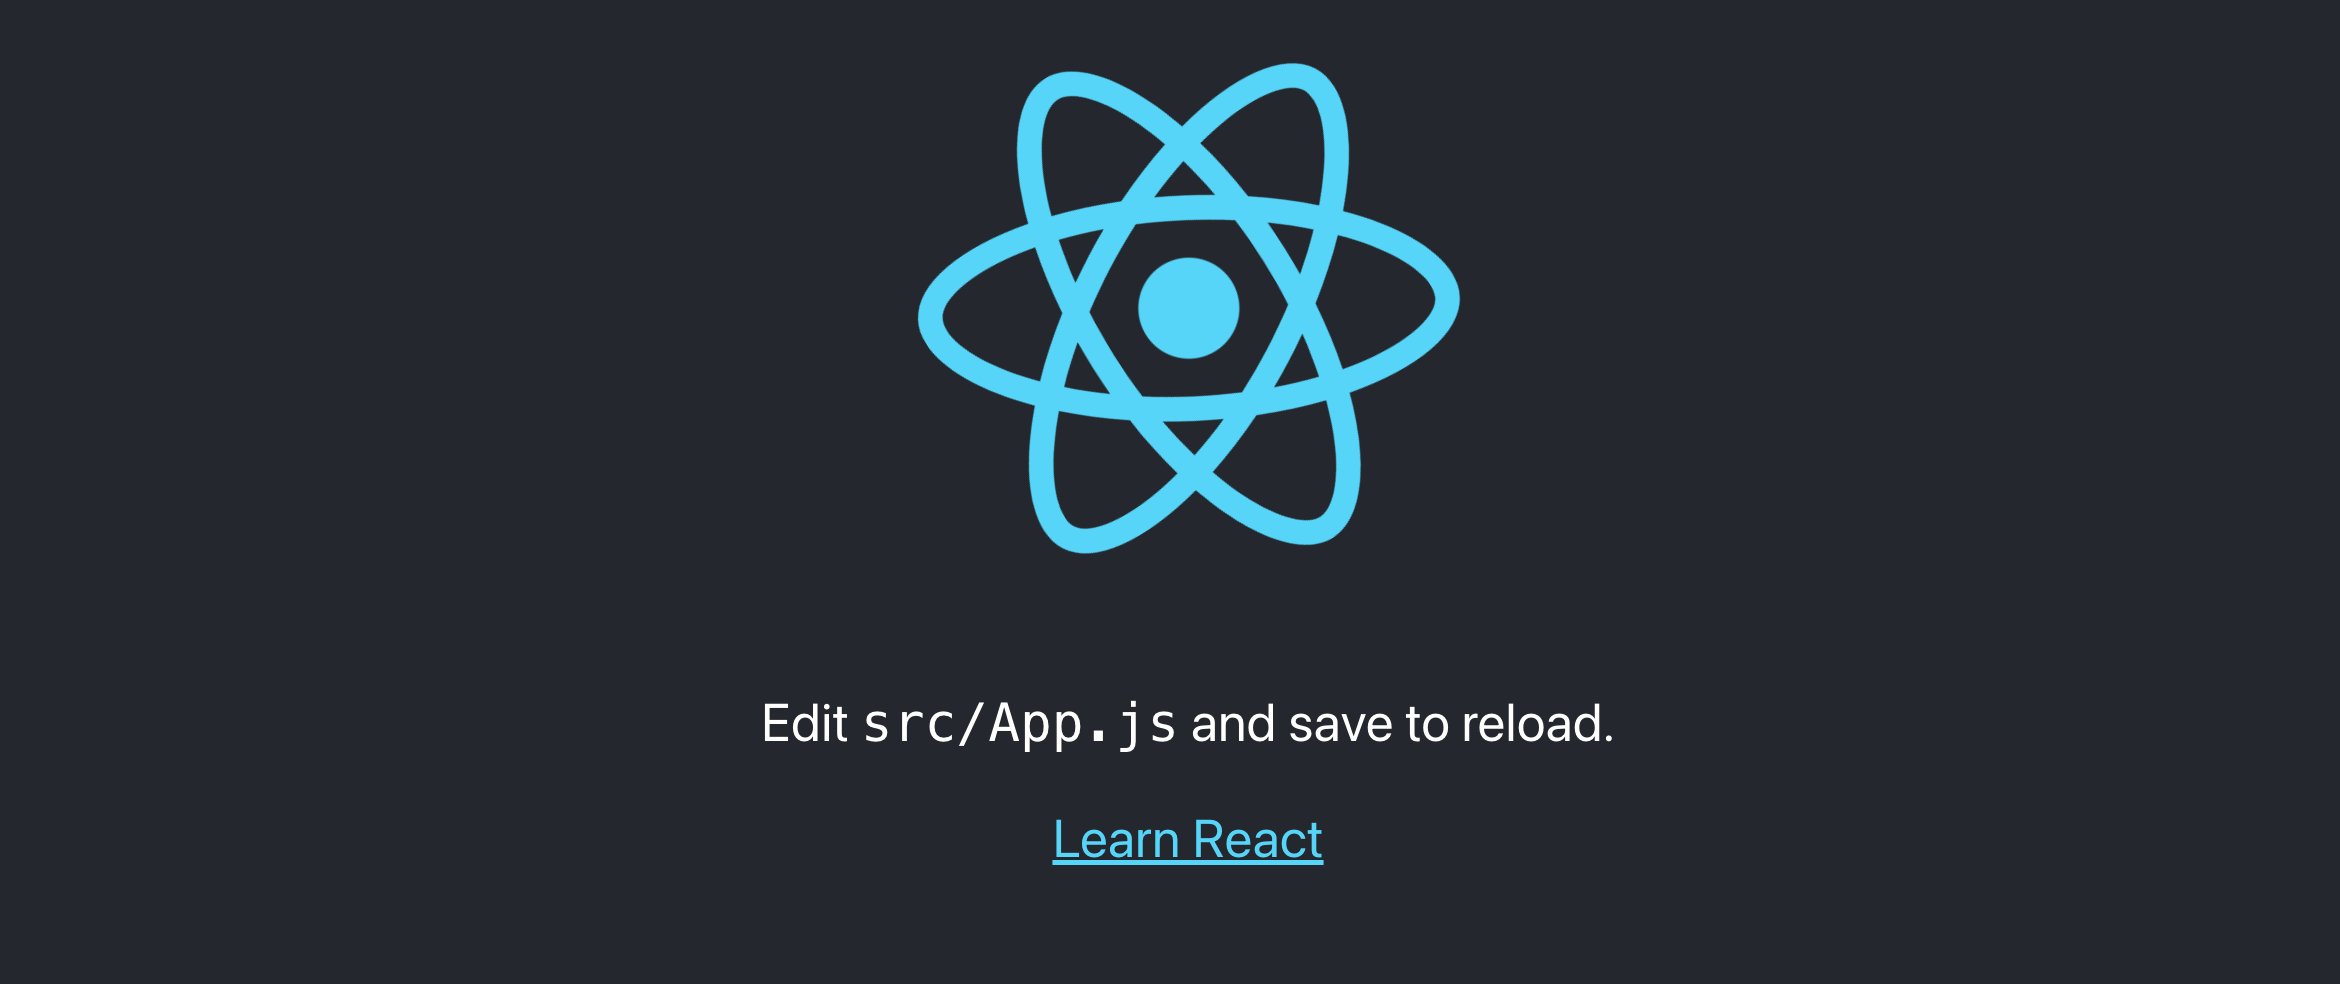
This will start a local development server and automatically open http://localhost:3000 in your browser. You should see a React welcome page.
Key Files in the Project
public/index.html: This is the HTML template file of the project. React will render all components into the<div id="root"></div>element.
src/index.js: This is the React application entry file. It is the starting point of the app. Usually, theReactDOM.renderfunction is called here to render components to the page's root node.
Example
import ReactDOM from 'react-dom';
import './index.css';
import App from './App';
ReactDOM.render(
<React.StrictMode>
<App />
</React.StrictMode>,
document.getElementById('root')
);
src/App.js: This is the default root component. You can write your own code here to build the UI.
Example
import './App.css';
function App() {
return (
<div className="App">
<h1>Hello, React!</h1>
</div>
);
}
export default App;
Explanation:
-
import React from 'react';: Imports the React library. React is a JavaScript library for building user interfaces. -
import './App.css';: Imports the CSS file related to the current component.App.css。 -
function App() { ... }: This is a function component. A function component is a JavaScript function that returns JSX. -
return (...): The component'sreturnstatement returns a JSX element. JSX is a syntax extension for JavaScript that allows you to write HTML-like code in JavaScript.
Modify App.js to Create Your Own Component
Let's modify App.js slightly to display a simple component and understand the basic way to build React components.
1. Open src/App.js, find the default code, and modify it:
Example
import './App.css';
function App() {
return (
<div className="App">
<h1>My First React App!</h1>
<p>This is a paragraph.</p>
</div>
);
}
export default App;
After saving the file, the browser will automatically refresh and display your changes.

Creating Components with JSX Syntax
React components use JSX (JavaScript XML) syntax to describe the UI structure.
JSX looks like HTML, but it is part of JavaScript, allowing you to write HTML tags directly in your components.
For example, you can create a component that displays personal information like this. Create the UserProfile.js file in the src directory with the following content:
Example: src/UserProfile.js file
function UserProfile() {
const user = {
name: 'EXAMPLE',
age: 25,
location: 'China',
};
return (
<div>
<h2>{user.name}</h2>
<p>Age: {user.age}</p>
<p>Location: {user.location}</p>
</div>
);
}
export default UserProfile;
Then use the UserProfile component in App.js:
Example
import './App.css';
import UserProfile from './UserProfile'; // Import component
function App() {
return (
<div className="App">
<h1>My First React App!</h1>
<UserProfile />
</div>
);
}
export default App;
After saving the file, the browser will automatically refresh and display your changes.

Styles and Style Files
React supports CSS files by default. You can import a stylesheet with import './App.css'; to adjust the appearance of the application.
We can also use CSS Modules to apply styles locally, or use libraries like styled-components to modularize styles.
Using State and Event Handling
In React, components can have state, which is used to store and update the component's data.
We can use the useState Hook to define and update state.
For example, we can create a button that updates a count when clicked. Modify the file, and the App.js code is as follows:
Example: src/App.js file
function App() {
const [count, setCount] = useState(0);
const handleClick = () => {
setCount(count + 1);
};
return (
<div className="App">
<h1>Click count: {count}</h1>
<button onClick={handleClick}>Increase</button>
</div>
);
}
export default App;