Eclipse Installation (Neon Version)
Eclipse's latest version, Eclipse Neon, for the first time encourages users to use the Eclipse Installer for installation. This is a new technology provided by Eclipse Oomph, which uses a very small installer to allow various tools to be downloaded and installed on demand.
Eclipse is an extensible development platform based on Java, so before installing Eclipse you need to make sure JDK is installed on your computer.
If you see the following dialog when you open Eclipse, it means your computer does not have the JDK environment installed.
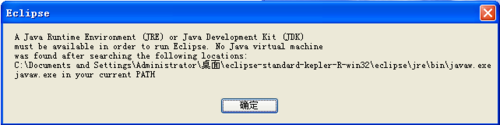
For JDK installation, you can refer to ourJava Development Environment Configuration。
Step 1: Visit the download page
The download address is:https://www.eclipse.org/downloads/。
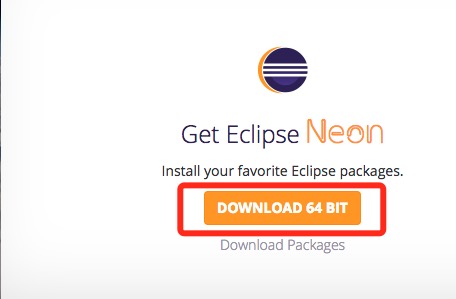
Step 2: Choose a domestic mirror
In China, we should choose a domestic mirror, so the download speed will be faster.

Step 3: Select the installation package
After the download is complete, extract the downloaded package, and you can seeEclipse InstallerThe installer, double-click it, and the installation page will pop up. You can choose development environments for various different languages (including Java, C/C++, JavaEE, PHP, etc.):

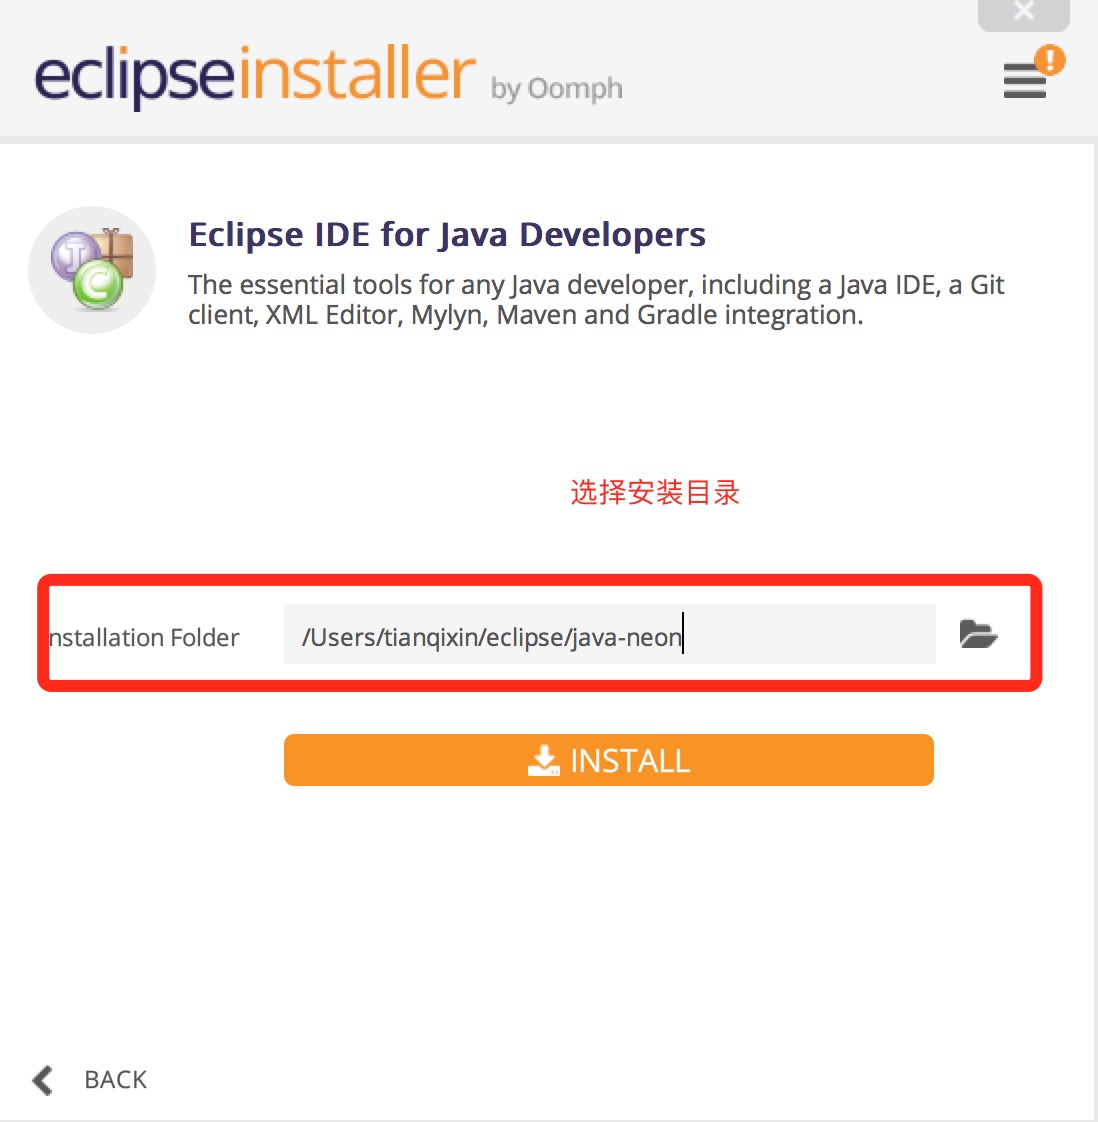
Step 4: Select the installation directory
Select the installation directory of the IDE:
Step 5: Wait for the installation to complete
After selecting the installation directory, click "INSTALL", then wait for the installation to complete before using it:

Using Eclipse
Eclipse is an extensible development platform based on Java, so before installing Eclipse you need to make sure JDK is installed on your computer. For JDK installation, you can refer to ourJava Development Environment Configuration。
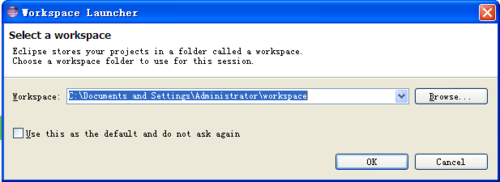
When opening for the first time, you need to set up the workspace. You can specify the working directory, or use the default C drive working directory, and click the OK button.
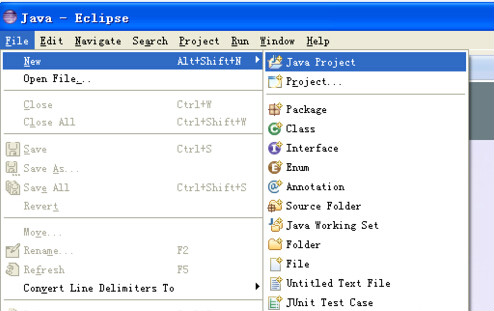
Create a project: Select File--New--java Project, as shown in the figure:
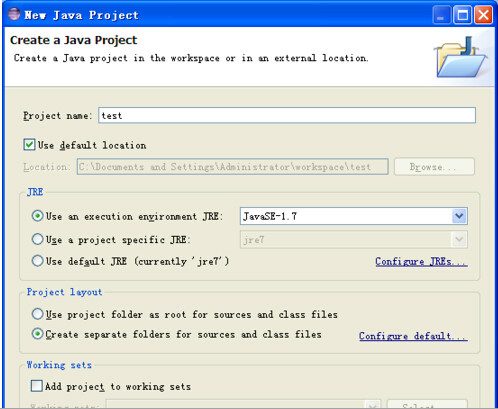
Enter the project name, for example I enter test, then click finish.
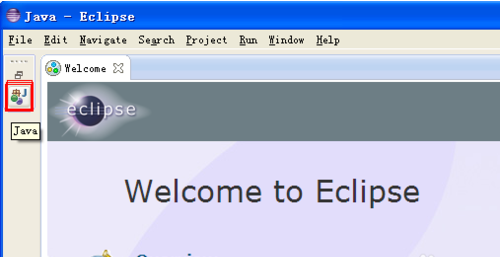
To complete the creation of the project, click the small icon in the red box, as shown in the figure:
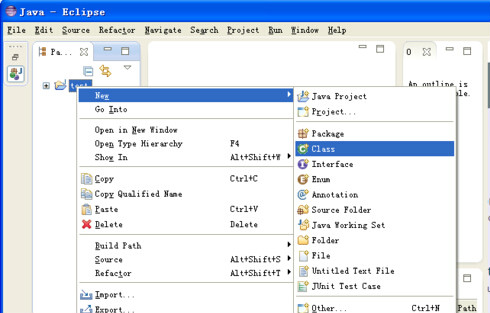
Then in the left menu select the test project, right-click -- new -- class
Type the class name, such as test, as shown in the figure, then click finish.
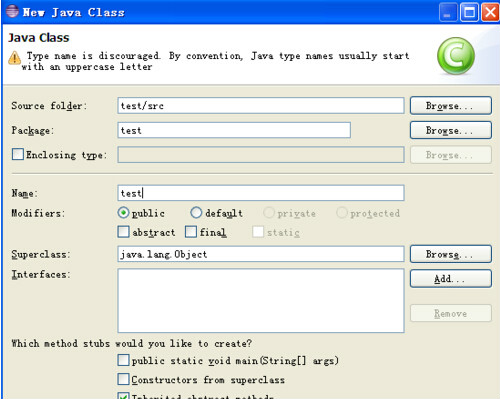
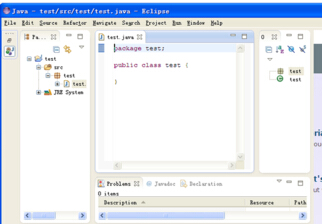
Then you can start typing code in the code editor!
 other extensions