Vue3 Creating Project
In the previous chapterVue3 Installationwe used thenpm initcommand to create a project. This chapter mainly introducesnpm createthe command to create projects, as well as using thevue uicommand to open the graphical installation interface.
The recommended IDE configuration for Vue development isVisual Studio Code + Vue - Official extension:

Other IDEs are supported as follows:
Sublime Text throughLSP-Volarsupport.
vim / Neovim throughcoc-volarsupport.
emacs throughlsp-modesupport.
npm create command
Use the npm create command to create a Vue project, usually via Vite (the build tool officially recommended by Vue) to create a Vue application.
In Vite, npm create is used to execute scaffolding tools (such as vite@latest) to quickly generate a new project template.
For more details on Vite, please refer to:Vite Tutorial。
npm createThe syntax for creating a project with the command is as follows:
npm create vite@latest <project-name> --template vue
Explanation:
npm create: The command used to execute a project template. It creates a new project and initializes it from the given template.-
vite@latest: vite is the tool for creating Vue 3 projects,@latestspecifies using the latest version of Vite, ensuring that the project you create is based on the latest version of Vite. Without@latest,npmit will try to use the currently installed version. -
<project-name>: The folder name of the newly created project. The command will create a folder and place the template code into it. For example, runningnpm create vite@latest my-vue-app --template vuewill create a folder namedmy-vue-appin the current directory and place the Vue project template files into it. --template vue:--template vueSpecifies the template type to use. Vite supports multiple templates,vueis the template specifically provided for Vue 3. There are also other templates, such asvanilla、react、svelteetc.
Next, let's create the example-vue3-app project:
npm create vite@latest
Running the above command will first prompt you to enter a project name and select a framework:
> Project name: … example-vue3-app
? Select a framework: › - Use arrow-keys. Return to submit.
❯   Vanilla
    Vue
    React
    Preact
    Lit
    Svelte
    Solid
    Qwik
    Angular
    Others
Vite supports multiple templates. Common ones include:
vue: Vue 3 project (uses Vue 3 by default)vanilla: Basic template without a frameworkreact: React projectsvelte: Svelte projectpreact: Preact project- You can also choose other templates based on your specific needs.
You can use the arrow keys to select. We select Vue, then a variant selection screen appears, and we can choose JavaScript to quickly start:
> Project name: … example-vue3-app
> Select a framework: › Vue
> Select a variant: › JavaScript

Scaffolding project in /Users/example/example-test/example-vue3-app...

Done. Now run:

  cd example-vue3-app
  npm install
  npm run dev
After installation is complete, we enter the project directory:
cd example-vue3-app
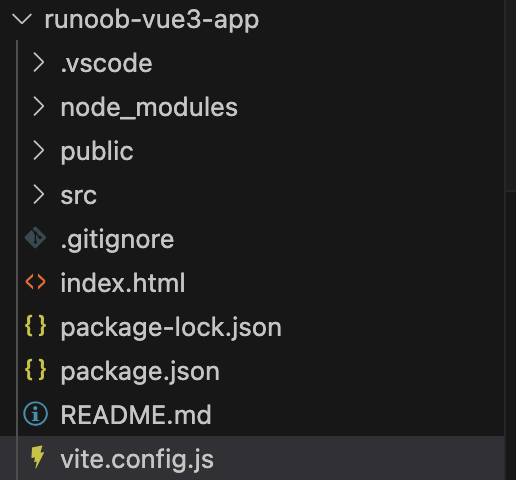
The entire directory structure is shown in the figure below:
Install dependencies and start the application:
npm install
npm run dev
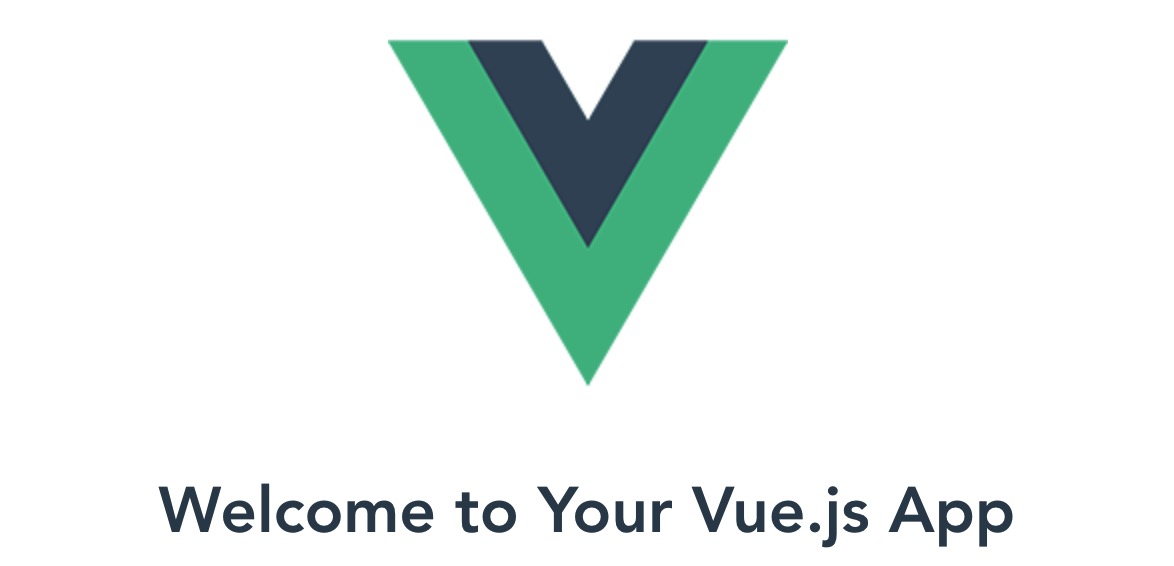
Then openhttp://localhost:5173/, and you will see the application interface:
Additionally, we canvite.config.jsset our own port in the file. For example, the following sets the port to 3000:
Example
import vue from '@vitejs/plugin-vue'
// https://vite.dev/config/
export default defineConfig({
plugins: [vue()],
server: {
port: 3000, // Custom port number
},
})
vue ui command
Besides using thevue createcommand to create projects, we can also use the visual creation tool to create projects.
Run the command:
$ vue ui
->  Starting GUI...
->  Ready on http://localhost:8000
...
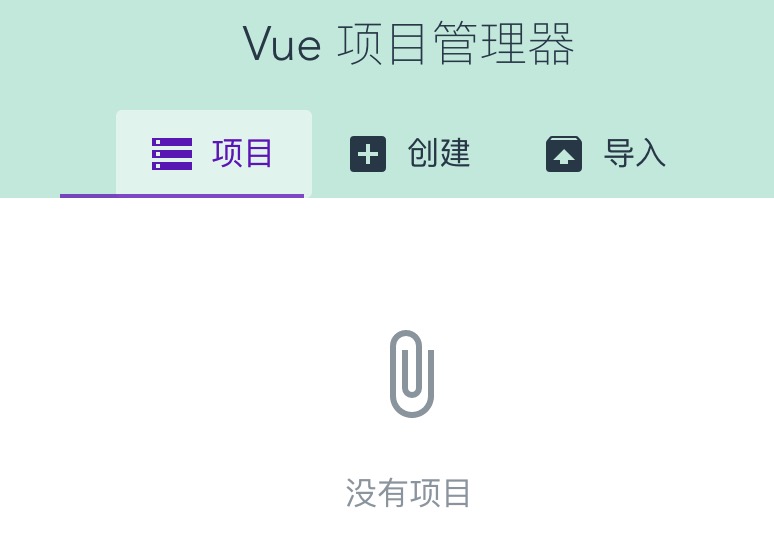
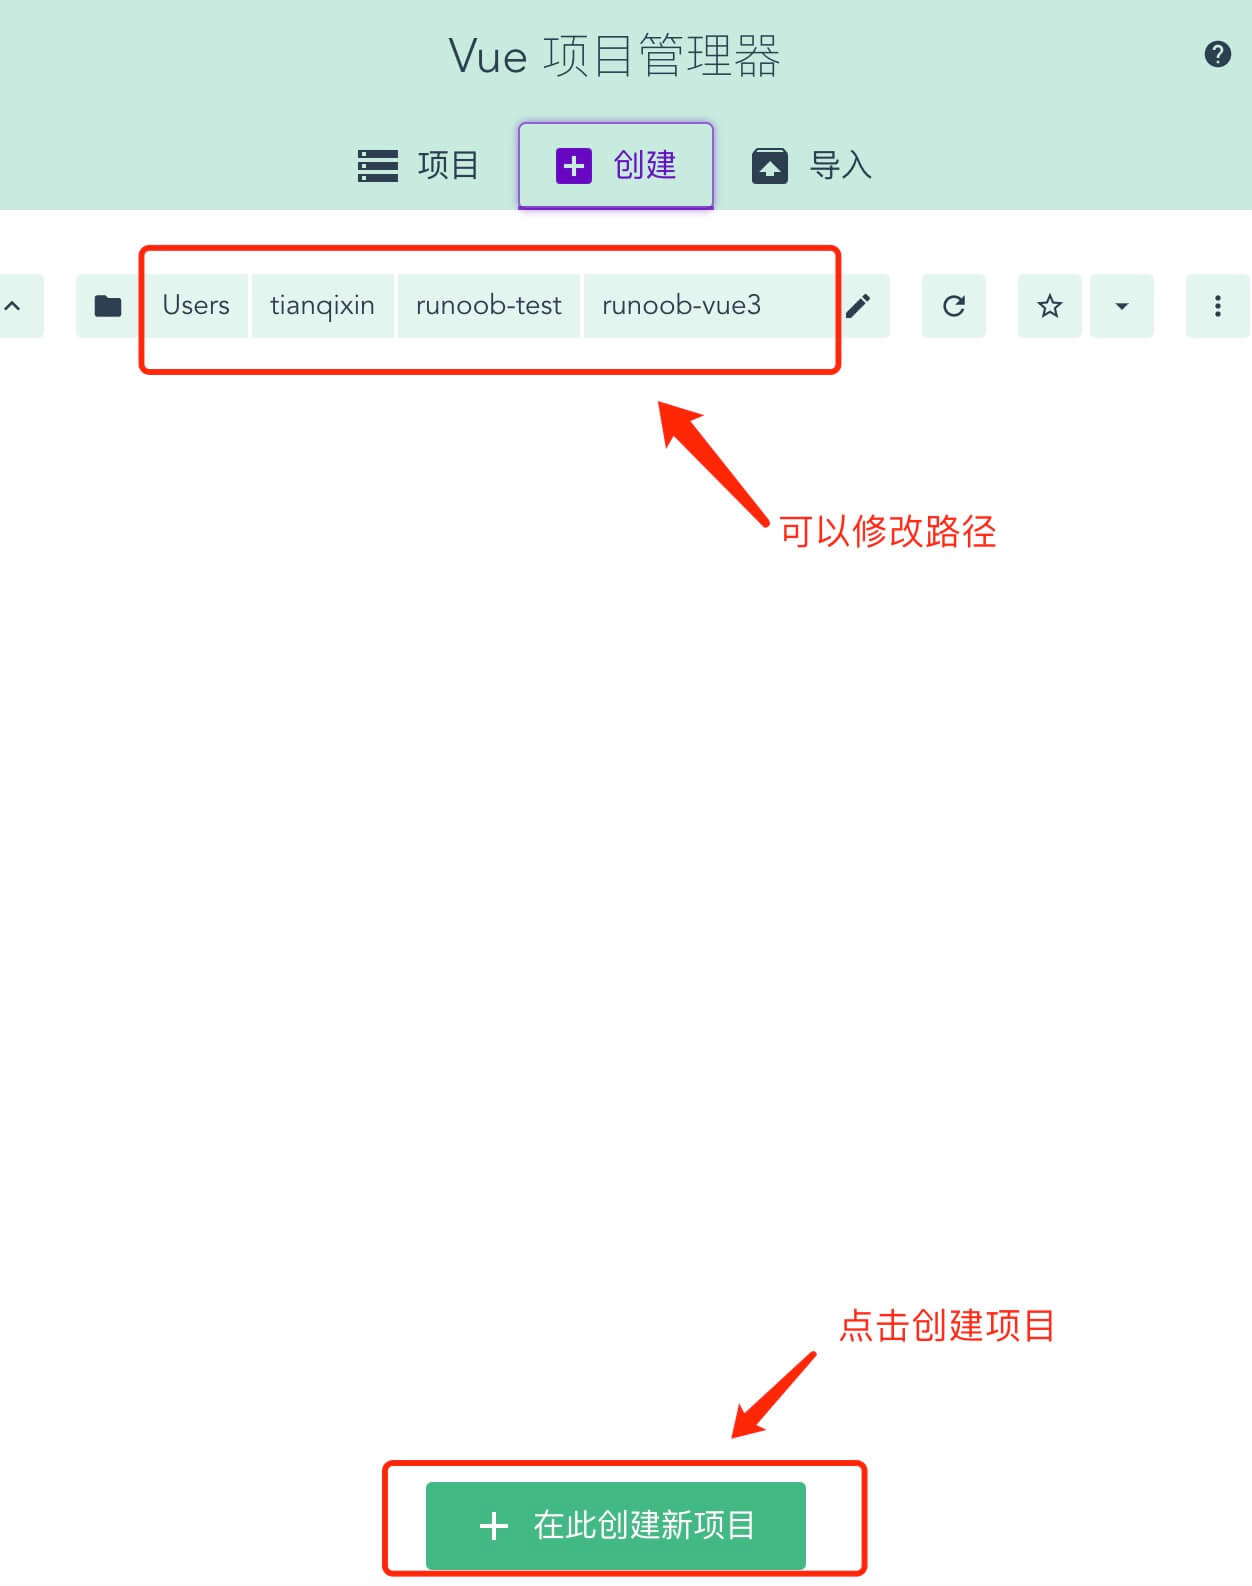
Running the above command will pop up a project management interface in the browser:
We can click the"Create"option to create a project. Select "Create project here" at the bottom. You can also choose a path at the top of the page:
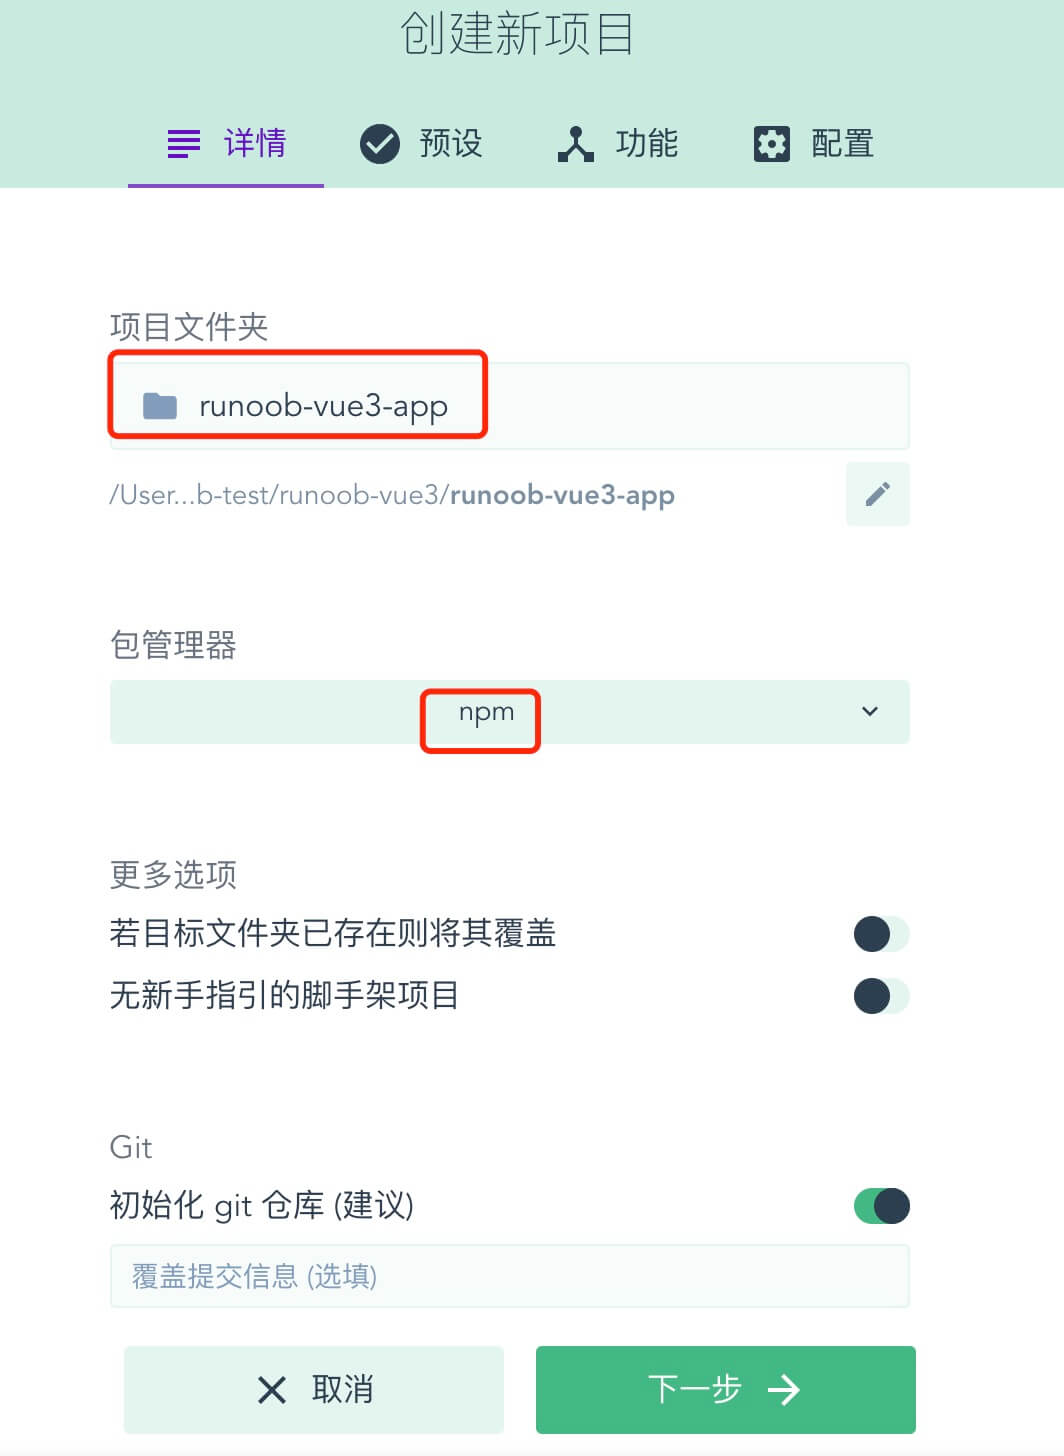
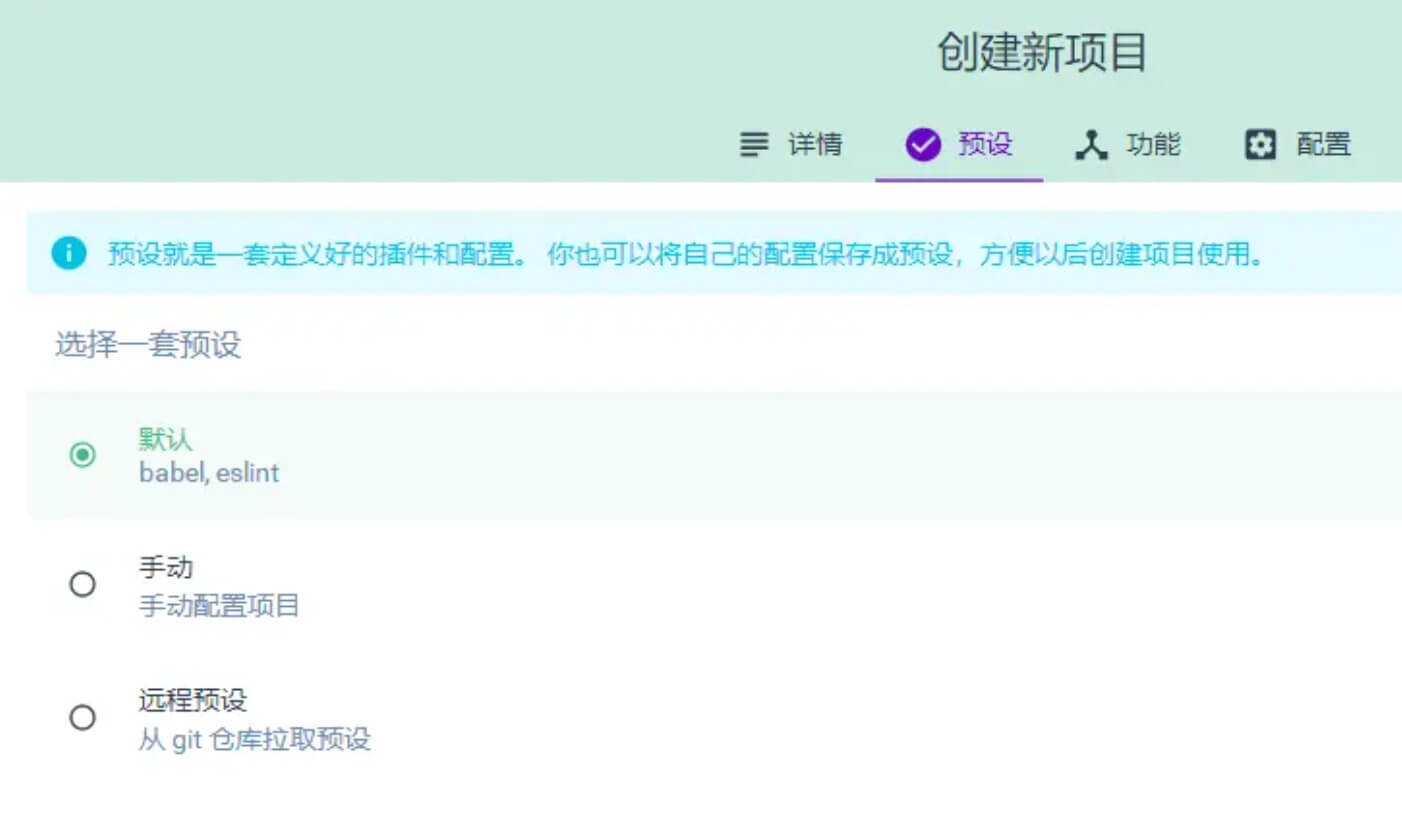
Just choose the default configuration:
Next, wait for the installation to complete. After installation, the management interface is as follows: