PyCharm Installation
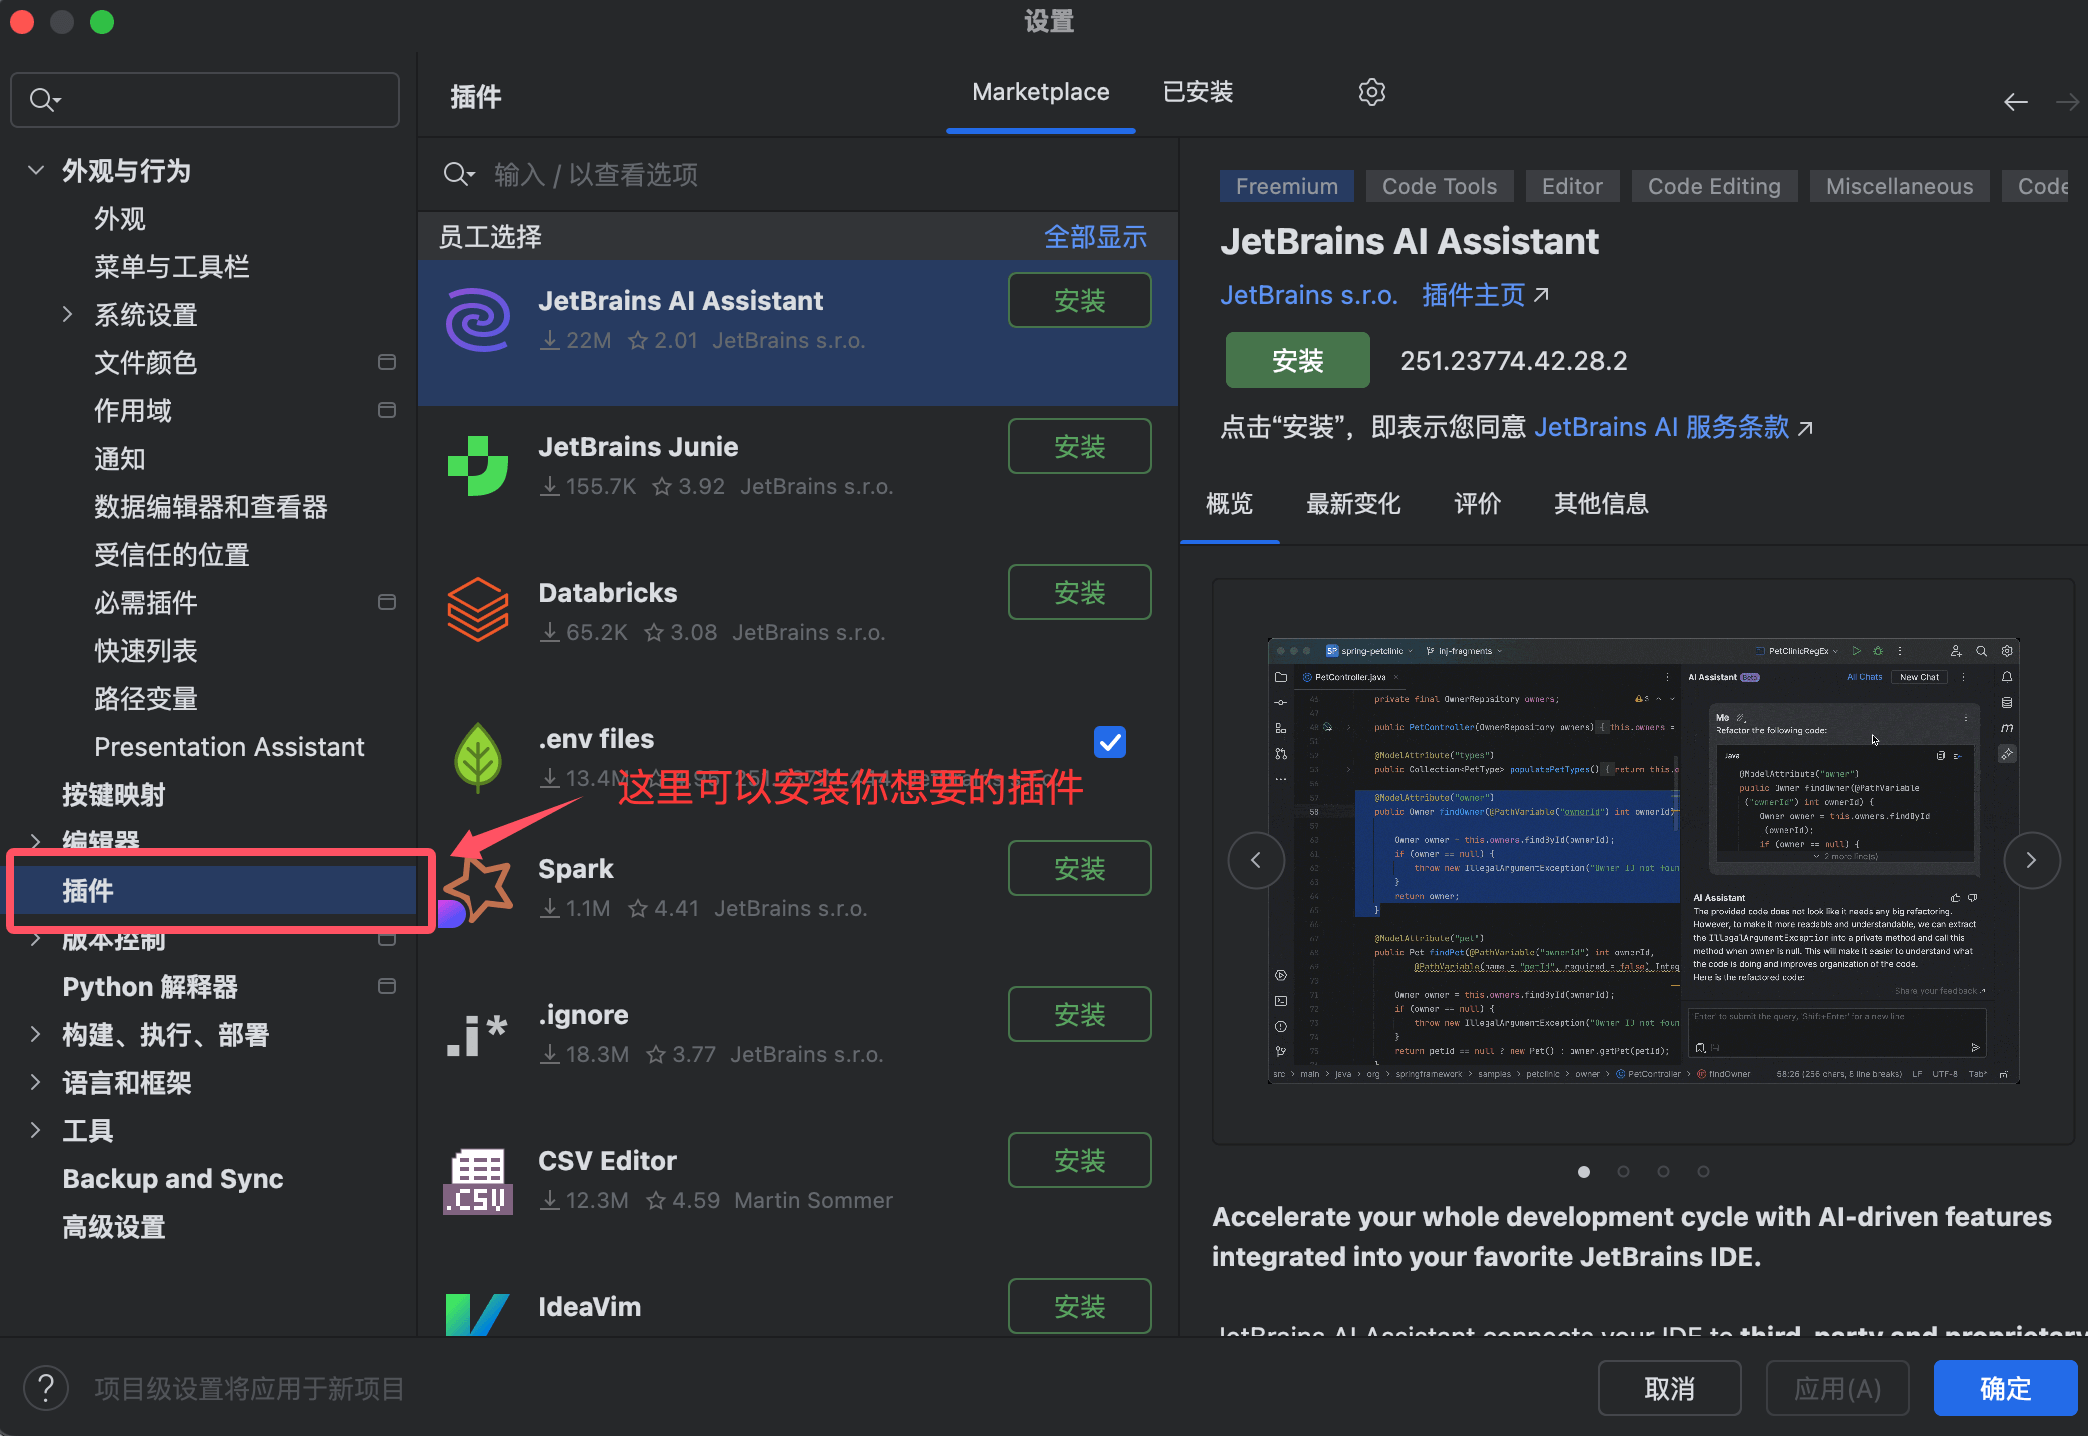
First, you need to download PyCharm from JetBrains' official website.
PyCharm has two versions:Community Edition (free)andProfessional Edition (paid)。
For beginners, the free Community Edition is already sufficient.
However, now the Community Edition, PyCharm Community, has been unified into PyCharm.
Visit the PyCharm download page on the JetBrains official website:PyCharm Official Download Page
Install PyCharm
Windows System
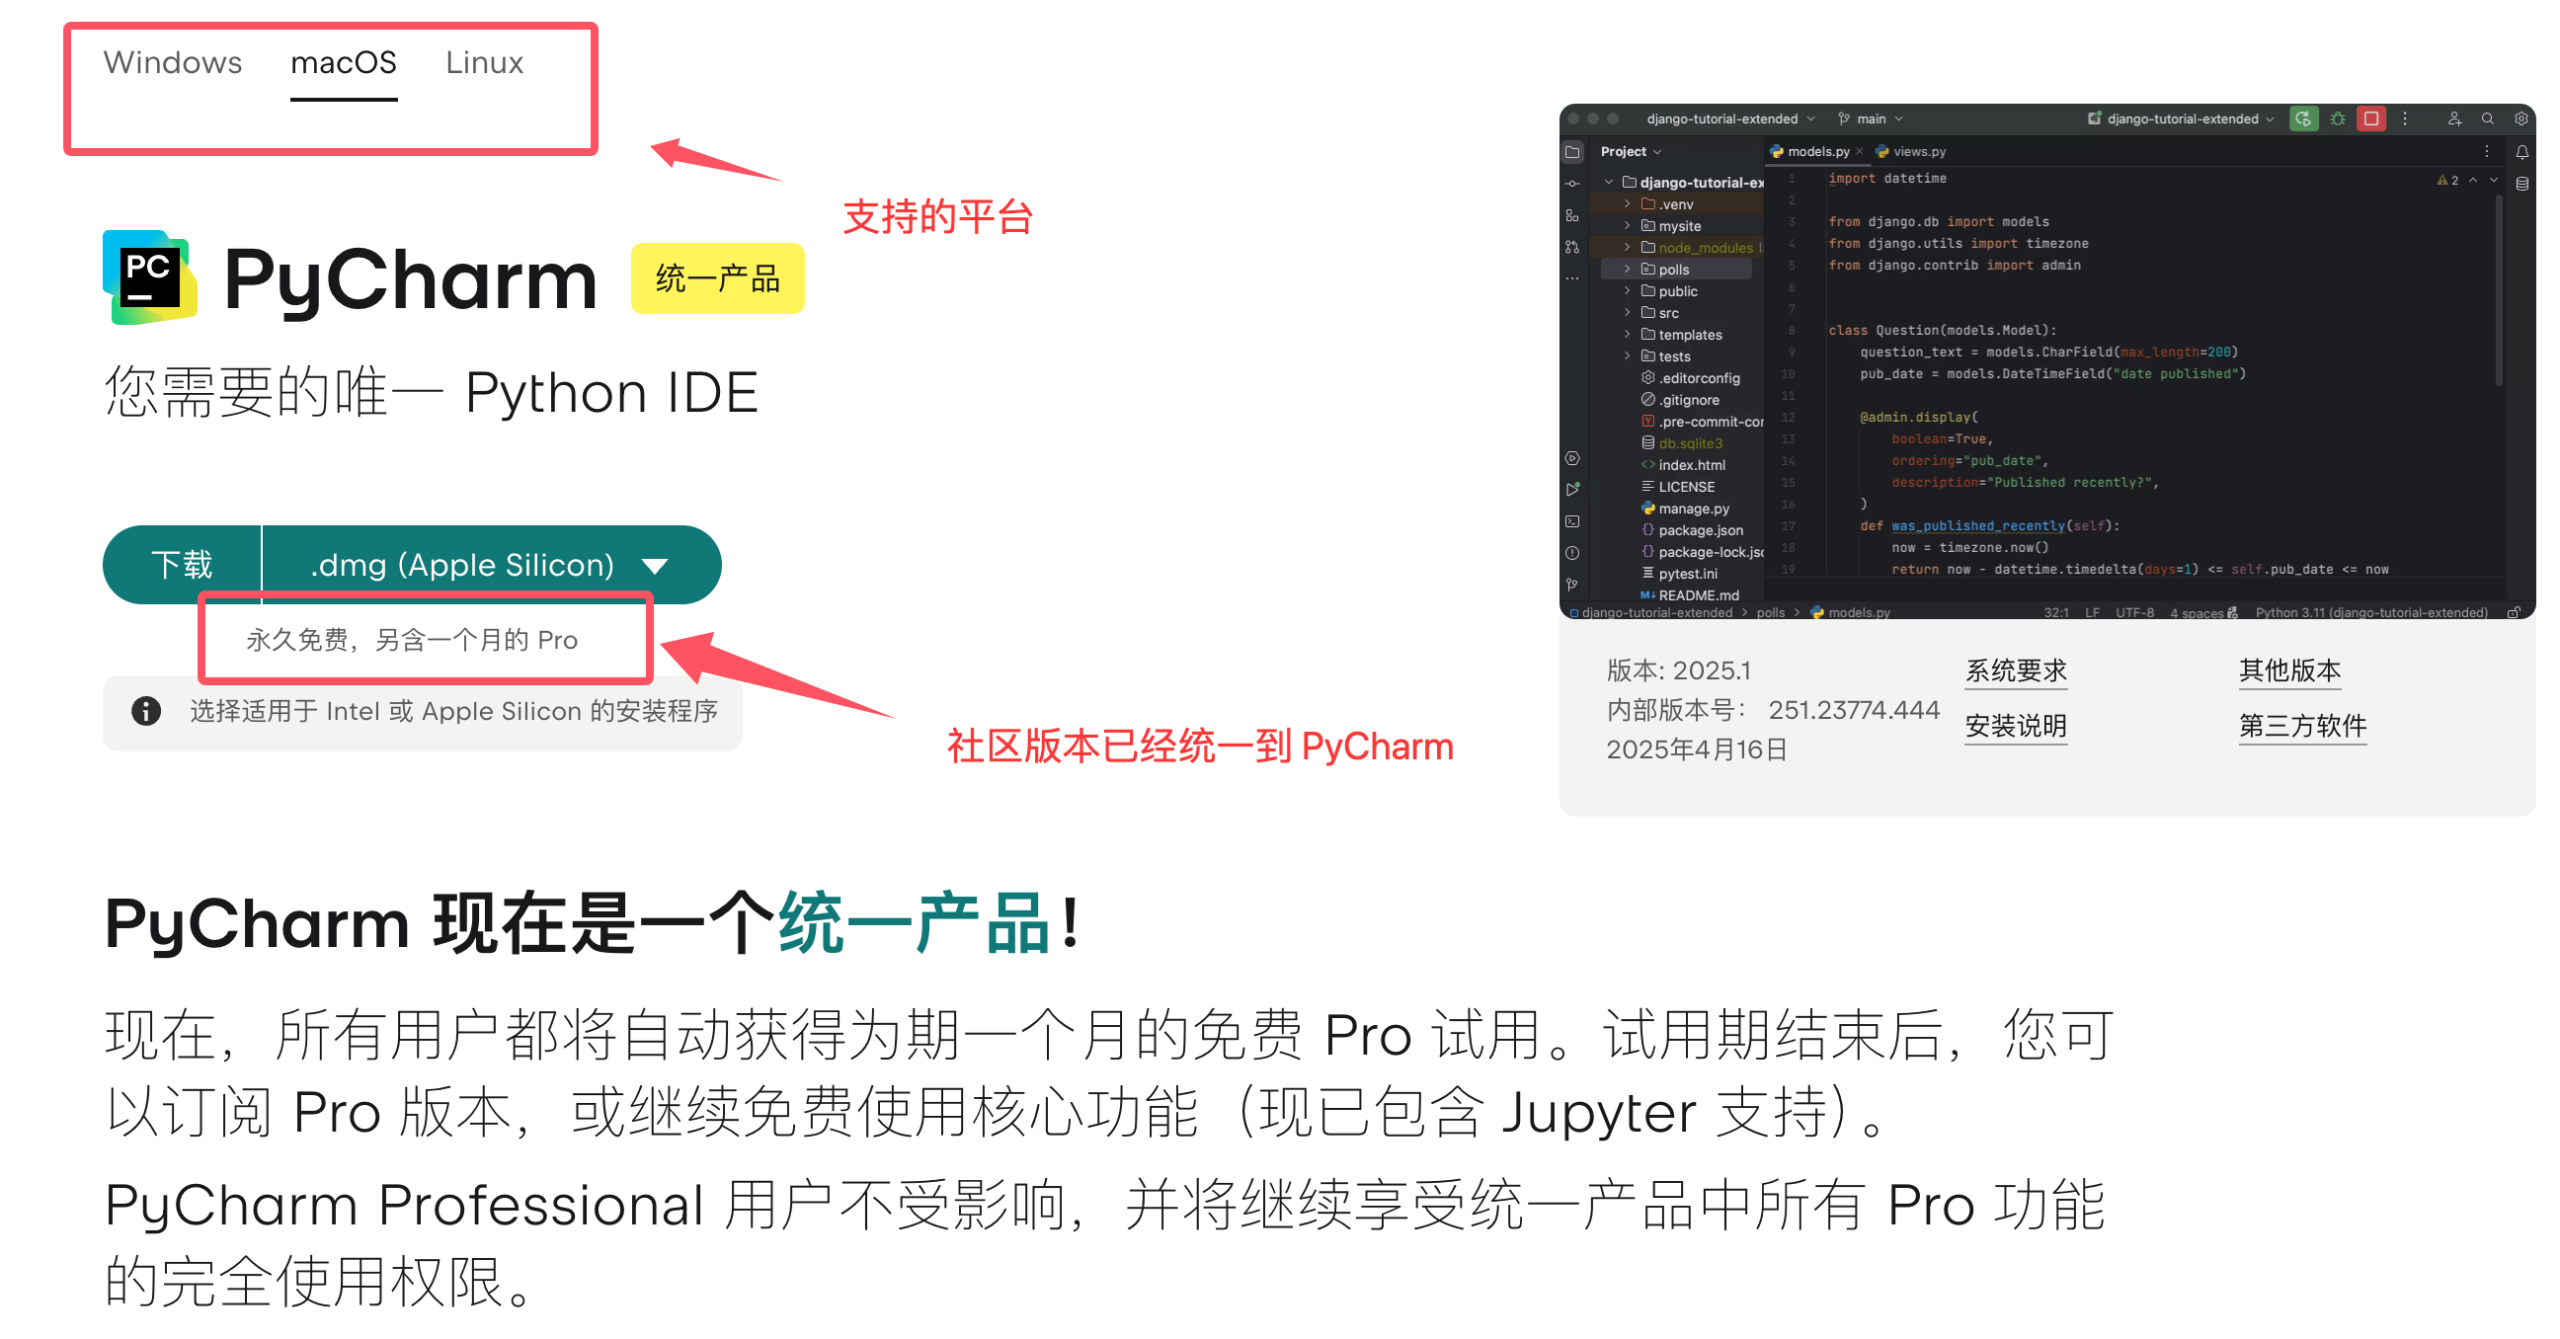
- Double-click the downloaded installation file (
.exe)。 - In the installation wizard, choose the installation path; using the default path is recommended.
- Check "Create desktop shortcut" to quickly launch PyCharm.
- Click "Install" to start the installation.
- After installation is complete, click "Finish" to exit the installation wizard.
macOS System
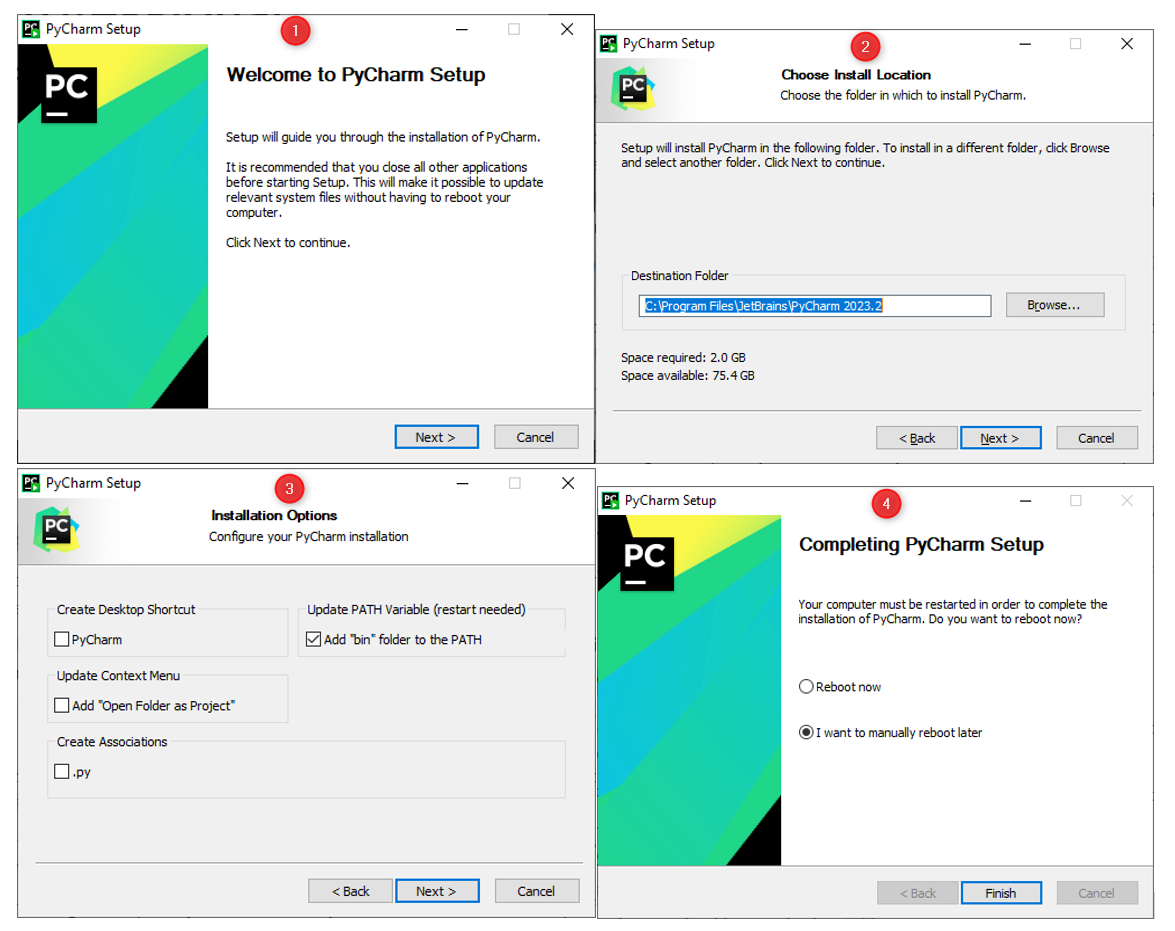
- Open the downloaded
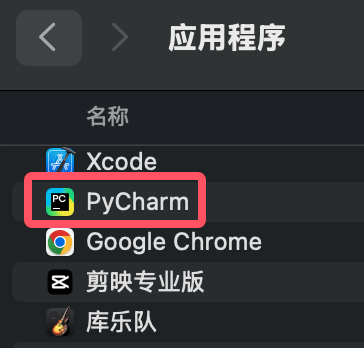
.dmgfile. - Drag the PyCharm icon to the "Applications" folder.
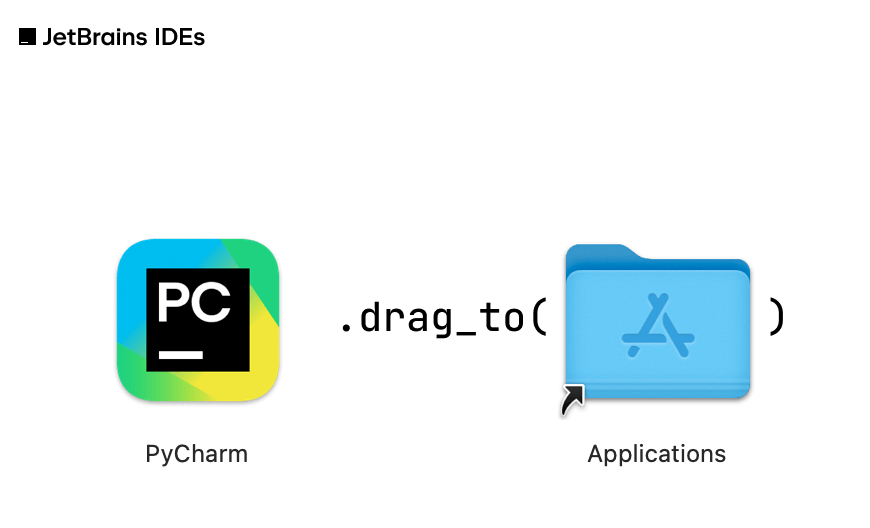
- In the "Applications" folder, find PyCharm and double-click to launch it.
Linux System
- Extract the downloaded
.tar.gzfile.tar -xzf pycharm-*.tar.gz
- Enter the extracted directory and find
binthe folder.cd pycharm-*/bin
- Run
pycharm.shStart PyCharm../pycharm.sh
3. Configure PyCharm
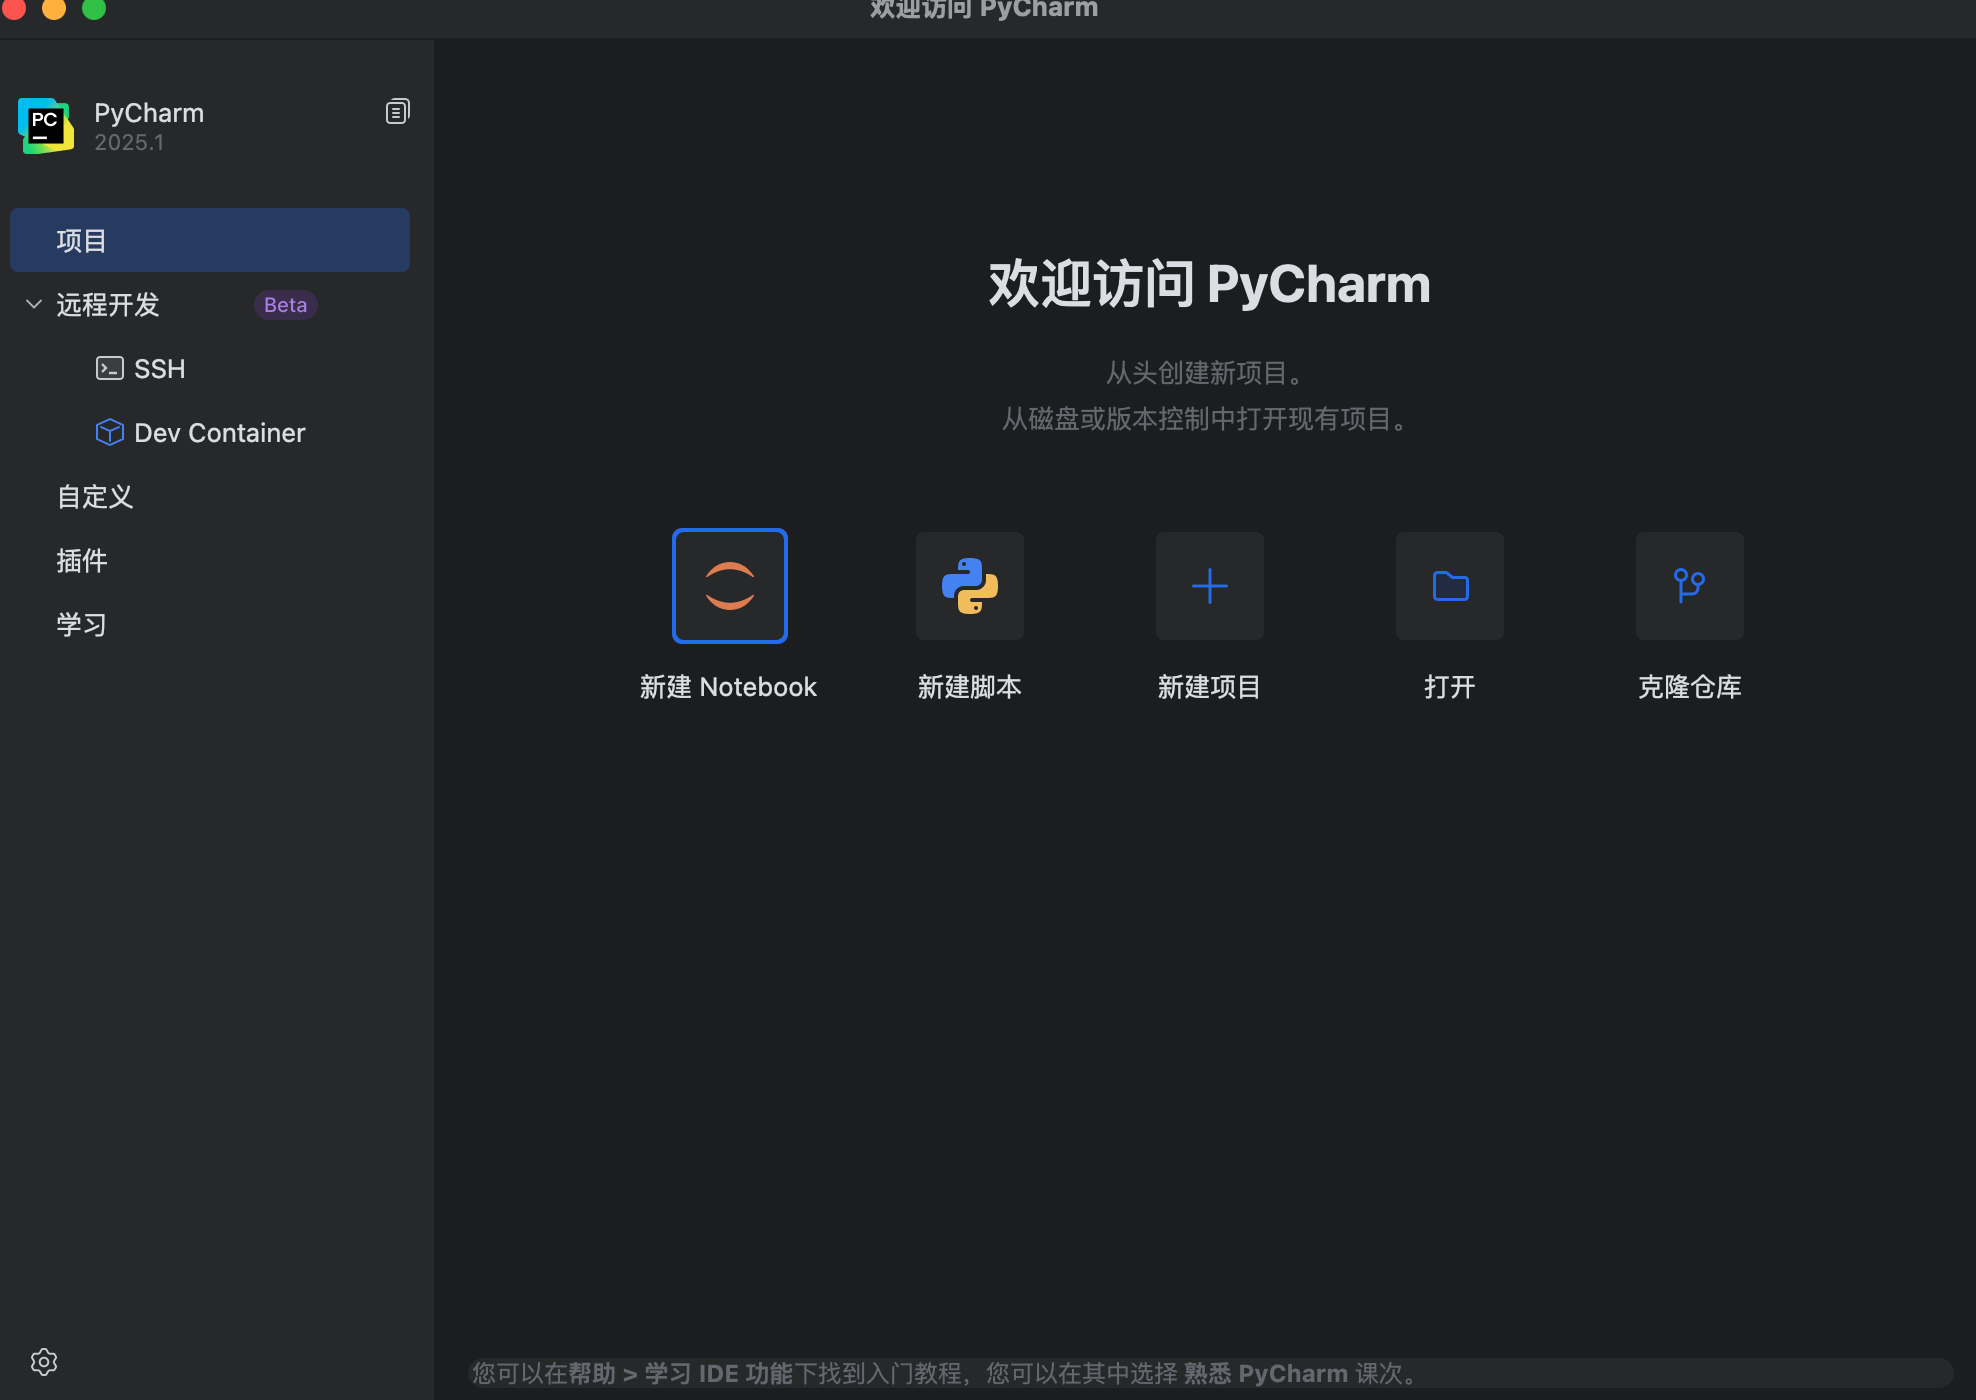
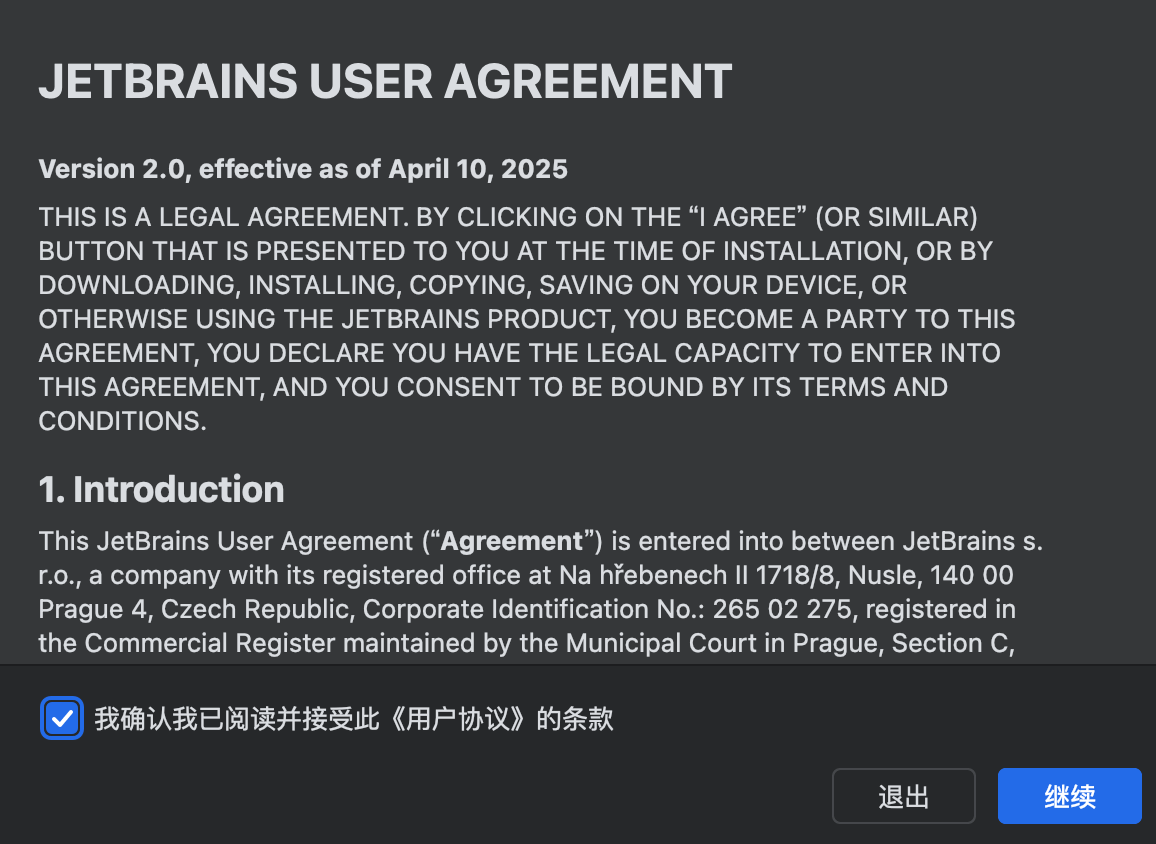
When you start PyCharm for the first time, you will be prompted to make some initial configurations; we can set the language and agree to the agreement:
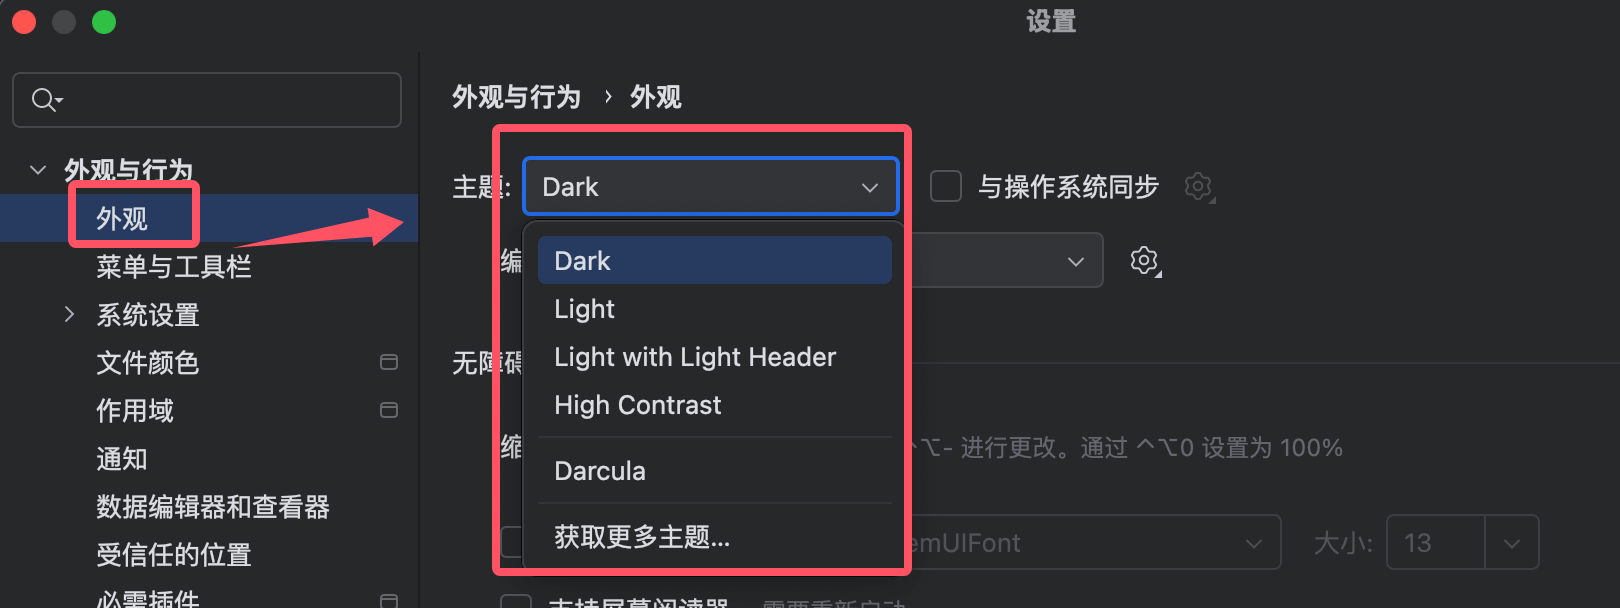
After startup, you can configure personal preferences:
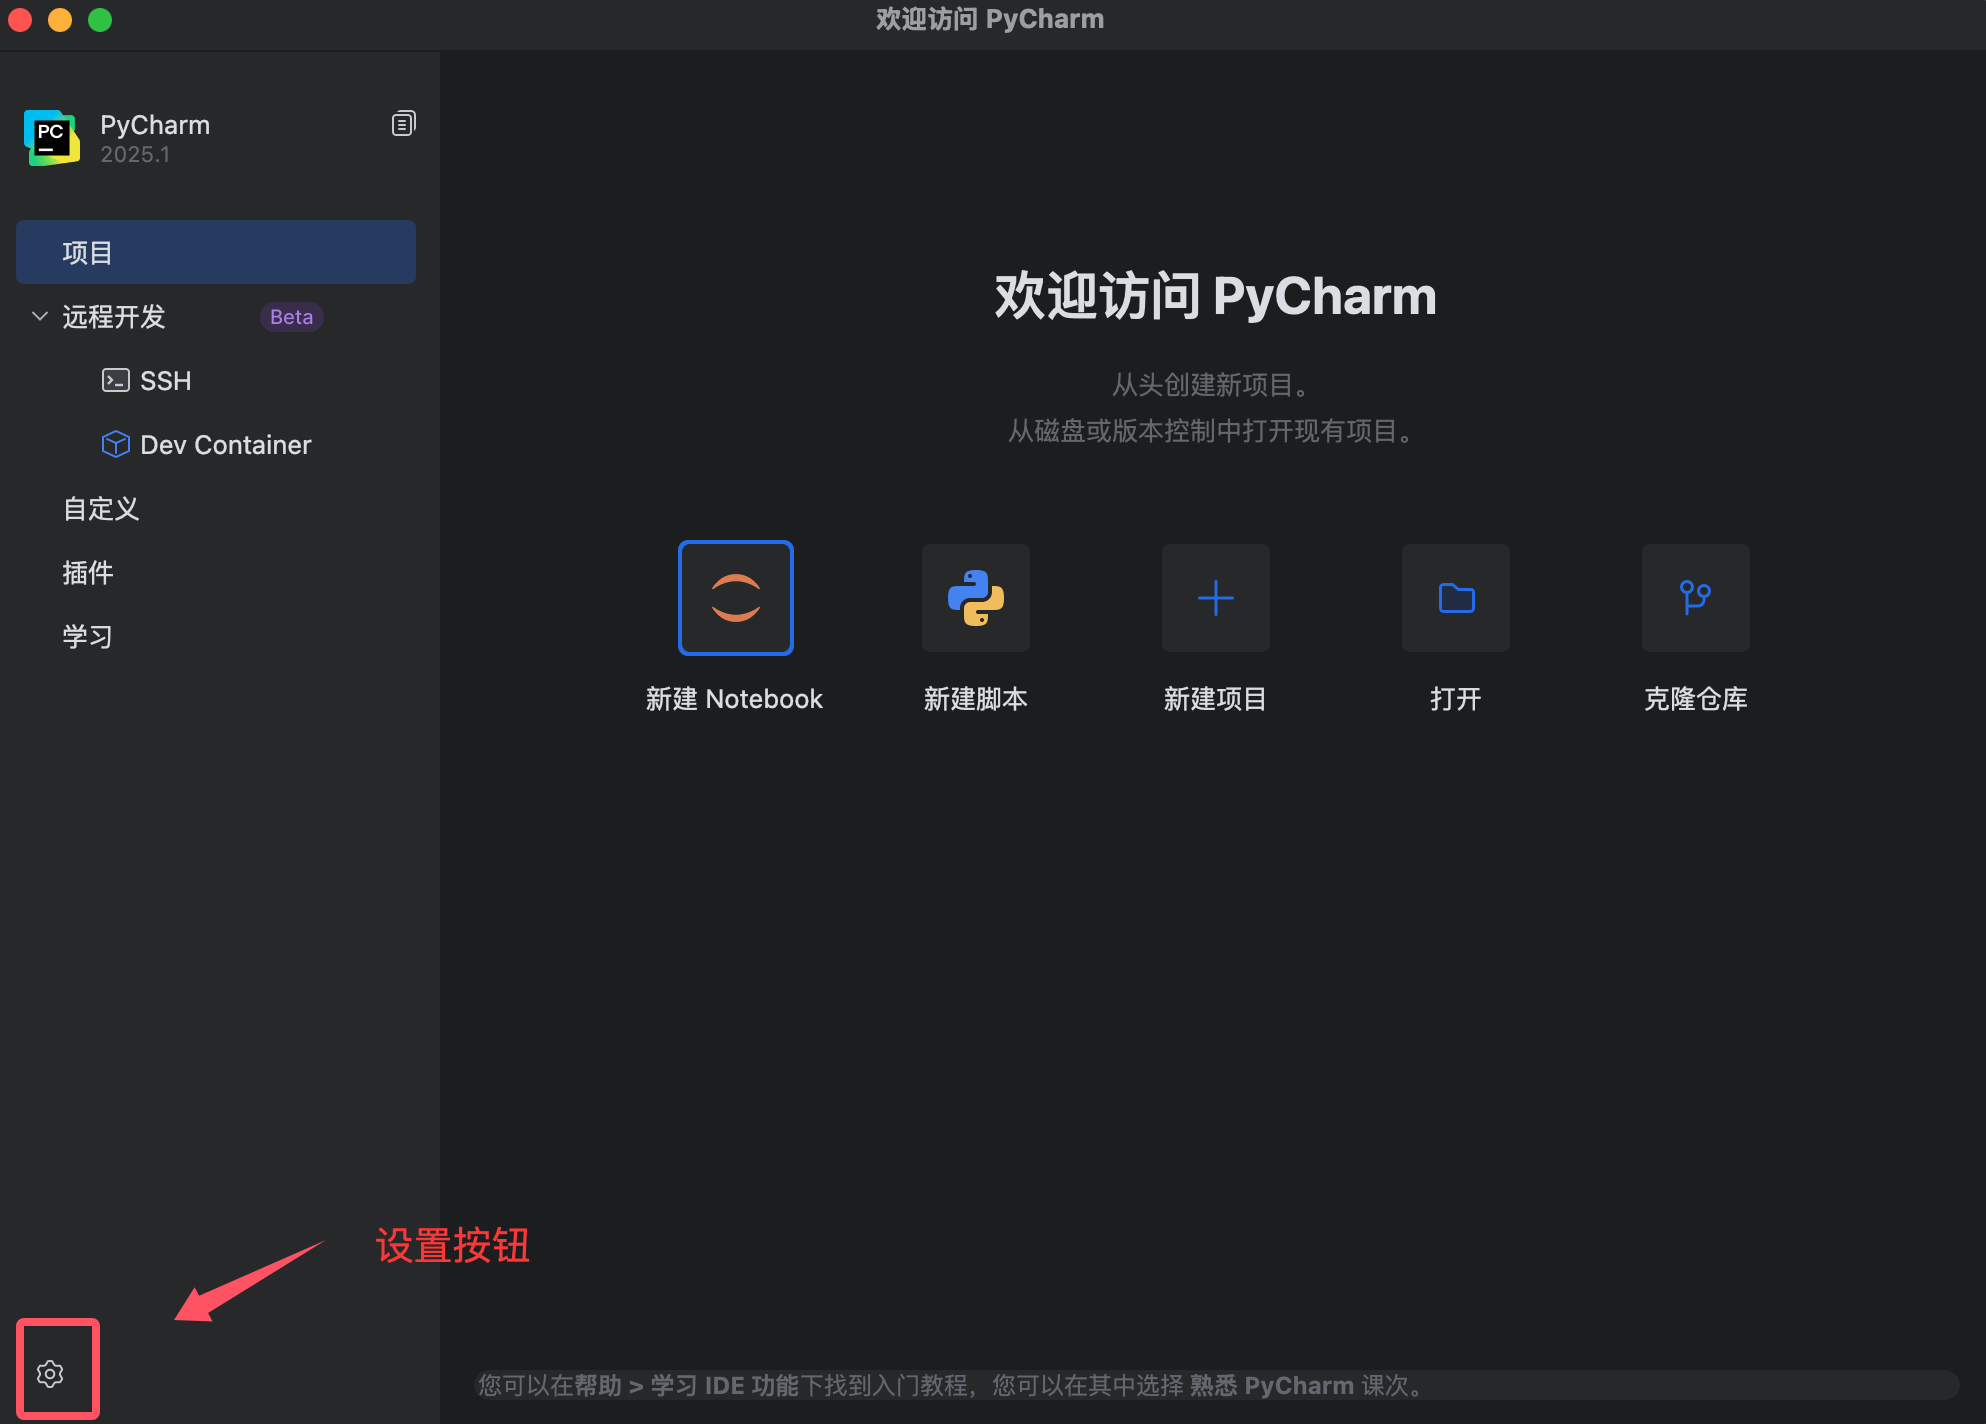
Choose a theme: You can choose the "Darcula" (dark) or "Light" (light) theme.
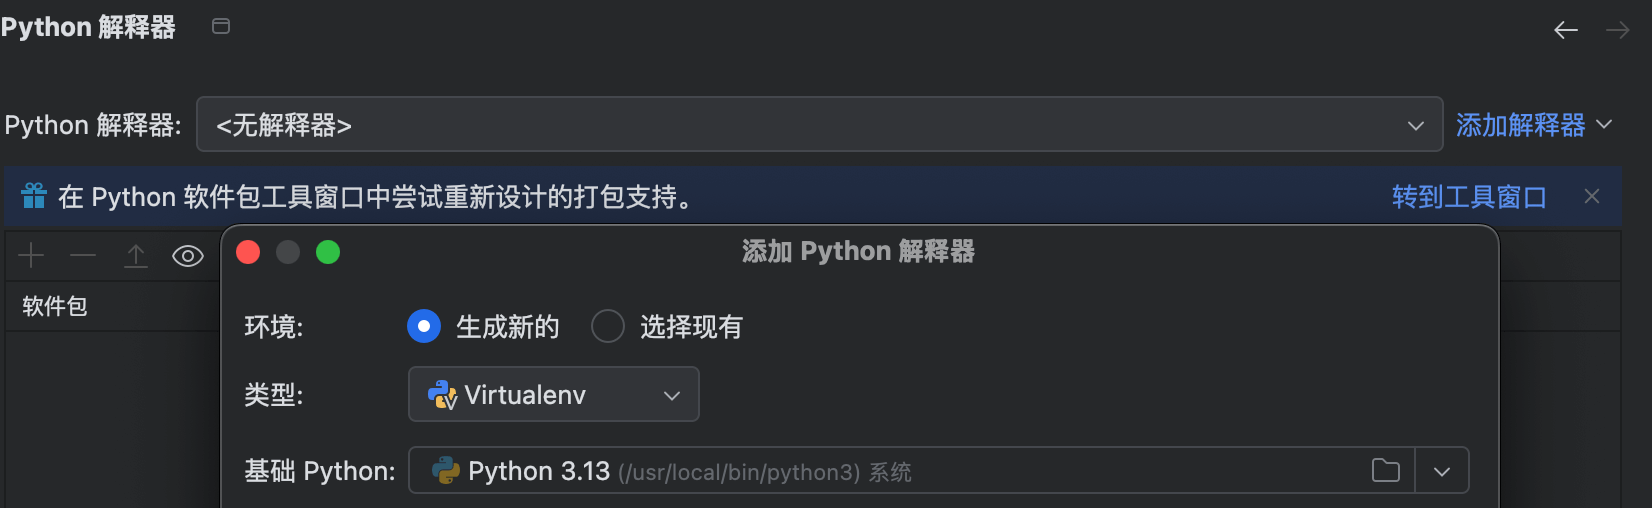
Configure the Python interpreter: If you have installed Python, PyCharm will automatically detect and configure the interpreter. If not installed, you can add it manually.
Install plugins: PyCharm will recommend some commonly used plugins, and you can choose to install them as needed.