PyCharm Creating Django Project
PyCharm is a powerful Python IDE that provides excellent support for the Django framework, especially in its Professional edition (PyCharm Pro).
Launch PyCharm and create a new project
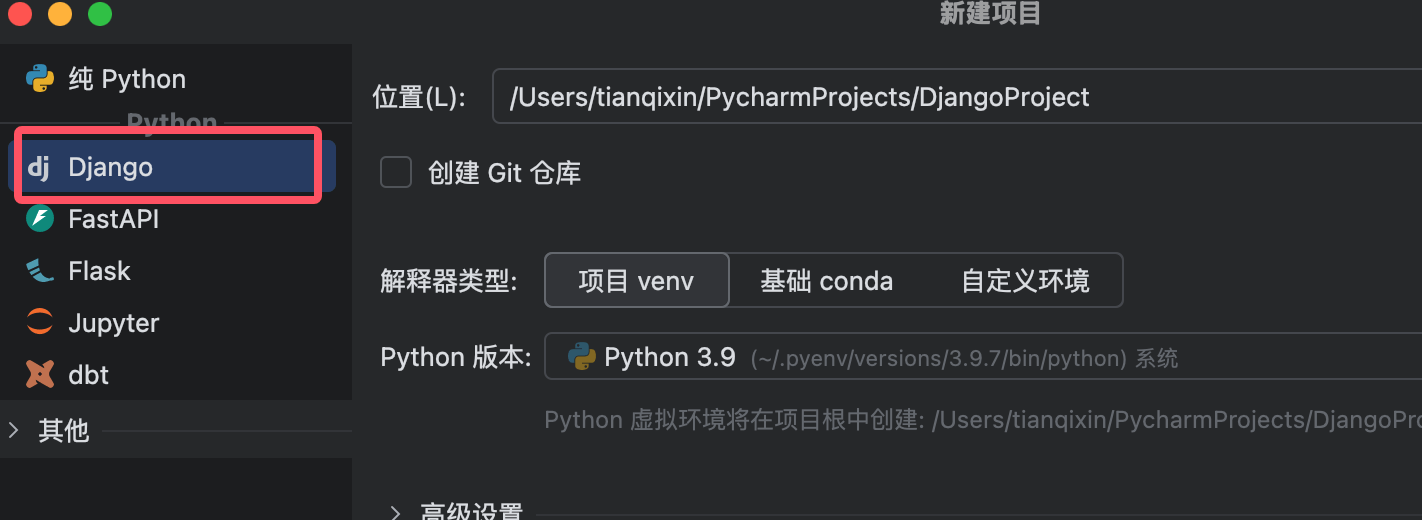
- Open PyCharm, click "New Project"
- Select "Django" on the left
- Set the project location (Location)
- Configure the Python interpreter (it is recommended to create a new virtual environment)
Configure project parameters
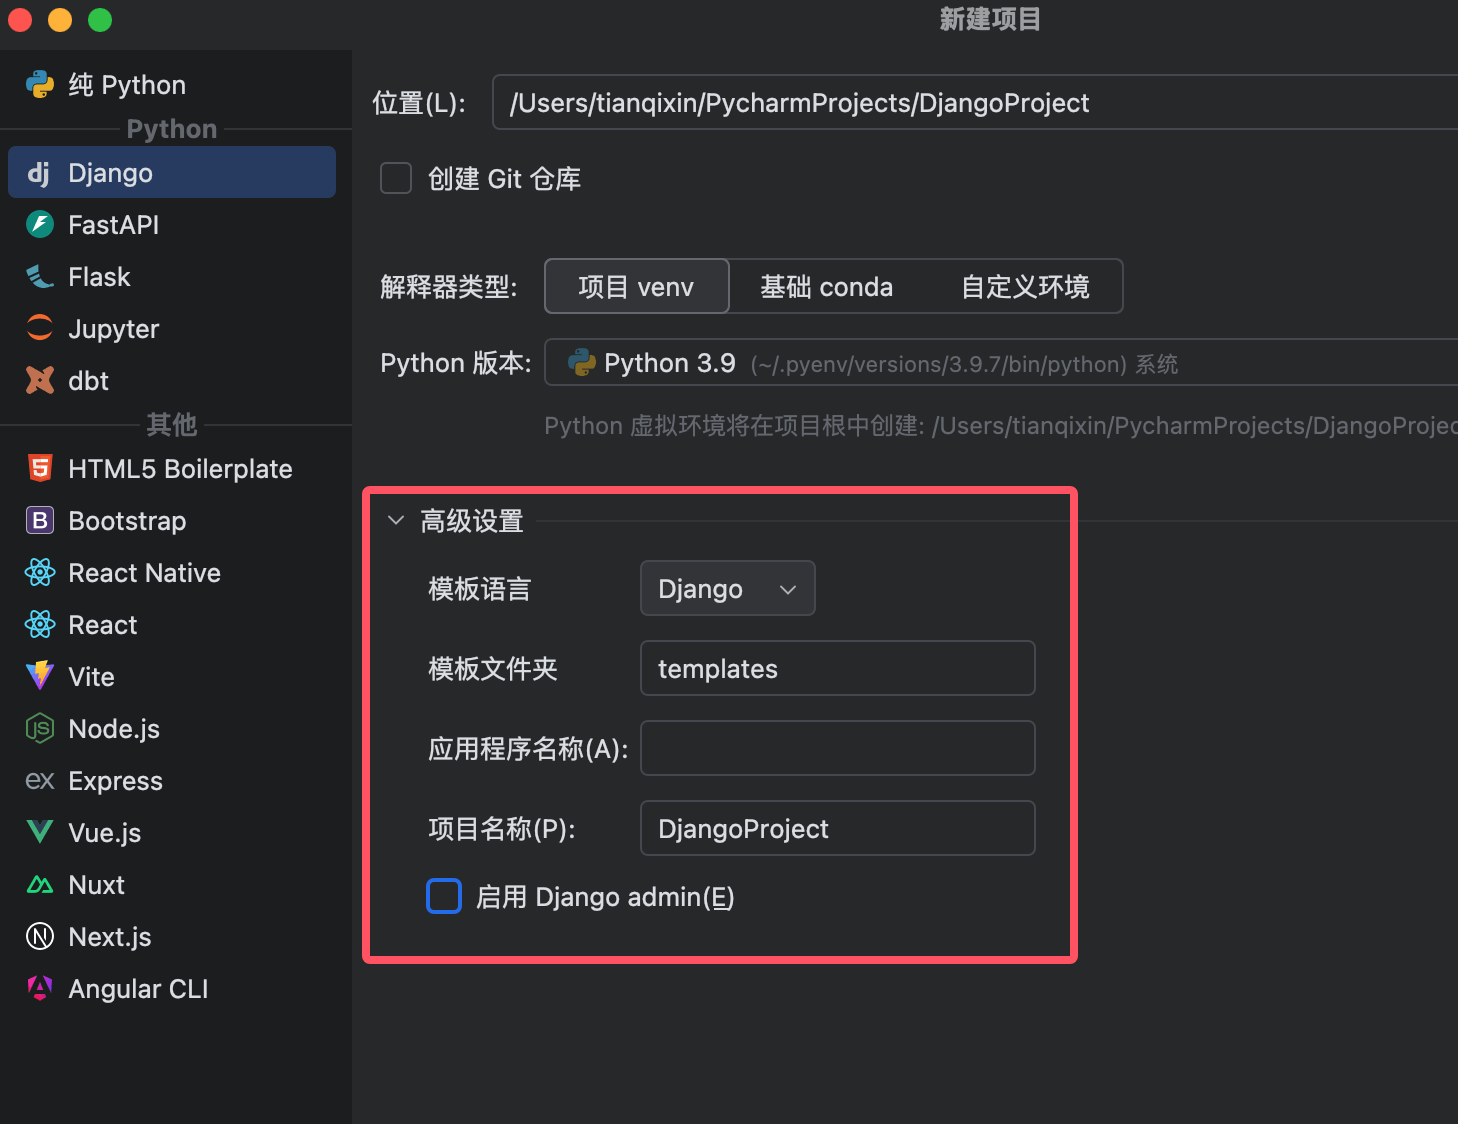
- Project name: Use a combination of lowercase letters and underscores (e.g., DjangoProject)
- Template language: Select Django by default
- Front-end framework: You can select as needed (beginners can leave it unselected)
- Enable Django admin: Can be checked
Wait for project initialization
PyCharm will automatically:
- Create a virtual environment
- Install the latest stable version of Django
- Generate the basic project structure
Project structure breakdown
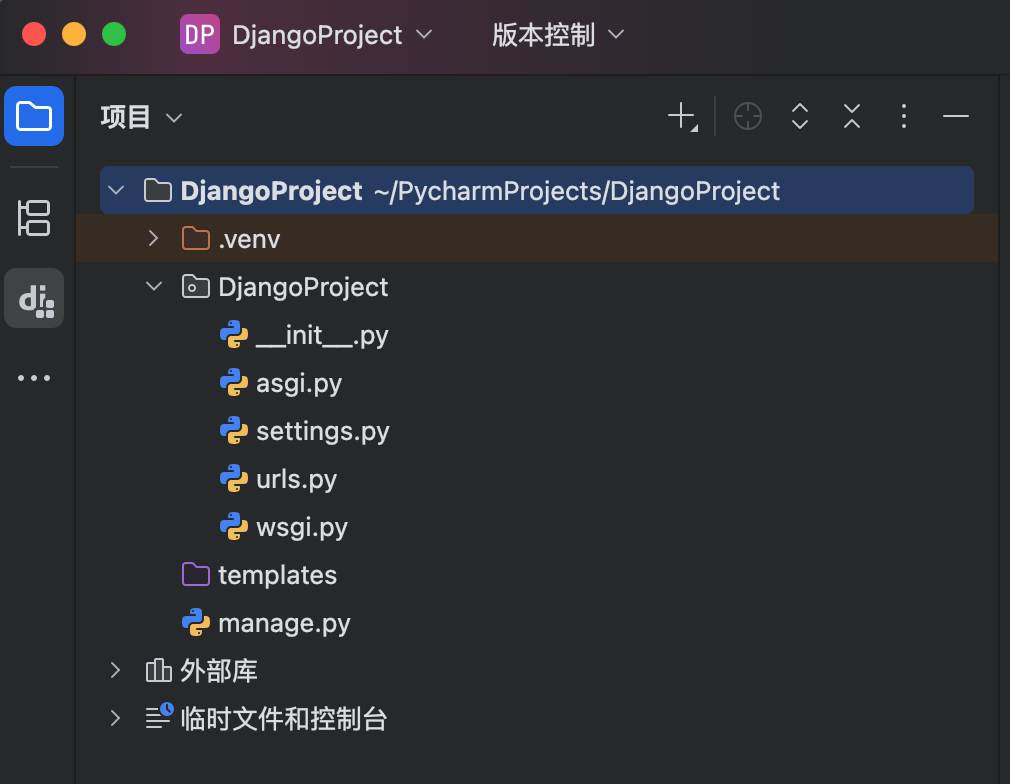
After creation, you will see the following main files and directories:
Project root directory
- manage.py: Django command-line tool
- Directory with the same name as the project(e.g., DjangoProject/): Contains the main project configuration
Project configuration directory
- init.py: Identifies this as a Python package
- settings.py: Project configuration file
- urls.py: URL routing configuration
- wsgi.py: WSGI server configuration
Other important files
- requirements.txt: Project dependency file (PyCharm may generate it automatically)
- venv/: Virtual environment directory (if you chose to create a virtual environment)
Run the Django development server
Run via PyCharm
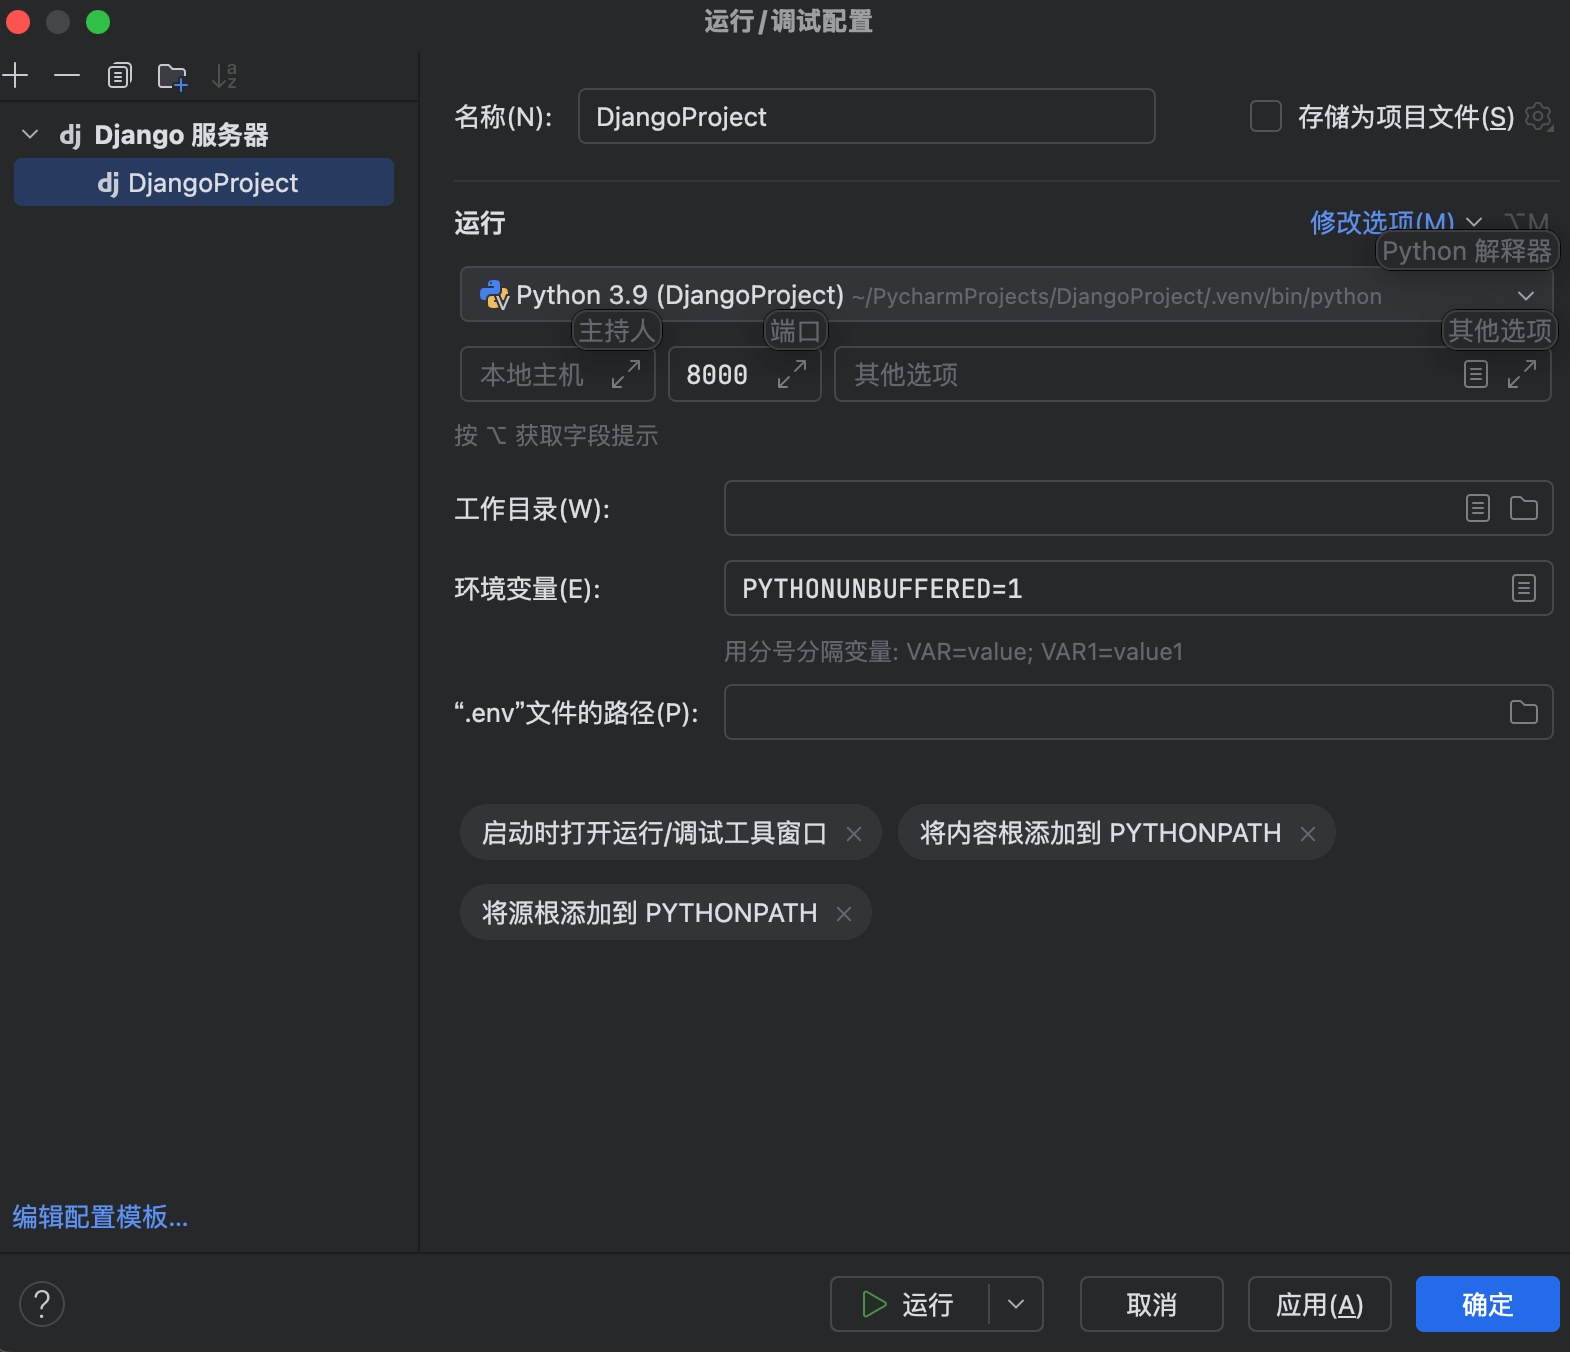
- Click the run configuration dropdown menu in the upper-right corner of PyCharm
- Select "Configuration -> Edit"
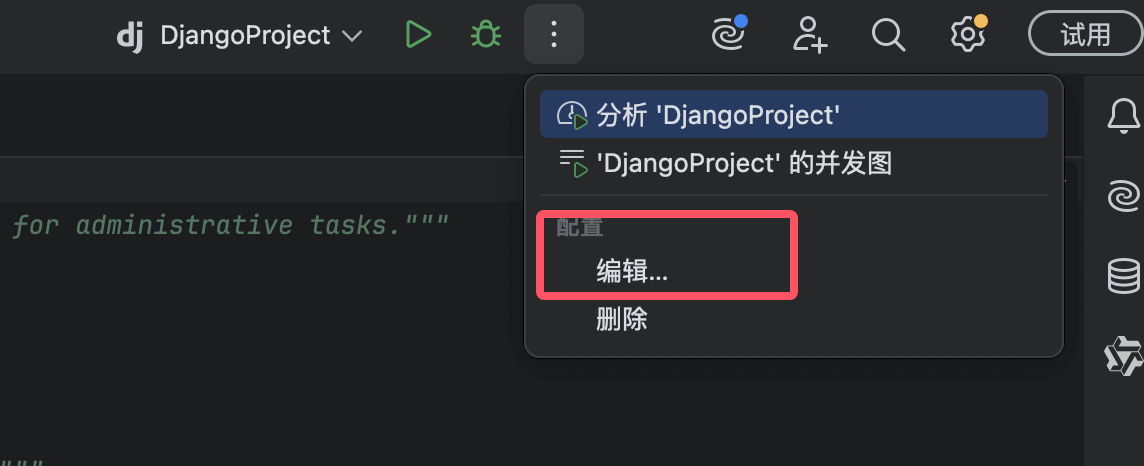
- Make sure the Django server is configured
- Click the green run button
Run via command line
- Open PyCharm's terminal
Enter the command:
python3 manage.py runserver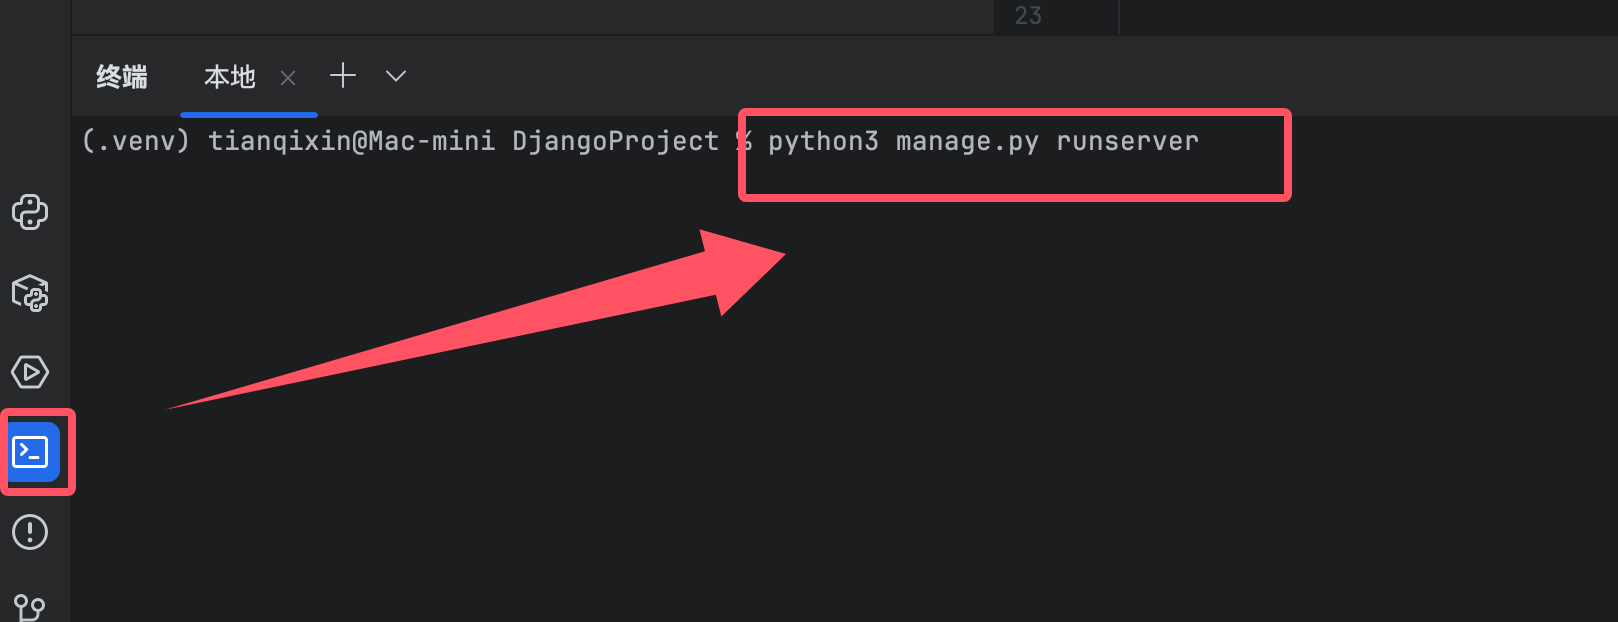
After successful startup, the terminal information is displayed as follows:
: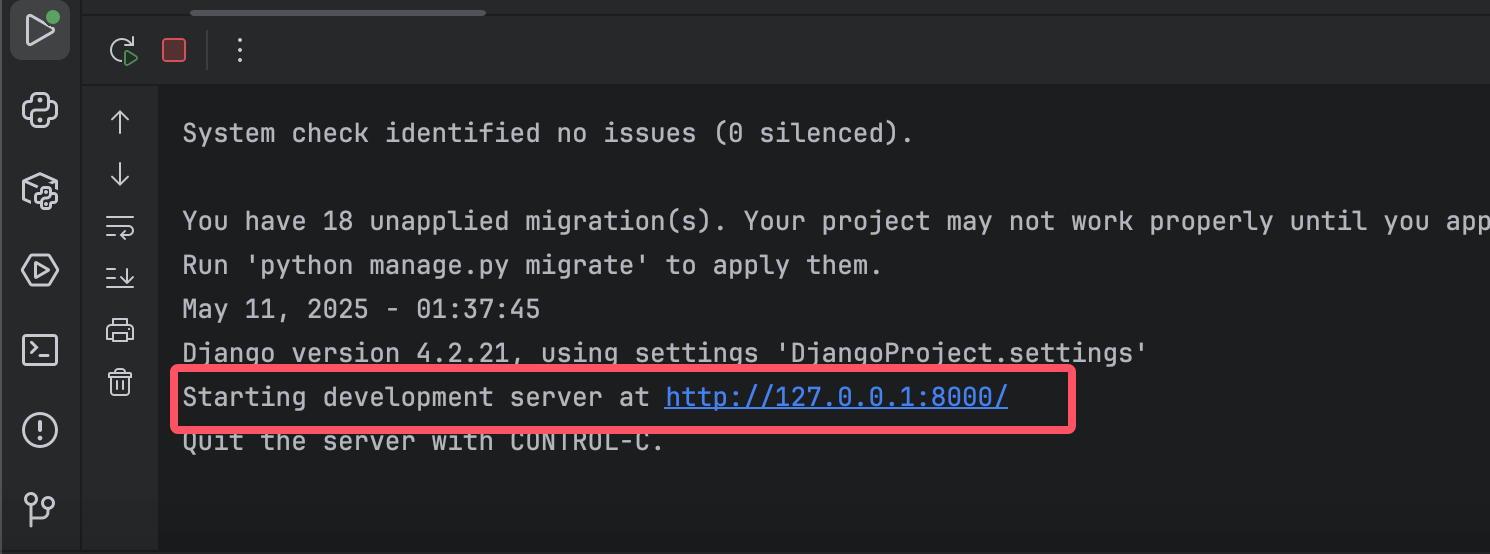
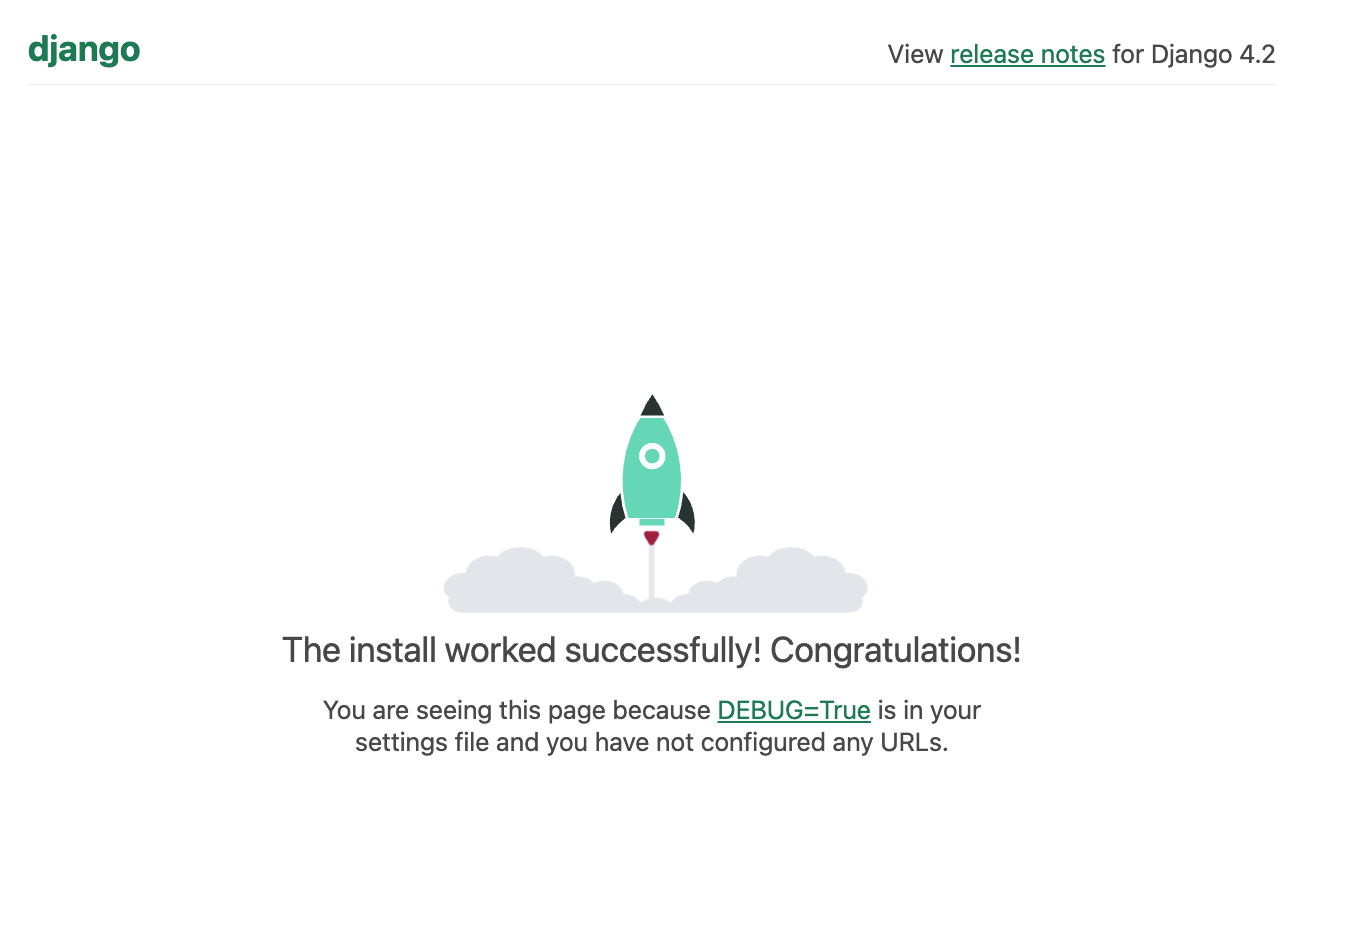
- Visit http://127.0.0.1:8000View the default page:
Troubleshooting
- Port conflict: Use
python manage.py runserver 8080Specify another port - Database not migrated: Must be executed on first run
python manage.py migrate
Create a Django app
Create a new app
Enter the following in PyCharm's terminal:
python3 manage.py startapp myapp
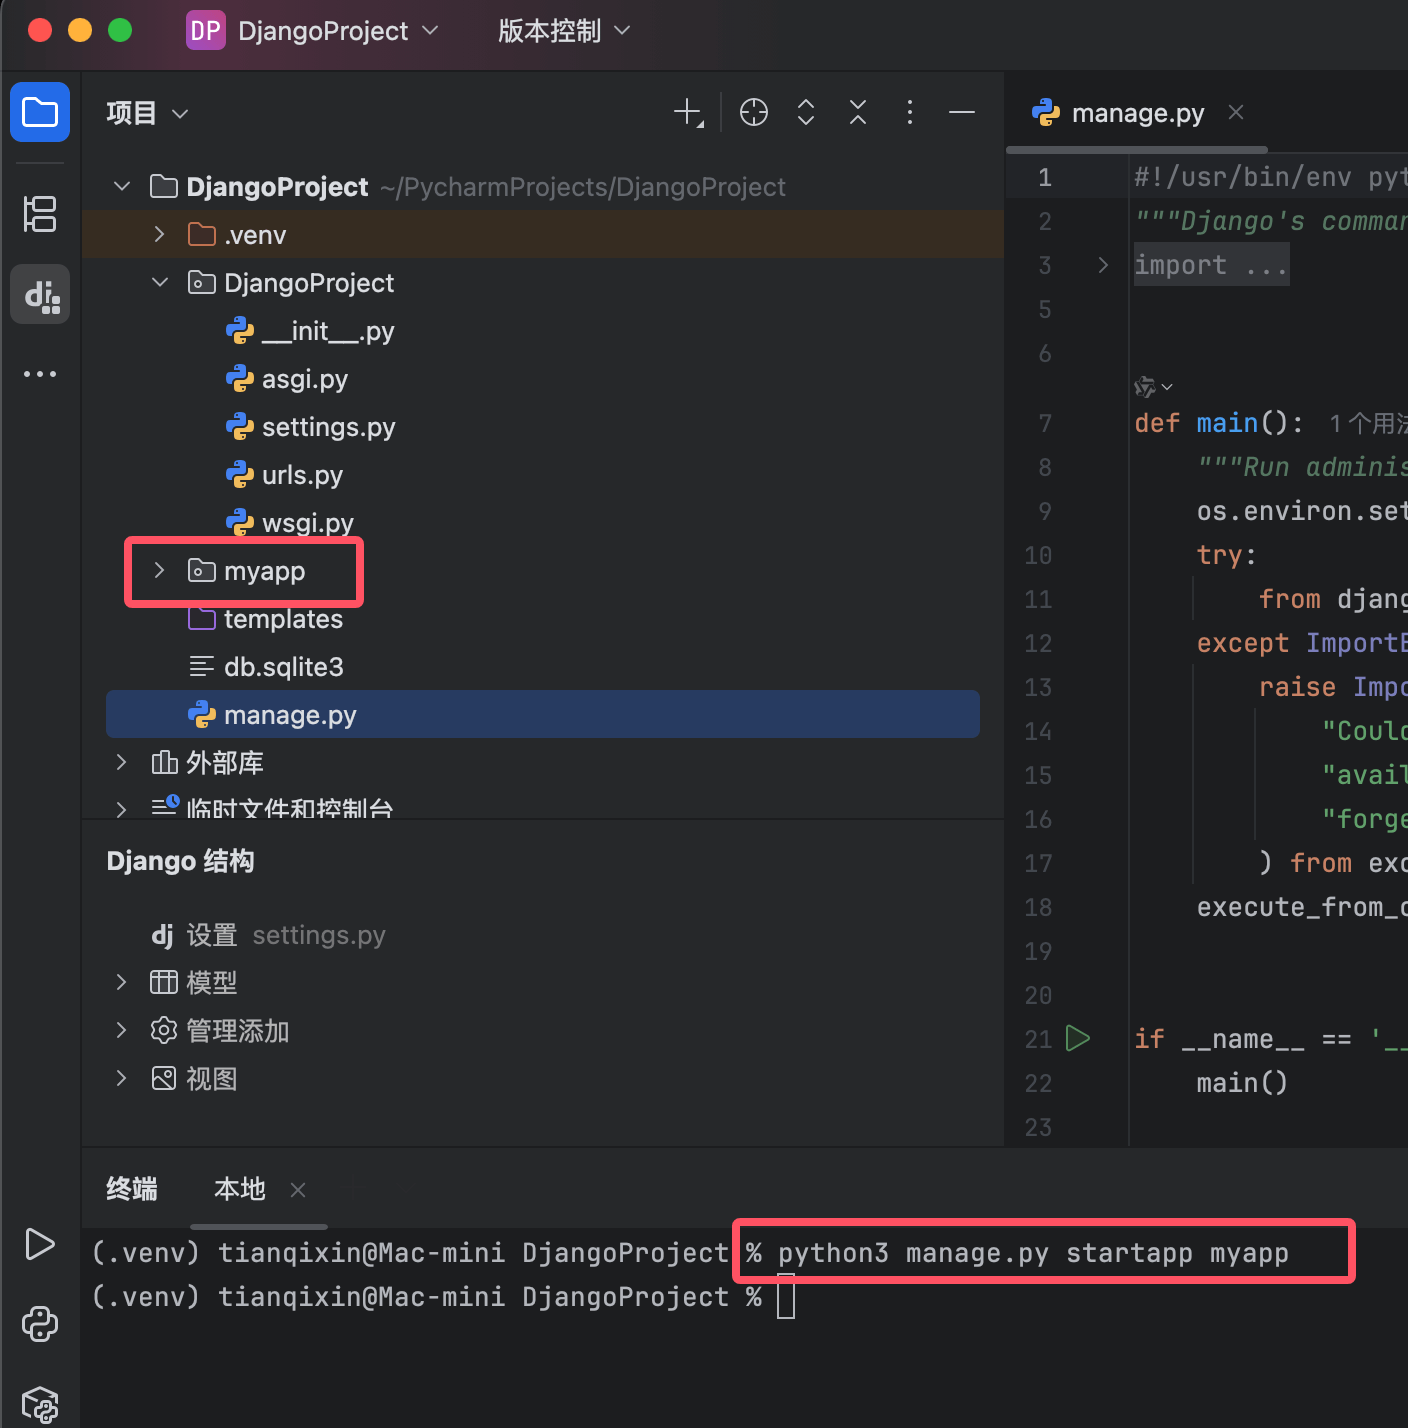
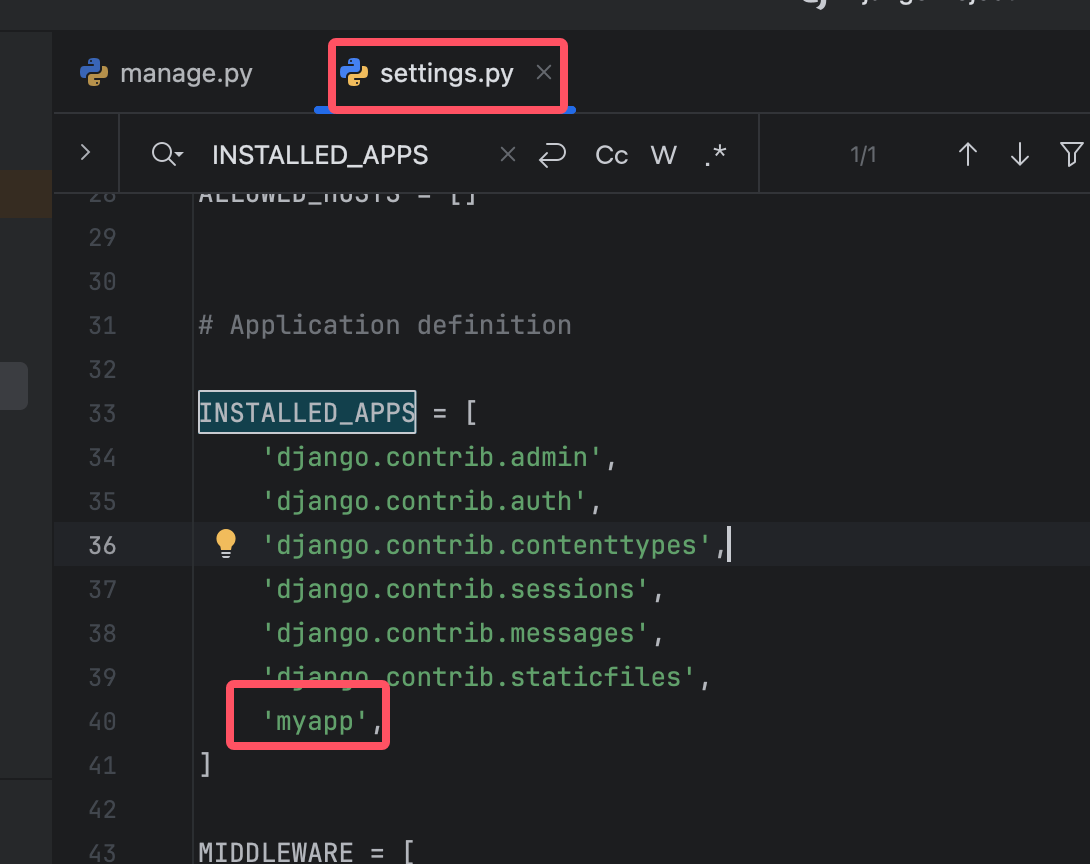
Add the app tosettings.pyofINSTALLED_APPS:
INSTALLED_APPS = [
    ...
    'myapp',
]
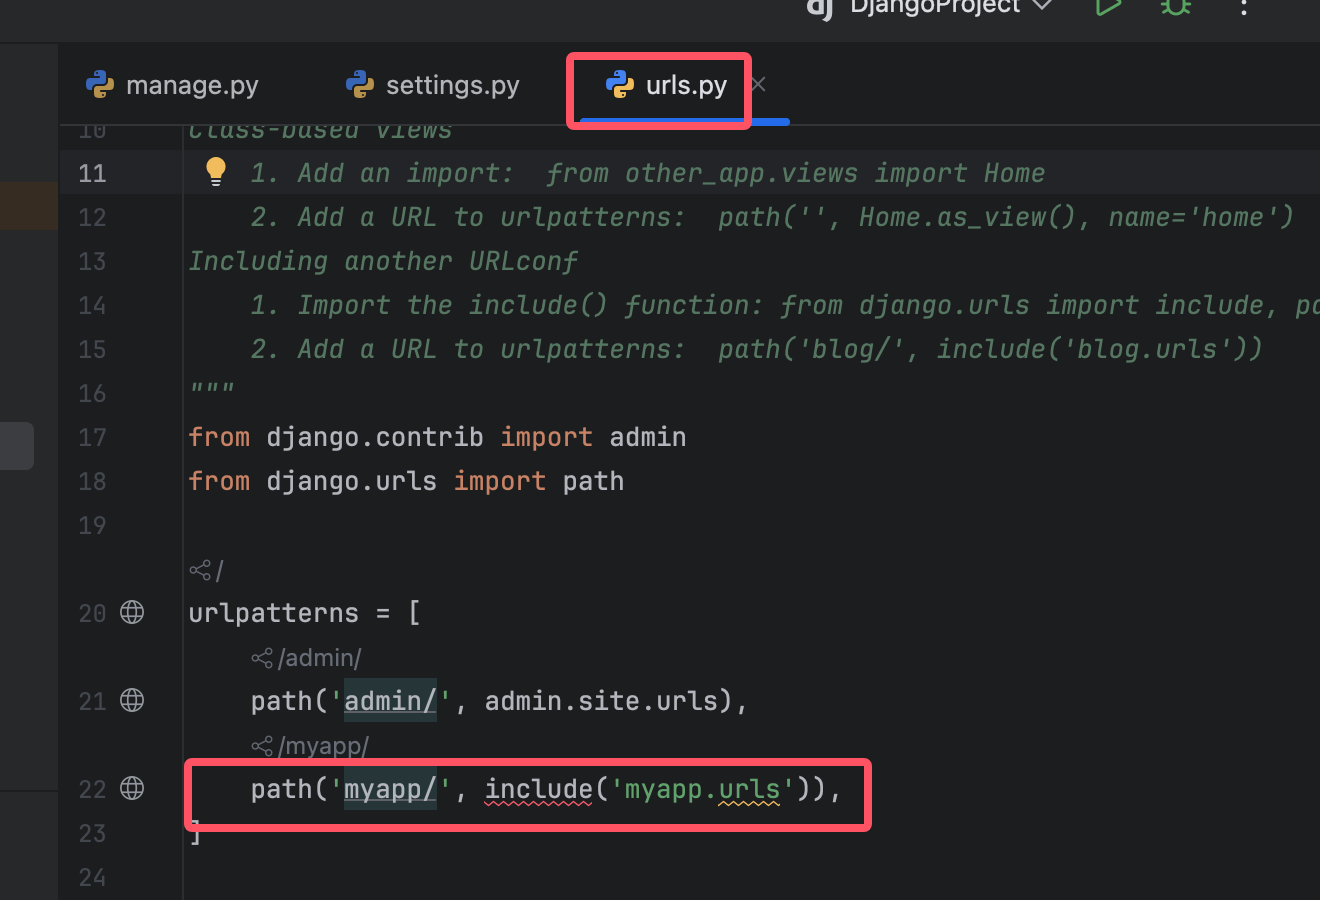
In the projecturls.pyinclude the app's URL routes:
Example
from django.urls import path
urlpatterns = [
path('admin/', admin.site.urls),
path('myapp/', include('myapp.urls')),
]
App directory structure
- migrations/: Database migration files
- admin.py: Admin backend configuration
- apps.py: Application configuration
- models.py: Data model definitions
- tests.py: Test code
- views.py: View functions
Configure URL routing under the myapp directory
Open myapp/models.py to define the model. For example:
Example
class Post(models.Model):
title = models.CharField(max_length=200)
content = models.TextField()
created_at = models.DateTimeField(auto_now_add=True)
def __str__(self):
return self.title
After saving, run python manage.py makemigrations and python manage.py migrate to update the database.
Create views and URLs:
Define views in myapp/views.py:
Example
from .models import Post
def post_list(request):
posts = Post.objects.all()
return render(request, 'myapp/post_list.html', {'posts': posts})
Configure URLs in myapp/urls.py (needs to be created manually):
Example
from . import views
urlpatterns = [
path('', views.post_list, name='post_list'),
]
Create the DjangoProject/templates/myapp/ folder in the project root directory, then create post_list.html under that folder.
Example
<html>
<head>
<title>Post List</title>
</head>
<body>
<h1>Posts</h1>
<ul>
{% for post in posts %}
<li>{{ post.title }} - {{ post.created_at }}</li>
{% empty %}
<li>No posts available.</li>
{% endfor %}
</ul>
</body>
</html>
Ensure the TEMPLATES setting in settings.py contains the correct template directory:
TEMPLATES = [
    {
        'BACKEND': 'django.template.backends.django.DjangoTemplates',
        'DIRS': [BASE_DIR / 'templates'],
        ...
    }
]
Other extensions