iOS Storyboards
Introduction
Storyboards were introduced in iOS 5. When we use Storyboards, the deployment target should be iOS 5.0 or higher.
Storyboards help us understand the visual flow of screens. In the interface,
All application screens are created under MainStoryboard.storyboard.Example Steps
1. Create a single view application. When creating the application, select the storyboard checkbox.
2. Select MainStoryboard.storyboard. Here you can find a single view controller. Add a view controller and update the view controller as shown below.
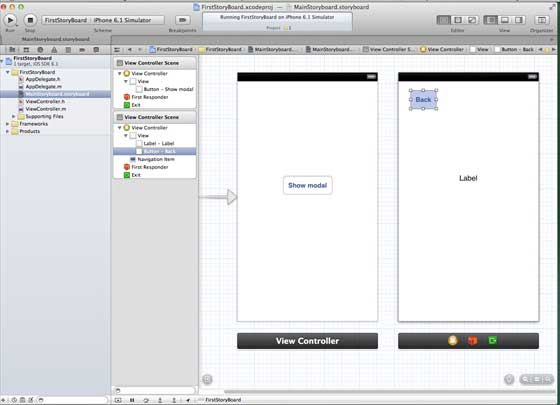
3. Connect the two view controllers. Right-click the "show modal" button in the left view controller, drag it to the right view controller, as shown in the figure below:
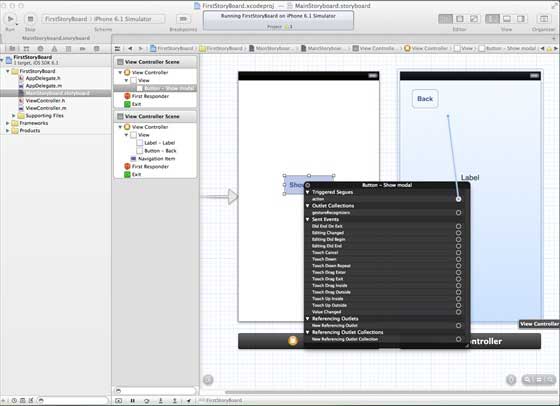
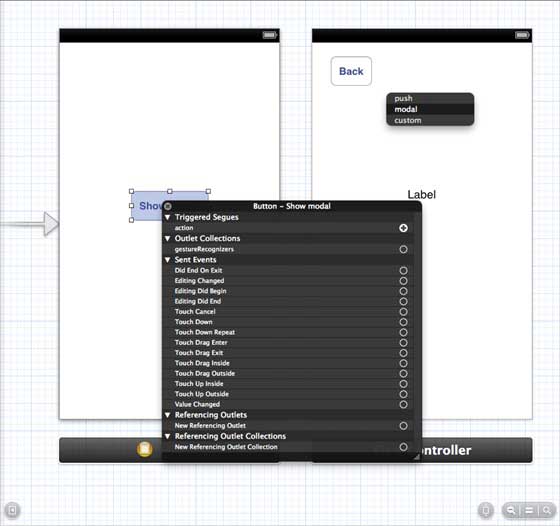
4. Now select modal from the three display options as shown below.
5. Update ViewController.h as shown below.
#import <UIKit/UIKit.h>

@interface ViewController : UIViewController

-(IBAction)done:(UIStoryboardSegue *)seque;

@end
6. Update ViewController.m as shown below.
#import "ViewController.h"

@interface ViewController ()

@end

@implementation ViewController

- (void)viewDidLoad
{
    [super viewDidLoad];
}

- (void)didReceiveMemoryWarning
{
    [super didReceiveMemoryWarning];
    // Dispose of any resources that can be recreated.
}
-(IBAction)done:(UIStoryboardSegue *)seque{
    [self.navigationController popViewControllerAnimated:YES];
}

@end
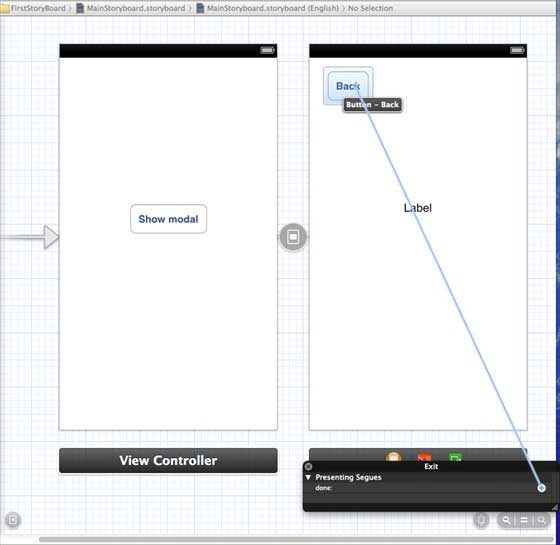
7. Select "MainStoryboard.storyboard", right-click the "Exit" button, select and connect the back button in the right view controller, as shown in the figure below.
Output
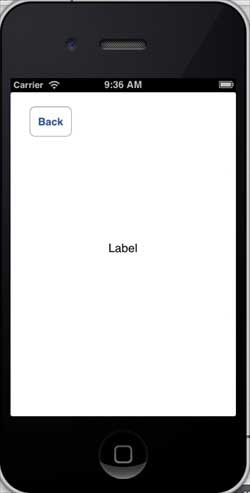
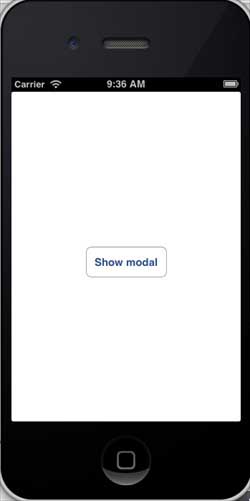
Run the application on an iPhone device and get the following output.
Now, select the display mode and you will get the following output.