Codex Desktop App
Currently, Codex has three mainstream ways to use it:
| Method | Suitable For | Recommendation |
|---|---|---|
| Web Version | Light experience | ⭐⭐ |
| CLI Version | Heavy developers | ⭐⭐⭐⭐ |
| Desktop App | Most people | ⭐⭐⭐⭐⭐ |

The Codex App is the officially recommended desktop client, offering complete functionality and a smooth multi-project parallel experience.
Download and Installation
Codex App supports macOS (Apple Silicon) and Windows.
Download address:https://chatgpt.com/codex
| Platform | Download Method |
|---|---|
| macOS | Official website download or Homebrew |
| Windows | Official website download installer |

First Use
After installation, follow these steps to get started:
1. Open Codex App
2. Log in with your ChatGPT account or OpenAI API Key

If you log in with an API Key, some cloud features may not be available.

3. After successful login, the interface looks like this:
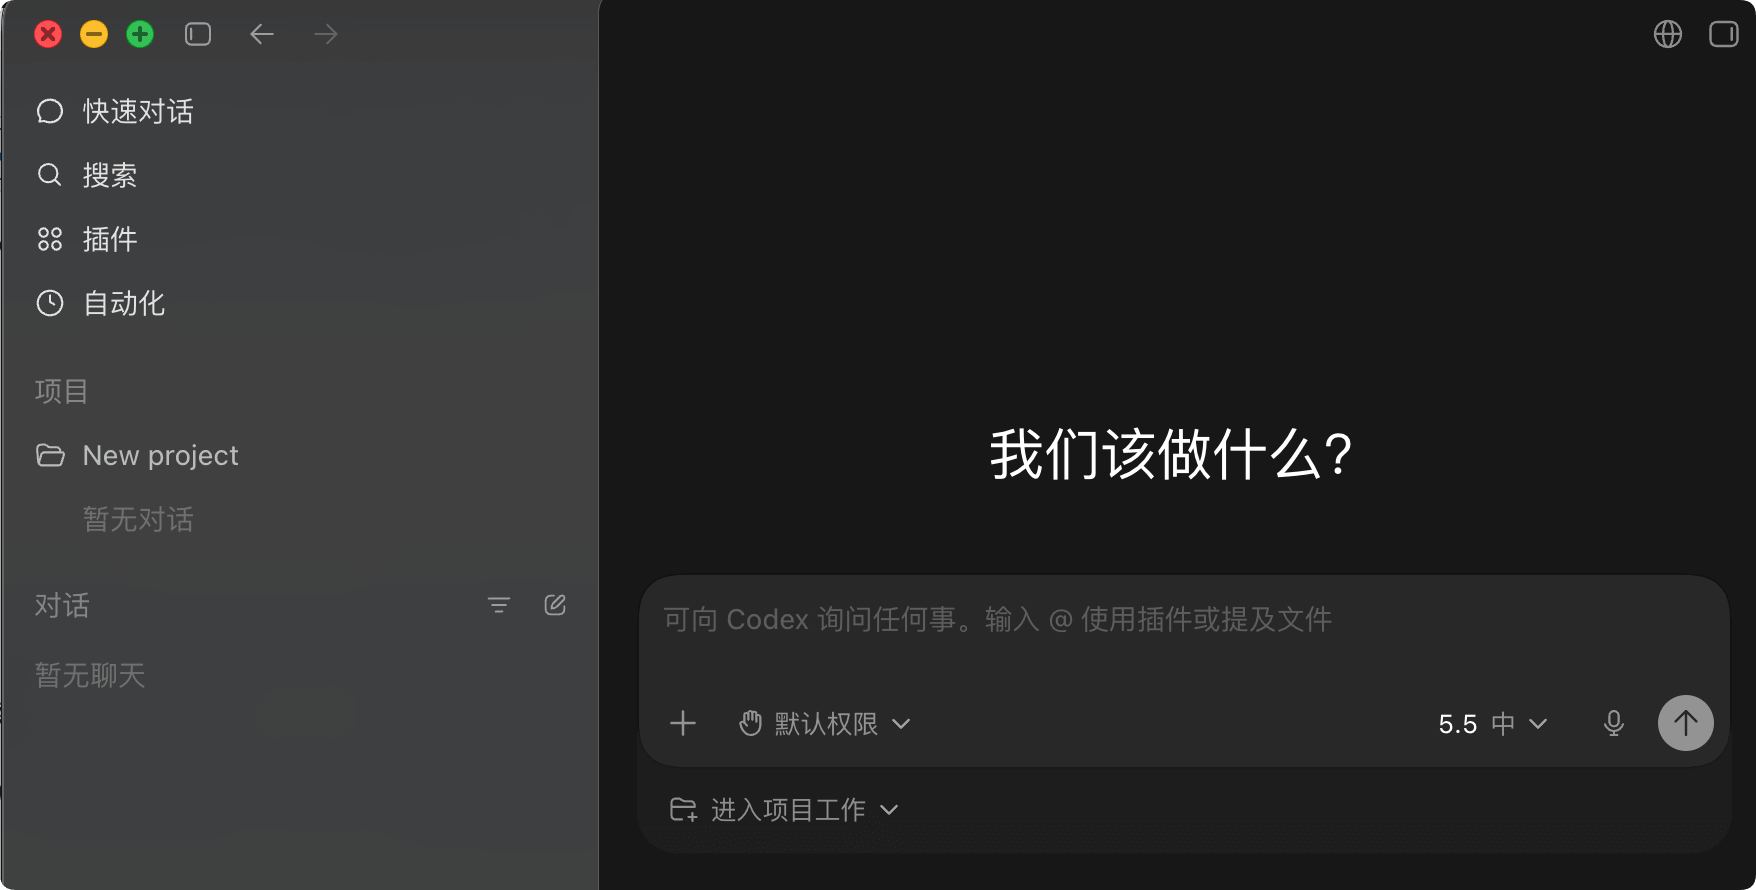
When you first start using it, you can focus on the conversations and projects. Conversations work just like the regular ChatGPT web version - you can chat the same way.
A Project can be understood as a combination of: ChatGPT chat + IDE project directory + AI Agent's long-term memory.
A Project is bound to a folder on your computer. Codex only works within this directory.
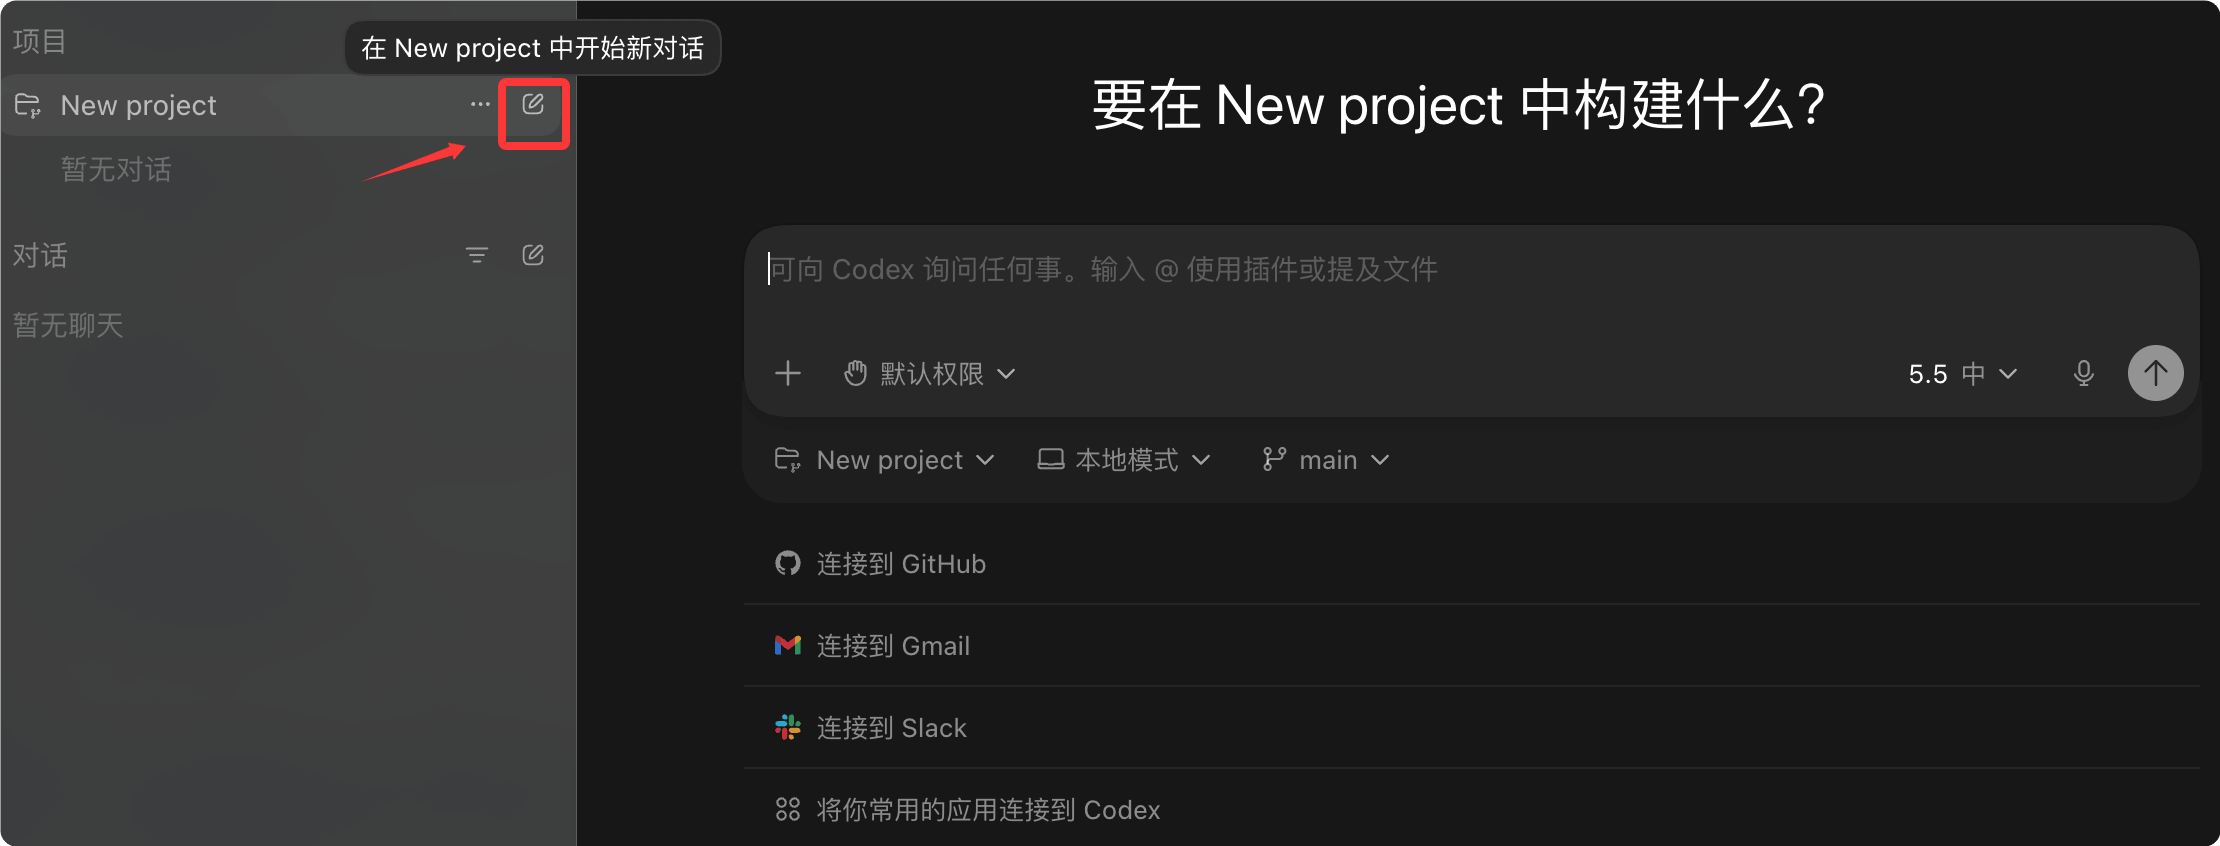
Here I choose "Add New Project" and add codex-example-test:
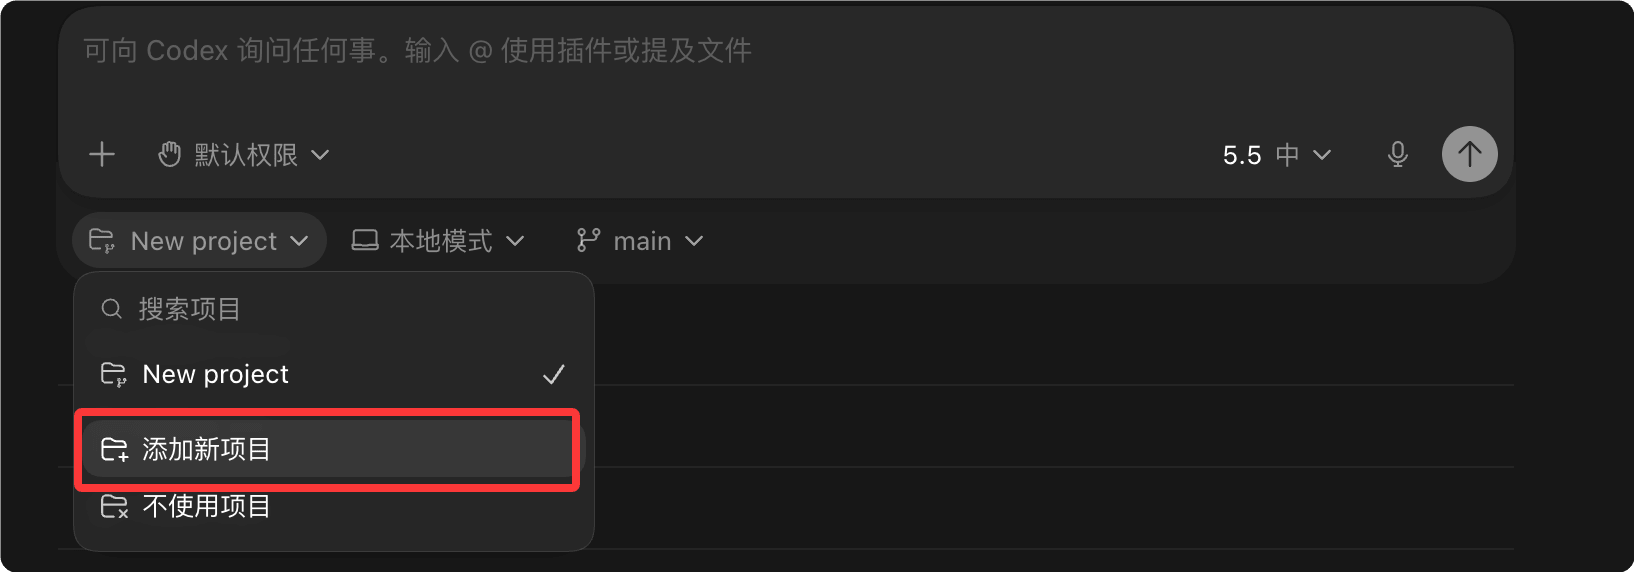 Once inside, you can see the project name on both the left and right sides. You can select from multiple projects in the list:
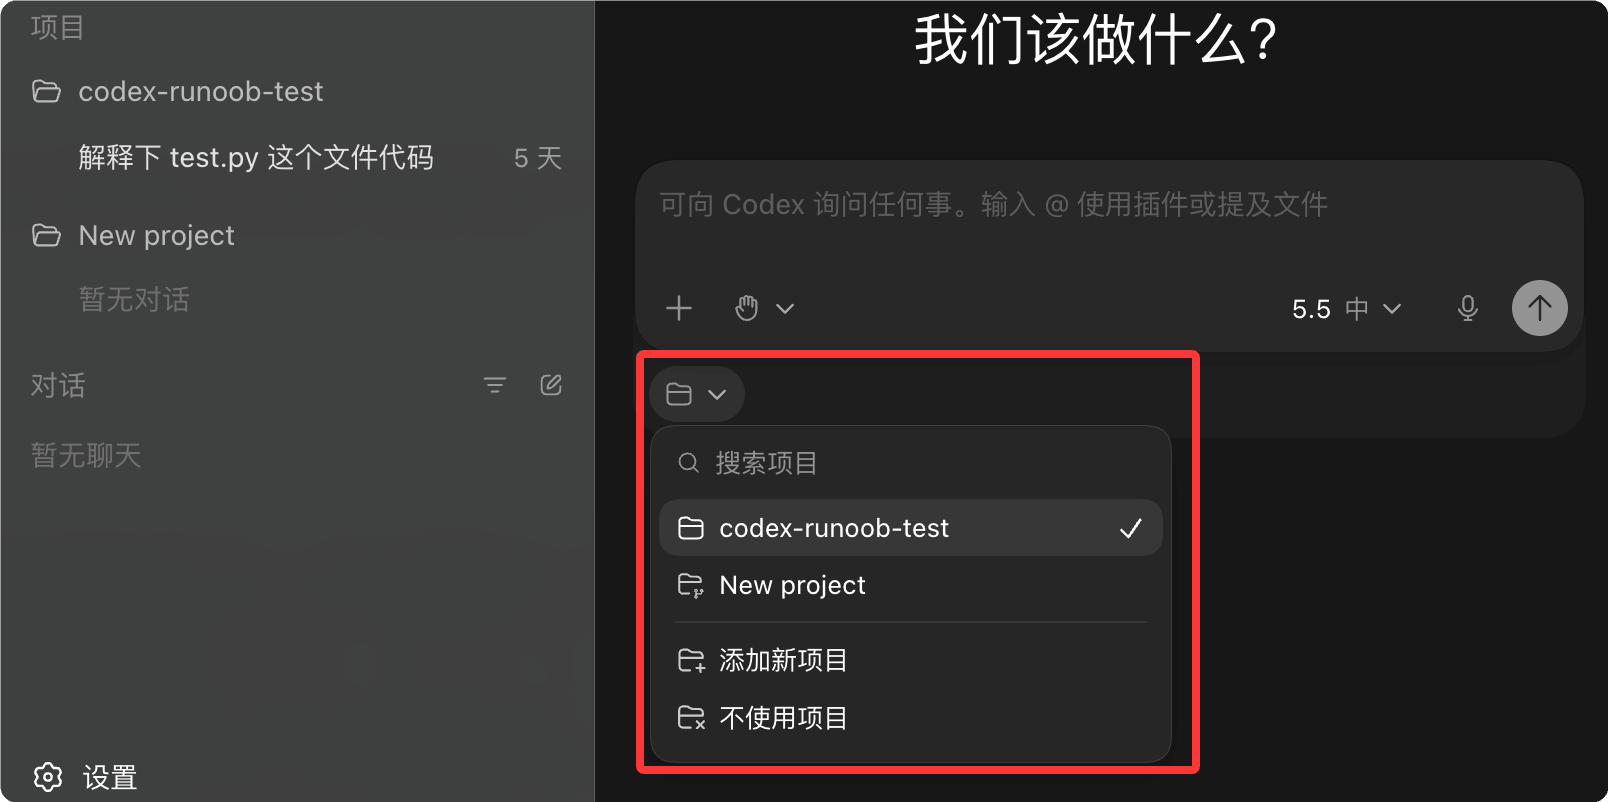
4. Send your first prompt to start using it

Interface Structure
Codex App mainly includes the following areas:
| Area | Function |
|---|---|
| Project Sidebar | Manage multiple projects and switch quickly |
| Project List | Shows all sessions, supports filtering and archiving |
| Review Panel | View file changes made by Codex |
| Terminal Panel | Built-in terminal for each project |
| Skills Selector | Browse and enable custom skills |
| Area | Location | Function Description |
|---|---|---|
Navigation Buttons |
Back/forward arrows in the upper left corner
|
Used to switch between historical sessions or pages, similar to browser back/forward. |
| New Conversation | Top of the left menu | Quickly start a temporary AI conversation without entering a specific project context. Suitable for direct questions, code explanations, command generation, and other lightweight tasks. |
| Search | Left menu | Search historical conversations, project content, files, or task records. Very important in large projects, equivalent to the global search entry in an AI IDE. |
| Plugins | Left menu | Manage and invoke plugin capabilities, such as GitHub, terminal, database, file system, browser tools, and other extension capabilities. |
| Automation | Left menu | Create automated tasks, for example: generate daily reports on a schedule, periodically check repositories, execute scripts automatically, reminder tasks, etc. |
| Projects | Left middle area | Project workspace management area. Each project is usually bound to a code repository, directory, or workspace. |
| New project | Left project area | Create a new project. After creation, it is usually associated with a local folder, Git repository, or remote code environment. |
| Chats | Left bottom area | Global chat history area, used to manage non-project conversations. |
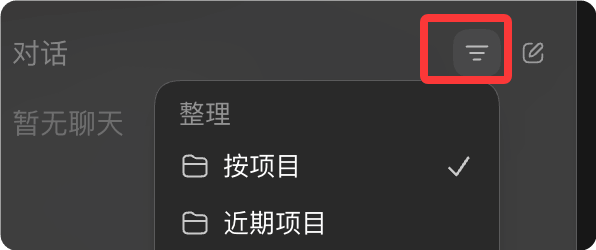
| Filter button | Funnel icon on the right side of the conversation bar
|
Filter chat history, for example by project, time, or type. |
| New chat button | Edit icon on the right side of the conversation bar | Create a new independent chat session. |
| Main workspace | Central black area | Codex's core interaction area. Includes AI conversations, code generation, Agent execution, file modification result display, etc. |
| "What should we do?" | Center of the main area | Welcome screen prompt text, guiding users to start tasks. |
| Input box | Large input box in the bottom center | Enter natural language instructions to Codex, for example: generate code, fix bugs, analyze projects, refactor architecture, etc. |
| @Plugin prompt | Input box placeholder text | Supports through@invoking plugins or tools, such as@terminal、@github、@browseretc. |
| File mention feature | Input box placeholder text | You can directly drag and drop files or reference project files to let the AI analyze specific code. |
| "+" button | Bottom left of the input box | Add attachments, files, images, or additional context. |
| Default permissions | Bottom left of the input box | Control the AI Agent's execution permissions, for example: read-only, allow editing files, allow executing commands, etc. |
| Model selector (in 5.5) | Bottom right of the input box | Current model version switching area. Usually allows switching between models of different capability levels. |
| Microphone button | Bottom right of the input box | Voice input function. |
| Send button | Round arrow on the far right of the input box | Submit the current task to Codex. |
| "Enter project work" | Below the input box | Enter the real project Agent mode. The AI will understand context based on the entire code repository, rather than ordinary chat. |
| Globe icon | Top right corner | Network or remote connection related functions, may be used for online mode, sync, or remote environment. |
| Top right sidebar button | Rectangular icon in the top right corner | Controls the display of the right-side additional panel, such as logs, terminal, file tree, Agent status, etc. |

Three Operating Modes
Each project can choose from three running modes:
| Mode | Description | Applicable scenarios |
|---|---|---|
| Local | Work in the local project directory | Daily development, directly view results |
| Worktree | Work in an independent Git worktree | Isolate changes, parallel development |
| Cloud | Run in an isolated cloud environment | Remote delegation, parallel processing |
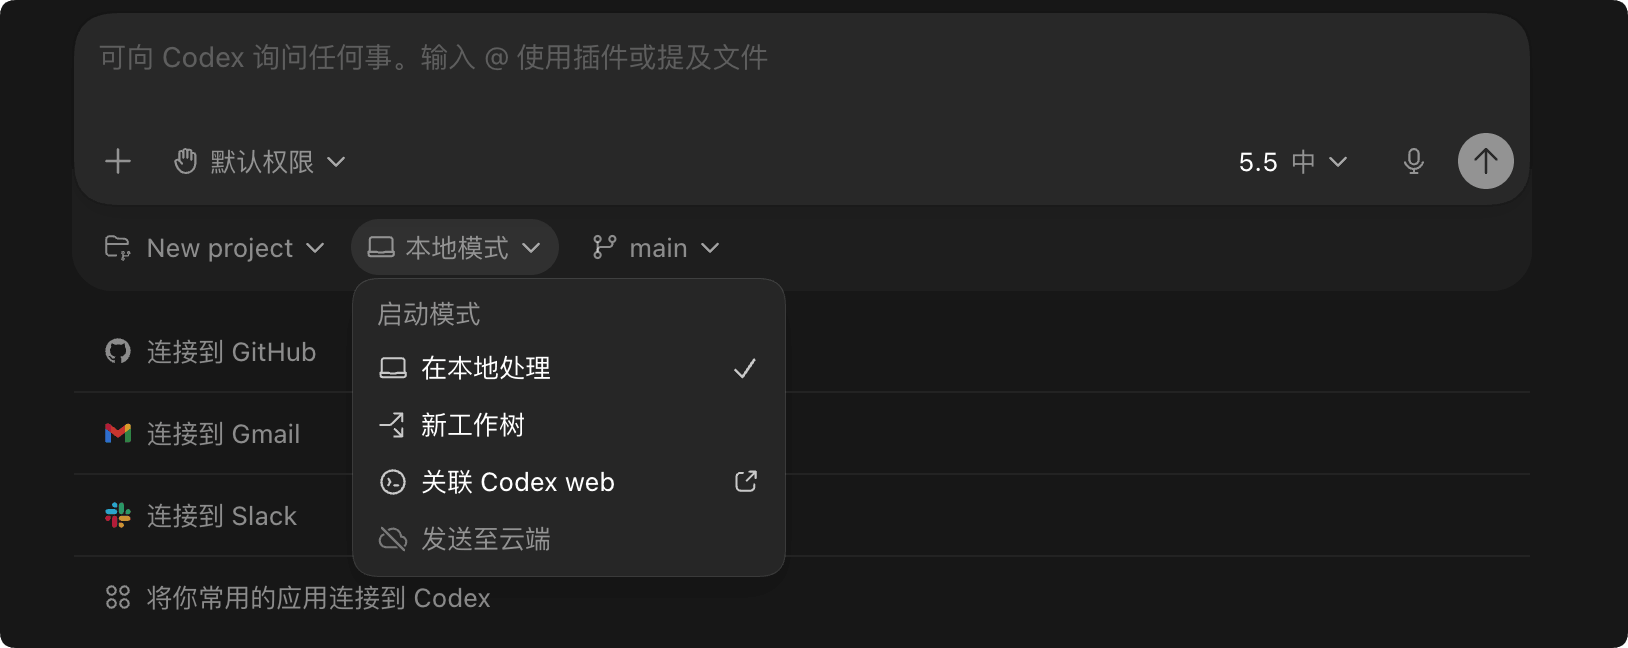
Mode Selection
When creating a new project, choose the mode below the input box:
- Local: Work directly in the current directory, changes are immediately visible
- Worktree: Create an independent branch, can be merged into Local after completion
- Cloud: Tasks run in the cloud, results are presented via PR or reports
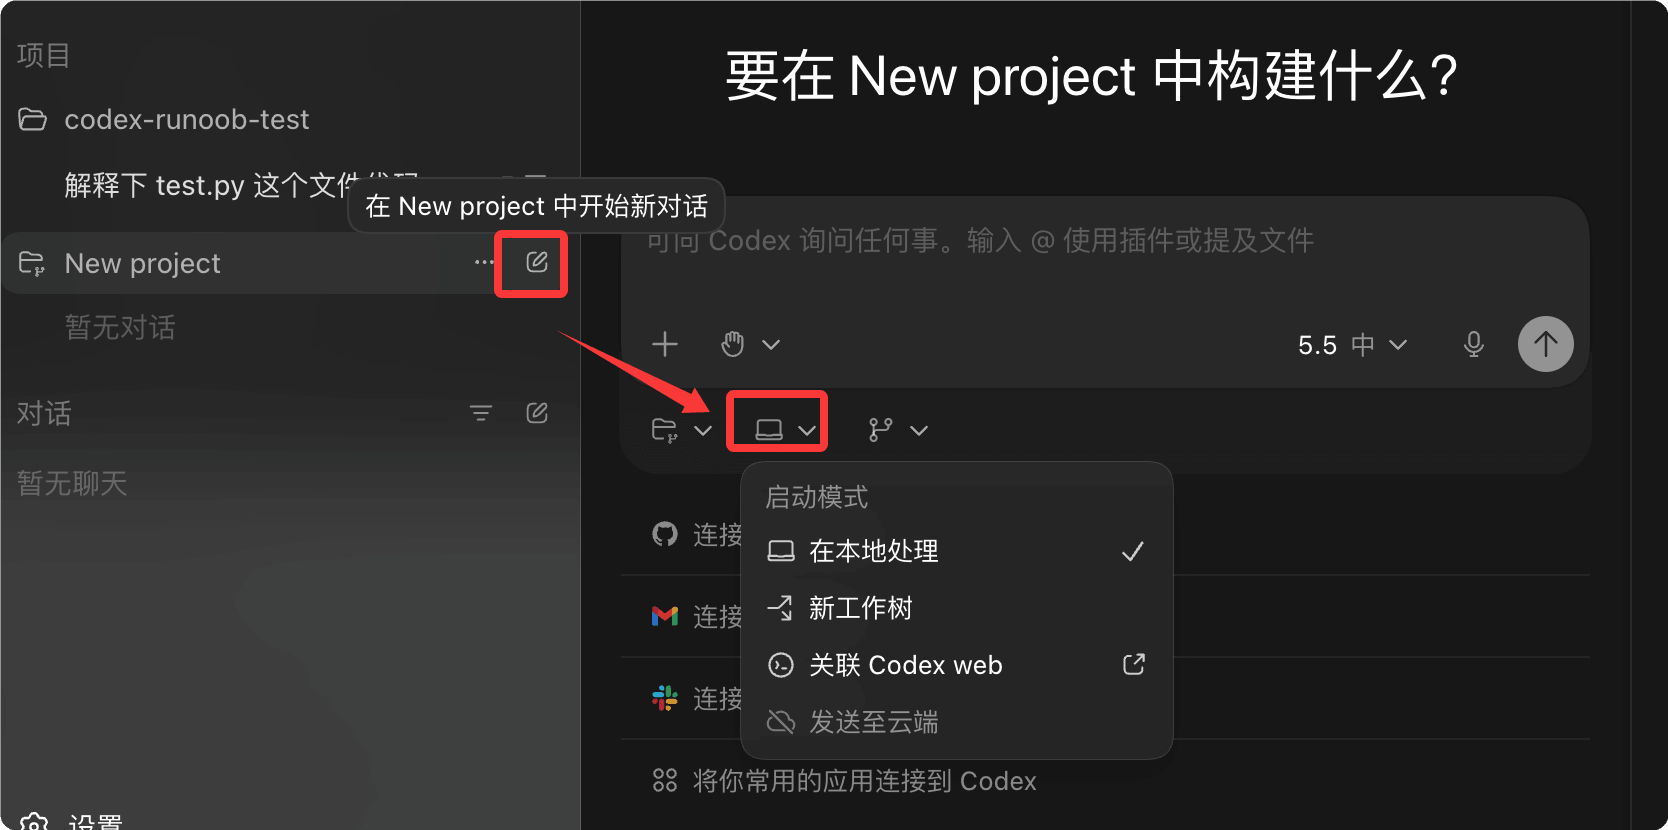
Worktree mode uses Git worktree technology, allowing work on different branches simultaneously.
Review Mode
Review mode lets you view and approve changes made by Codex.
Review Panel Features
| Feature | Description |
|---|---|
| Diff view | Shows a detailed comparison of all file changes |
| Inline comments | Add comments on specific code lines |
| Chunk operations | Accept or reject by code chunk |
| Commit all | Create a Git commit or push changes |
Switching Review Views
The review panel supports two views:
- All changes: Shows the project's Git status, including non-Codex changes
- Last turn changes: Shows only the most recent Codex turn's changes
Review Operations
Cmd + Option + B # Toggle review panel
Cmd + Shift + P # Open command menu
# Review workflow
1. View file changes
2. Click a code chunk to accept/Reject
3. Add comment notes
4. Commit or push
Automations
Automations let you schedule Codex to run tasks periodically in the background.
Prerequisites
- Codex App is running
- The selected project is available on disk
Creating an Automation
- Open the Automations panel in the sidebar
- Click "New Automation"
- Configure trigger frequency and task description
- Set sandbox mode
Automation Example
| Task | Description |
|---|---|
| Automatic skill creation | Scan session files and update skills to make them more effective |
| Daily briefing | Analyze recent commits and generate a change summary |
| Bug monitoring | Check telemetry errors and attempt automatic fixes |
Automation task results are added to the Triage inbox and are automatically archived when there are no results.
Worktrees Management
The Codex App has built-in Git worktree support.
Worktree Advantages
- Handle multiple tasks in parallel without interfering with each other
- Keep the main branch clean
- Focus on foreground work while tasks run in the background
Handoff Process
Handoff allows switching between Local and Worktree:
- Complete tasks in the Worktree
- Create a commit and PR
- Choose Handoff to Local to continue testing
Worktree only inherits files from Git; files in .gitignore are not moved with the project.
Local Environment Configuration
Define worktree setup scripts and common actions via Local Environments.
Setup Script
Scripts that run automatically when a new worktree is created:
Setup Script Example
npm install # Install dependencies
npm run build # Build project
Actions
Define common tasks for quick access in the top action bar:
| Action | Description |
|---|---|
| Start development server | Run npm run dev |
| Run tests | Run test suite |
| Code formatting | Run prettier |
Keyboard Shortcuts
| Keyboard shortcuts | Feature |
|---|---|
Cmd + Shift + P | Command menu |
Cmd + N | New project |
Cmd + Shift + [ / ] | Switch project |
Cmd + Option + B | Toggle review panel |
Cmd + J | Toggle terminal |
Ctrl + M | Voice input |
Cmd + O | Add project |
Frequently Asked Questions
Q: How does the App sync with the CLI/IDE?
When using the App and IDE extension on the same project, they automatically sync Auto Context and the active project.
Q: How do I find archived projects?
In Settings, view Archived Threads, and select Unarchive to restore.
Q: The Worktree code is different from the local code?
Worktree only inherits files from Git. You need to set up scripts to install dependencies and build.
Q: Differences in functionality due to different App and CLI versions?
Check versions: for CLI, use `codex --version`; for App, use the About menu.
Other Extensions