Android Single Frame Fragment
Single Frame Fragment: Single Frame Fragment is designed for small-screen devices, such as handheld devices (mobile phones), and is supported on Android 3.0 and above.
Example
This example explains how to create your own fragments. Here we create two fragments, one used when the device is in landscape orientation, and the other used when the device is in portrait orientation. Let's start by following the steps below.
| Steps | Description |
|---|---|
| 1 | Use Android Studio IDE to create an Android application named Single Fragments, with package name cn.uprogrammer.singlefragments. |
| 2 | Modify the main activity file MainActivity.java as shown below. Here we will check the device orientation and switch between different fragments based on it. |
| 3 | Create two files, PortraitFragment.java and LandscapeFragment.java, under the package cn.uprogrammer.singlefragments, and associate methods. |
| 4 | Create layout files res/layout/landscape_fragment.xml and res/layout/portrait_fragment.xml to define the layouts of the two fragments. |
| 5 | Modify res/layout/activity_main.xml to include the two fragments. |
| 6 | Define the required constants in res/values/strings.xml. |
| 7 | Launch the Android emulator to run the application and verify the results of the changes made to the application. |
Below is the content of the main activity file src/cn.uprogrammer.singlefragments/MainActivity.java:
package cn.uprogrammer.singlefragment;

import android.os.Bundle;
import android.app.Activity;
import android.app.FragmentManager;
import android.app.FragmentTransaction;
import android.content.res.Configuration;

public class MainActivity extends Activity {

    @Override
    protected void onCreate(Bundle savedInstanceState) {
        super.onCreate(savedInstanceState);

        Configuration config = getResources().getConfiguration();

        FragmentManager fragmentManager = getFragmentManager();
        FragmentTransaction fragmentTransaction =
                fragmentManager.beginTransaction();

        /**
         * 检测设备方向,并做相应地操作。
         */
        if (config.orientation == Configuration.ORIENTATION_LANDSCAPE) {
            /**
             * 设备的横屏模式。
             */
            LandscapeFragment ls_fragment = new LandscapeFragment();
            fragmentTransaction.replace(android.R.id.content, ls_fragment);
        }else{
            /**
             * 设备的竖屏模式。
             */
            PortraitFragment pm_fragment = new PortraitFragment();
            fragmentTransaction.replace(android.R.id.content, pm_fragment);
        }
        fragmentTransaction.commit();
    }
}
Create two fragment files, LandscapeFragment.java and PortraitFragment.java, under the package cn.uprogrammer.singlefragments.
The following is the content of the LandscapeFragment.java file:
package cn.uprogrammer.singlefragment;

import android.app.Fragment;
import android.os.Bundle;
import android.view.LayoutInflater;
import android.view.View;
import android.view.ViewGroup;


public class LandscapeFragment extends Fragment {

    @Override
    public View onCreateView(LayoutInflater inflater,
                             ViewGroup container, Bundle savedInstanceState) {
        /**
         * Inflate the layout for this fragment
         */
        return inflater.inflate(
                R.layout.landscape_fragment, container, false);
    }

}
The following is the content of the PortraitFragment.java file:
package cn.uprogrammer.singlefragment;

import android.app.Fragment;
import android.os.Bundle;
import android.view.LayoutInflater;
import android.view.View;
import android.view.ViewGroup;

public class PortraitFragment extends Fragment {

    @Override
    public View onCreateView(LayoutInflater inflater,
                             ViewGroup container, Bundle savedInstanceState) {
        /**
         * Inflate the layout for this fragment
         */
        return inflater.inflate(
                R.layout.portrait_fragment, container, false);
    }
}
Create two layout files, landscape_fragment.xml and portrait_fragment.xml, in the res/layout directory.
The following is the content of the landscape_fragment.xml file:
<?xml version="1.0" encoding="utf-8"?>
<LinearLayout
    xmlns:android="http://schemas.android.com/apk/res/android"
    android:orientation="vertical"
    android:layout_width="fill_parent"
    android:layout_height="fill_parent"
    android:background="#1662AE">

    <TextView
        android:layout_width="fill_parent"
        android:layout_height="wrap_content"
        android:text="@string/landscape_message"
        android:textColor="#000000"
        android:textSize="28sp" />

    <!-- More GUI components go here  -->

</LinearLayout>
The following is the content of the portrait_fragment.xml file:
<?xml version="1.0" encoding="utf-8"?>
<LinearLayout
    xmlns:android="http://schemas.android.com/apk/res/android"
    android:orientation="horizontal"
    android:layout_width="fill_parent"
    android:layout_height="fill_parent"
    android:background="#666666">

    <TextView
        android:layout_width="fill_parent"
        android:layout_height="wrap_content"
        android:text="@string/portrait_message"
        android:textColor="#000000"
        android:textSize="28sp" />

    <!-- More GUI components go here  -->

</LinearLayout>
The following is the content of the res/layout/activity_main.xml file, which contains two fragments:
<?xml version="1.0" encoding="utf-8"?>
<LinearLayout xmlns:android="http://schemas.android.com/apk/res/android"
    xmlns:tools="http://schemas.android.com/tools"
    android:layout_width="fill_parent"
    android:layout_height="fill_parent"
    android:orientation="horizontal">

    <fragment
        android:id="@+id/landscape_fragment"
        android:layout_weight="1"
        android:layout_width="0dp"
        android:layout_height="match_parent" />

    <fragment
        android:id="@+id/portrait_fragment"
        android:layout_weight="2"
        android:layout_width="0dp"
        android:layout_height="match_parent" />

</LinearLayout>
Make sure the res/values/strings.xml file contains the following content:
<?xml version="1.0" encoding="utf-8"?>
<resources>

    <string name="app_name">Single Fragment</string>
    <string name="hello_world">Hello world!</string>
    <string name="action_settings">Settings</string>
    <string name="landscape_message">这是横屏模式碎片</string>
    <string name="portrait_message">这是竖屏模式碎片</string>
</resources>
Let's run the just-modified Single Fragments application. I assume you have already created an AVD during environment setup. Open the activity file in your project, and click the icon in the toolbar to run the application in Android Studio. Android Studio installs the application on the AVD and starts it. If everything goes smoothly, the following will be displayed on the emulator window:
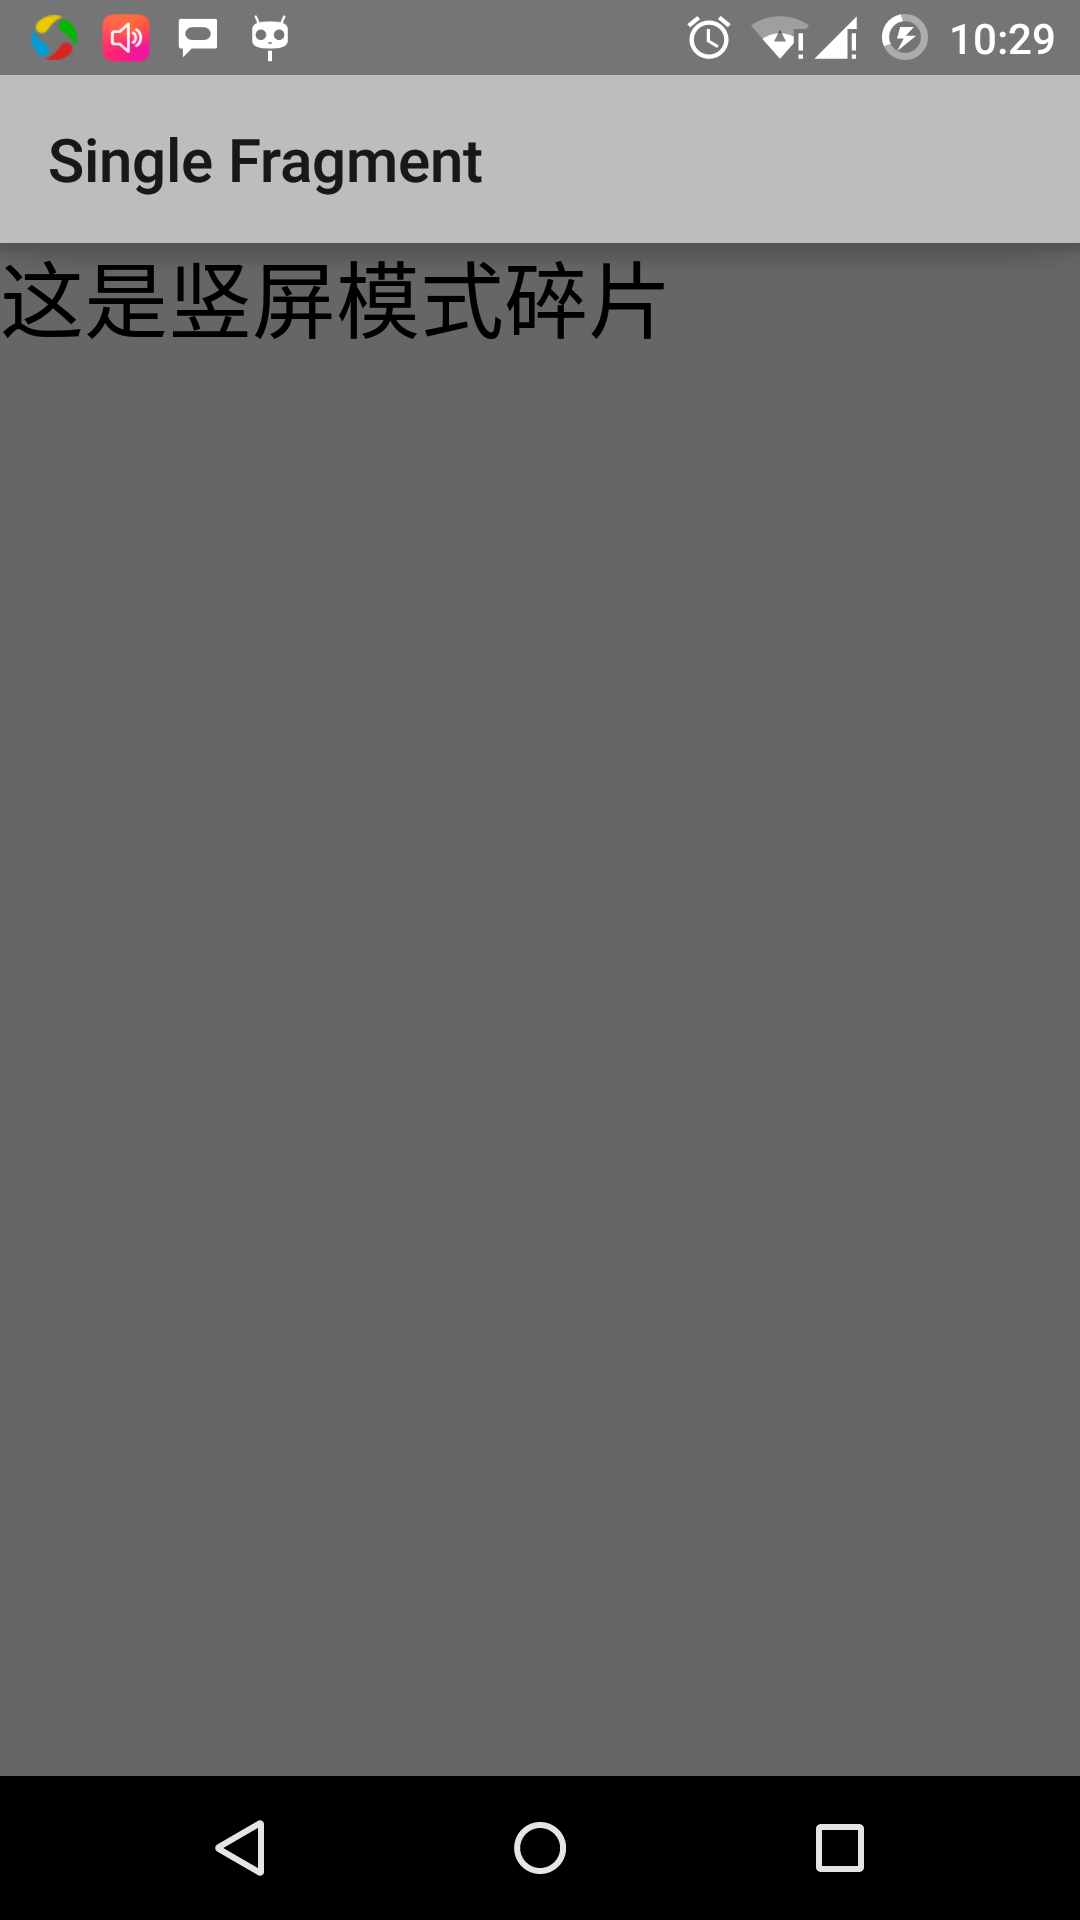
Follow the operations below to change the orientation mode of the emulator screen:
- fn+control+F11 on Mac to change from landscape to portrait, and vice versa
- ctrl+F11 on Windows
- ctrl+F11 on Linux
When you change the mode, you will see the interface implementation for landscape mode:
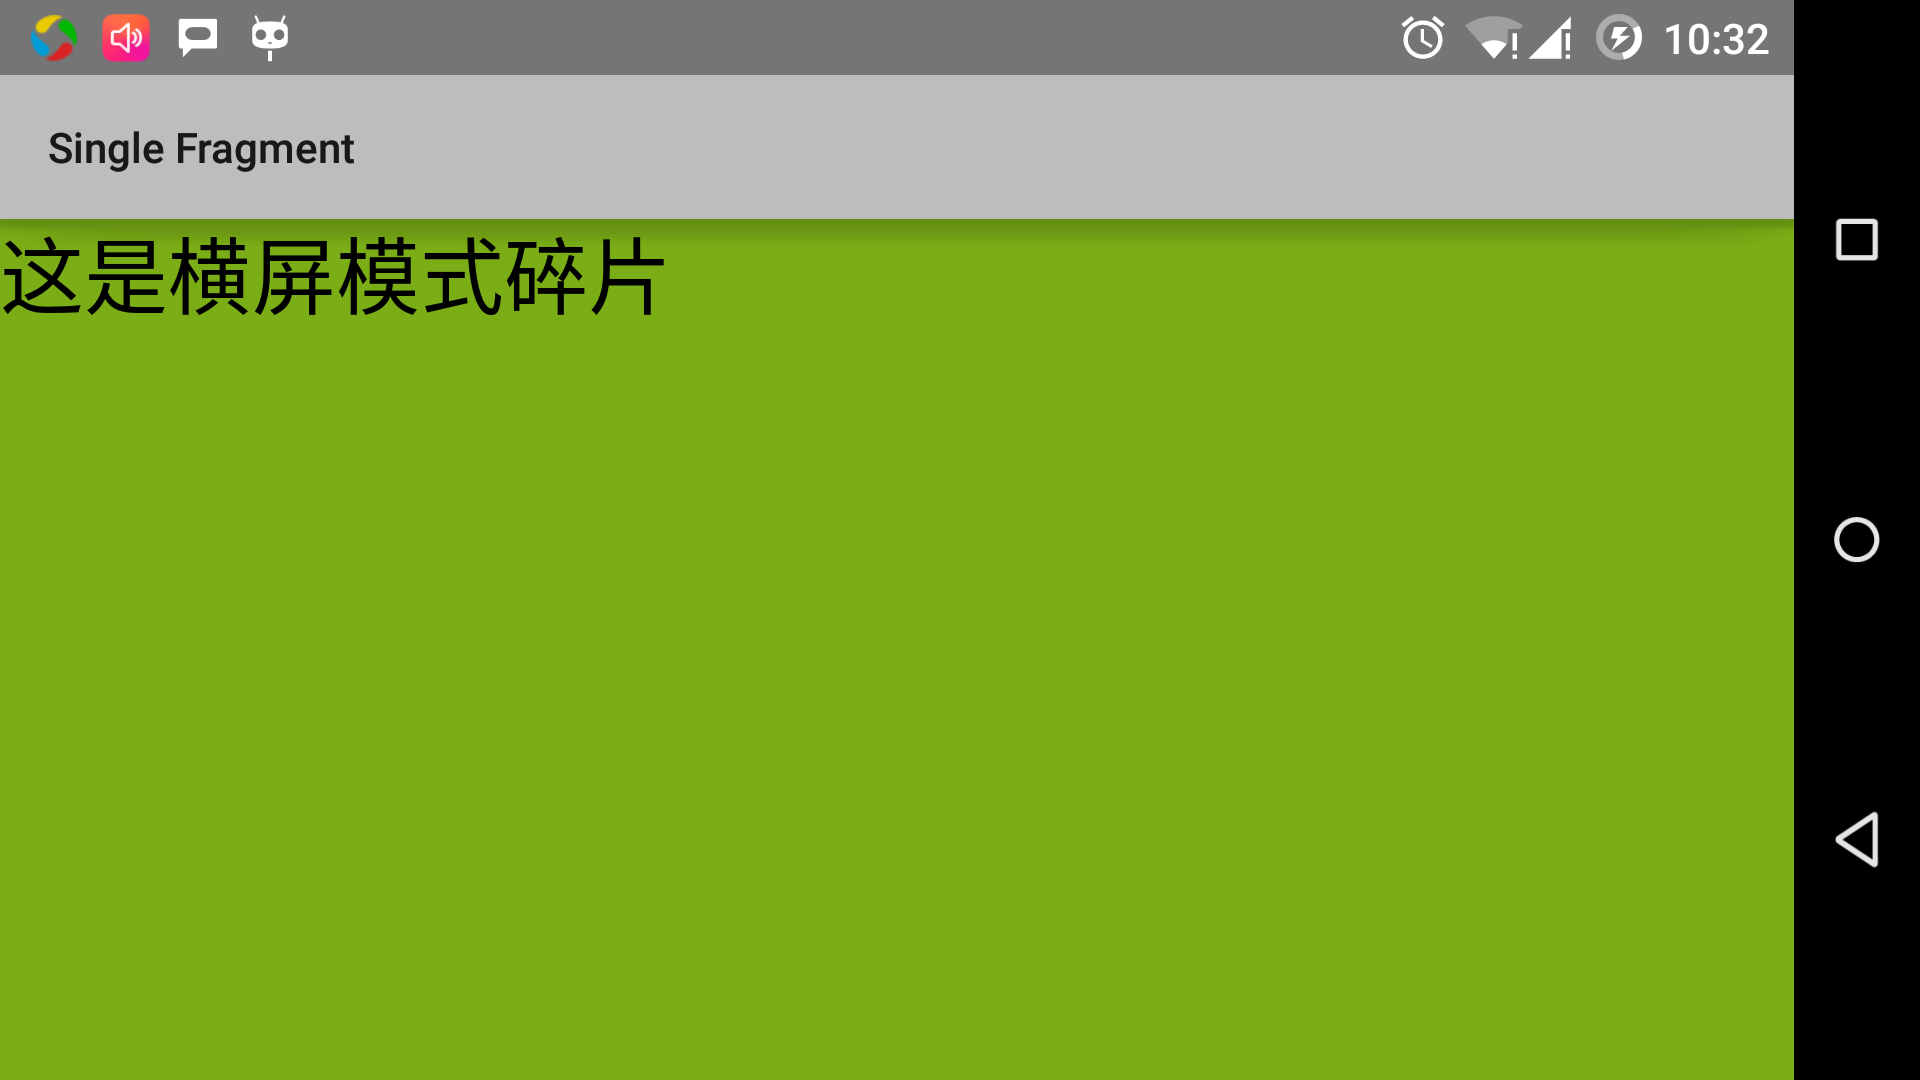
With this method, you can use different fragments in the same activity to implement different interfaces. You can build the interface with different types of UI components according to your needs.
Other Extensions