Android List Fragment
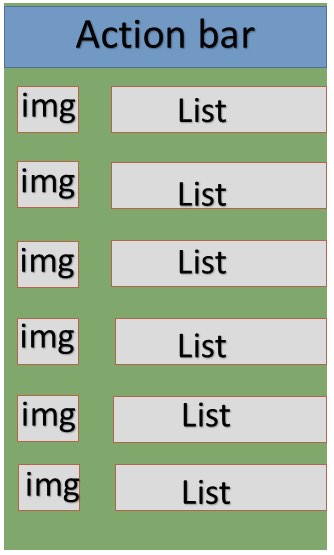
The basic implementation of a list fragment is to create a list of items in the fragment.
Example
This example explains how to create a list fragment based on ArrayAdapter. Let's get started by following the steps below:
| Step | Description |
|---|---|
| 1 | Use Android Studio to create an Android application, name it List Fragment, with the package name cn.uprogrammer.listfragment |
| 2 | Modify the string file, and add new string constants in res/values/string.xml |
| 3 | Create a layout file named list_fragment.xml under res/layout to define the list fragment, and add the |
| 4 | Create the MyListFragment.java file, which contains onCreateView(), onActivityCreated(), and OnItemClickListener(). |
| 5 | Start the Android emulator to run the application, and verify the results of the changes made to the application. |
Before starting coding, initialize the string constants in string.xml under the res/values directory.
<?xml version="1.0" encoding="utf-8"?>
<resources>
    <string name="app_name">listfragment</string>
    <string name="action_settings">Settings</string>
    <string name="hello_world">Hello world!</string>
    <string name="title_activity_main">List Fragment Demo</string>
    <string name="imgdesc">imgdesc</string>

    <string-array name="Planets">
        <item>Sun</item>
        <item>Mercury</item>
        <item>Venus</item>
        <item>Earth</item>
        <item>Mars</item>
        <item>Jupiter</item>
        <item>Saturn</item>
        <item>Uranus</item>
        <item>Neptune</item>
    </string-array>

</resources>
The following is the content of the res/layout/activity_main.xml file, which contains a linear layout and a fragment tag.
<?xml version="1.0" encoding="utf-8"?>
<LinearLayout
    xmlns:android="http://schemas.android.com/apk/res/android"
    android:layout_width="match_parent"
    android:layout_height="match_parent"
    android:orientation="vertical" >

    <fragment
        android:id="@+id/fragment1"
        android:name="cn.uprogrammer.listfragment.MyListFragment"
        android:layout_width="match_parent"
        android:layout_height="match_parent" />

</LinearLayout>
The following is the content of the res/layout/list_fragment.xml file, which contains a linear layout, a list view, and a TextView.
<?xml version="1.0" encoding="utf-8"?>
<LinearLayout
    xmlns:android="http://schemas.android.com/apk/res/android"
    android:layout_width="match_parent"
    android:layout_height="match_parent"
    android:orientation="vertical" >

    <ListView
        android:id="@android:id/list"
        android:layout_width="match_parent"
        android:layout_height="wrap_content" >
    </ListView>

    <TextView
        android:id="@android:id/empty"
        android:layout_width="match_parent"
        android:layout_height="wrap_content" >
    </TextView>

</LinearLayout>
The following is the content of the src/cn.uprogrammer.listfragment/MyListFragment.java file. Before starting coding, you need to follow the steps below:
- Create the MyListFragment class, extending ListFragment.
- In the onCreateView() method, use the list_fragment XML layout defined above to inflate the view.
- In the onActivityCreated() method, use the string array resource R.array.planet defined in string.xml to create an ArrayAdapter, set the adapter to the list view, and set the click listener for the list items.
- In the OnItemClickListener() method, display the position of the clicked item as a toast message.
package cn.uprogrammer.listfragment;

import android.app.ListFragment;

import android.annotation.SuppressLint;
import android.app.ListFragment;
import android.os.Bundle;

import android.view.LayoutInflater;
import android.view.View;
import android.view.ViewGroup;

import android.widget.AdapterView;
import android.widget.AdapterView.OnItemClickListener;
import android.widget.ArrayAdapter;
import android.widget.Toast;

public class MyListFragment extends ListFragment implements OnItemClickListener {
    @Override
    public View onCreateView(LayoutInflater inflater, ViewGroup container, Bundle savedInstanceState) {
        View view = inflater.inflate(R.layout.list_fragment, container, false);
        return view;
    }

    @Override
    public void onActivityCreated(Bundle savedInstanceState) {
        super.onActivityCreated(savedInstanceState);
        ArrayAdapter adapter = ArrayAdapter.createFromResource(getActivity(), R.array.Planets, android.R.layout.simple_list_item_1);
        setListAdapter(adapter);
        getListView().setOnItemClickListener(this);
    }

    @Override
    public void onItemClick(AdapterView<?> parent, View view, int position,long id) {
        Toast.makeText(getActivity(), "Item: " + position, Toast.LENGTH_SHORT).show();
    }
}
The following code is the content of MainActivity.java:
package cn.uprogrammer.listfragment;

import android.app.Activity;
import android.os.Bundle;

public class MainActivity extends Activity {

    @Override
    protected void onCreate(Bundle savedInstanceState) {
        super.onCreate(savedInstanceState);
        setContentView(R.layout.activity_main);
    }
}
The following is the content of the AndroidManifest.xml file:
<?xml version="1.0" encoding="utf-8"?>
<manifest xmlns:android="http://schemas.android.com/apk/res/android"
    package="cn.uprogrammer.listfragment">

    <application
        android:icon="@drawable/ic_launcher"
        android:label="@string/app_name"
        android:theme="@style/AppTheme" >

        <activity
            android:name=".MainActivity"
            android:label="@string/title_activity_main" >

            <intent-filter>
                <action android:name="android.intent.action.MAIN" />
                <category android:name="android.intent.category.LAUNCHER"/>
            </intent-filter>

        </activity>

    </application>
</manifest>
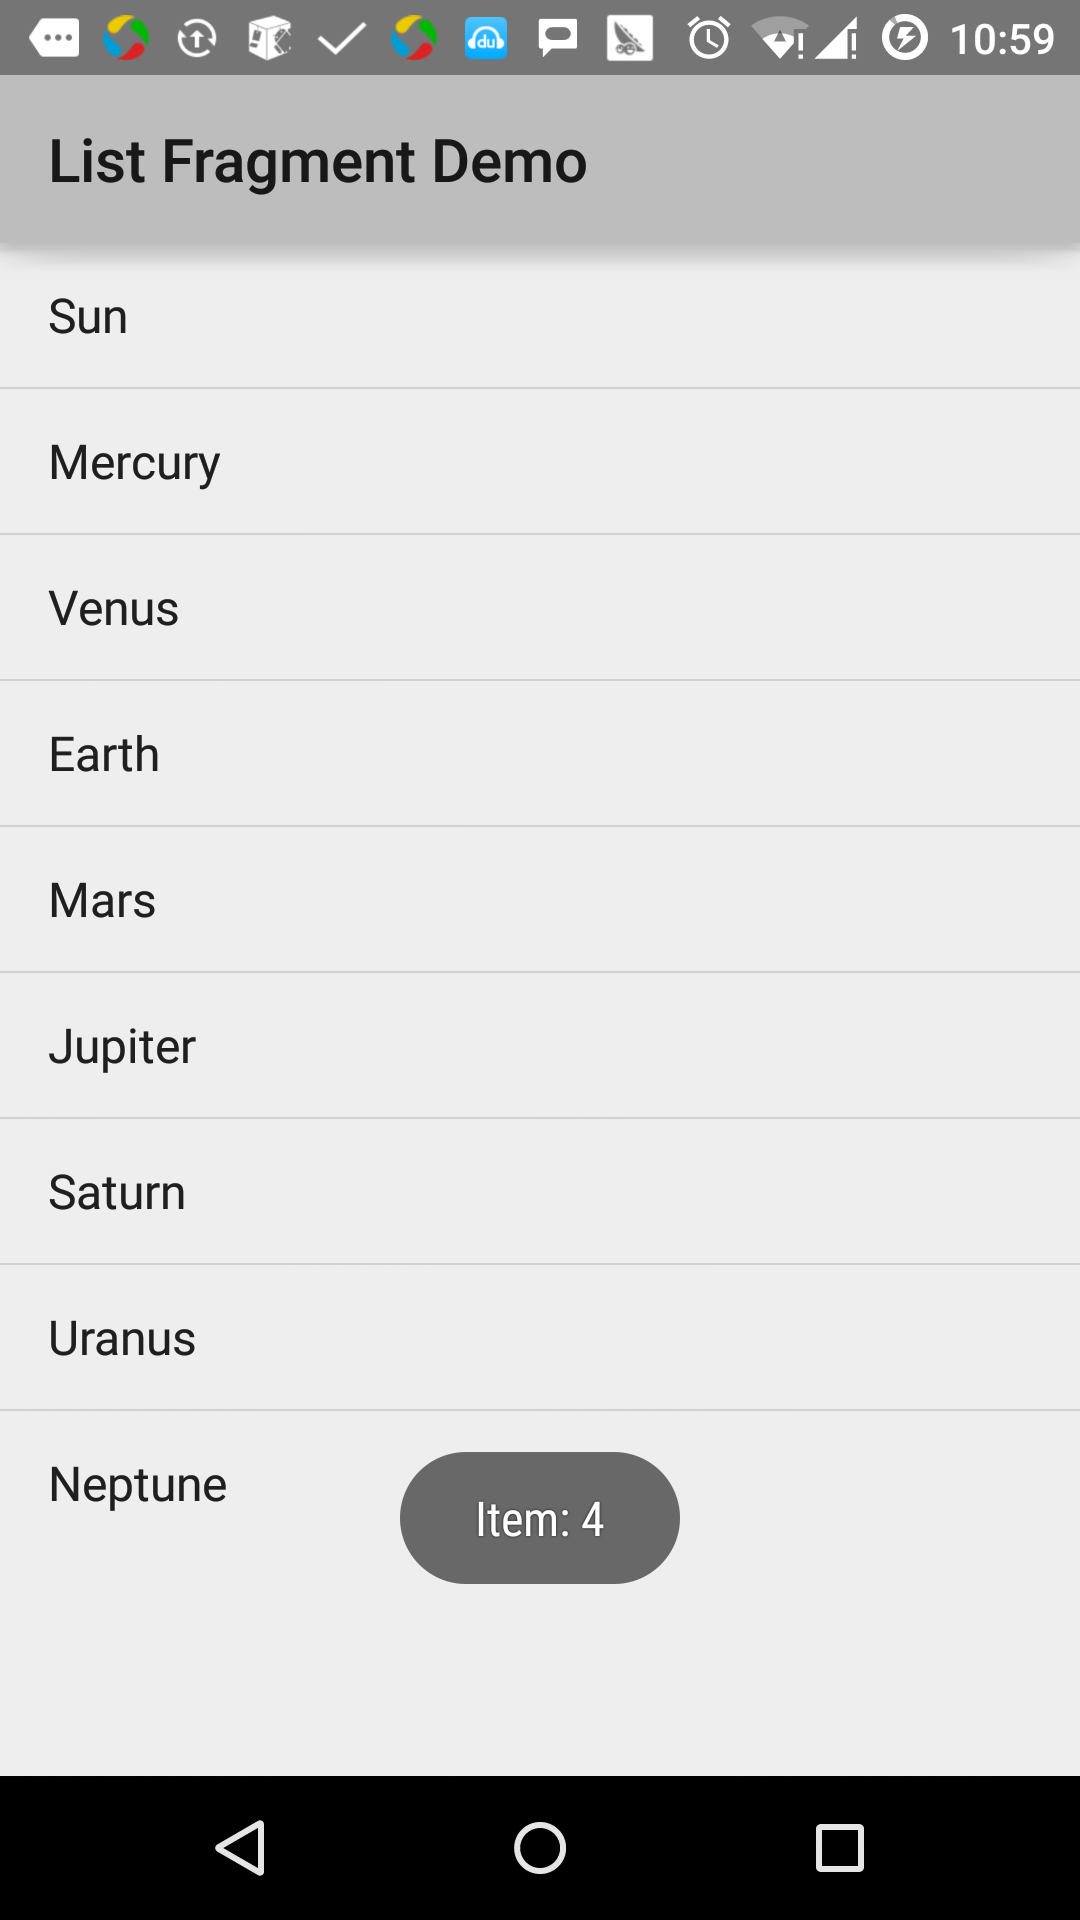
Let's run the List Fragment application we just modified. I assume you have already created an AVD during environment setup. Open the activity file in your project, and click the icon in the toolbar to run the application in Android Studio. Android Studio installs the application on the AVD and launches it. If everything goes smoothly, the following will be displayed on the emulator window: