Android Fragment Transitions
Activity and Fragment transitions in Lollipop (Android 5.0) are built on a relatively new Android feature called Transitions. Introduced in KitKat, the transition framework provides a convenient set of APIs to animate between different UI states of your application. This framework is built around two key concepts: scenes and transitions. A scene defines a given state of your application's UI, while a transition defines the animated change between two scenes.
When a scene changes, a transition has two main responsibilities:
- Capture the state of each view in the starting and ending scenes
- Create an Animator based on the differences in views that need to be animated from one scene to another.
Example
This example explains how to use fragment transitions to create custom animations. Let's start by following the steps below:
| Steps | Description |
|---|---|
| 1 | Use Android Studio to create an Android application, named Fragment Custom Animation, with the package name cn.uprogrammer.fragmentcustomanimation. |
| 2 | Modify the res/layout/activity_main.xml file and add a TextView |
| 3 | Create a layout file fragment_stack.xml under res/layout/ to define the fragment tag and button tag |
| 4 | Under res/, create a subdirectory anim, and add fragment_slide_left.xml, fragment_slide_left_exit.xml, fragment_slide_right_exit.xml and fragment_slide_left_enter.xml |
| 5 | In MainActivity.java, you need to add the fragment stack, fragment manager, and onCreateView() |
| 6 | Start the Android emulator to run the application, and verify the result of the changes made to the application. |
The following is the content of the res/layout/activity_main.xml file, which contains the frame layout and button.
<?xml version="1.0" encoding="utf-8"?>
<LinearLayout
    xmlns:android="http://schemas.android.com/apk/res/android"
    android:layout_width="match_parent"
    android:layout_height="match_parent"
    android:orientation="vertical" >

    <FrameLayout
        android:id="@+id/fragment1"
        android:layout_width="match_parent"
        android:layout_height="0dp"
        android:layout_weight="1" />

    <Button
        android:id="@+id/new_fragment"
        android:layout_width="wrap_content"
        android:layout_height="wrap_content"
        android:text="添加新碎片" />

</LinearLayout>
The following is the res/anim/fragment_stack.xml file:
<?xml version="1.0" encoding="utf-8"?>
<LinearLayout xmlns:android="http://schemas.android.com/apk/res/android"
    android:orientation="vertical" android:layout_width="match_parent"
    android:layout_height="match_parent">
    <TextView
        android:id="@+id/text"
        android:layout_width="match_parent"
        android:layout_height="match_parent"
        android:gravity="center"/>
</LinearLayout>
The following is the content of the res/animator/fragment_slide_left_enter.xml file, which contains the setting methods and Animator object tags.
<?xml version="1.0" encoding="utf-8"?>
<set xmlns:android="http://schemas.android.com/apk/res/android">
    <objectAnimator
        android:interpolator="@android:interpolator/decelerate_quint"
        android:valueFrom="100dp" android:valueTo="0dp"
        android:valueType="floatType"
        android:propertyName="translationX"
        android:duration="@android:integer/config_mediumAnimTime" />

    <objectAnimator
        android:interpolator="@android:interpolator/decelerate_quint"
        android:valueFrom="0.0" android:valueTo="1.0"
        android:valueType="floatType"
        android:propertyName="alpha"
        android:duration="@android:integer/config_mediumAnimTime" />
</set>
The following is the content of the res/animator/fragment_slide_left_exit.xml file, which contains the setting methods and Animator object tags.
<?xml version="1.0" encoding="utf-8"?>
<set xmlns:android="http://schemas.android.com/apk/res/android">
    <objectAnimator
        android:interpolator="@android:interpolator/decelerate_quint"
        android:valueFrom="0dp" android:valueTo="-100dp"
        android:valueType="floatType"
        android:propertyName="translationX"
        android:duration="@android:integer/config_mediumAnimTime" />

    <objectAnimator
        android:interpolator="@android:interpolator/decelerate_quint"
        android:valueFrom="1.0" android:valueTo="0.0"
        android:valueType="floatType"
        android:propertyName="alpha"
        android:duration="@android:integer/config_mediumAnimTime" />
</set>
The following is the content of the res/animator/fragment_slide_right_enter.xml file, which contains the setting methods and Animator object tags.
<?xml version="1.0" encoding="utf-8"?>
<set xmlns:android="http://schemas.android.com/apk/res/android">
    <objectAnimator
        android:interpolator="@android:interpolator/decelerate_quint"
        android:valueFrom="-100dp" android:valueTo="0dp"
        android:valueType="floatType"
        android:propertyName="translationX"
        android:duration="@android:integer/config_mediumAnimTime" />

    <objectAnimator
        android:interpolator="@android:interpolator/decelerate_quint"
        android:valueFrom="0.0" android:valueTo="1.0"
        android:valueType="floatType"
        android:propertyName="alpha"
        android:duration="@android:integer/config_mediumAnimTime" />
</set>
The following is the content of the res/animator/fragment_slide_right_exit.xml file, which contains the setting methods and Animator object tags.
<?xml version="1.0" encoding="utf-8"?>
<set xmlns:android="http://schemas.android.com/apk/res/android">
    <objectAnimator
        android:interpolator="@android:interpolator/decelerate_quint"
        android:valueFrom="0dp" android:valueTo="100dp"
        android:valueType="floatType"
        android:propertyName="translationX"
        android:duration="@android:integer/config_mediumAnimTime" />

    <objectAnimator
        android:interpolator="@android:interpolator/decelerate_quint"
        android:valueFrom="1.0" android:valueTo="0.0"
        android:valueType="floatType"
        android:propertyName="alpha"
        android:duration="@android:integer/config_mediumAnimTime" />
</set>
The following is the content of the src/cn.uprogrammer.fragmentcustomanimation/MainActivity.java file, including the button listener, CountingFragment, and onCreateView():
package cn.uprogrammer.fragmentcustomanimation;

import android.app.Activity;
import android.app.Fragment;
import android.app.FragmentTransaction;
import android.os.Bundle;

import android.view.LayoutInflater;
import android.view.View;
import android.view.View.OnClickListener;
import android.view.ViewGroup;

import android.widget.Button;
import android.widget.TextView;

/**
 * 演示在碎片事务中使用自定义动画.
 */
public class MainActivity extends Activity {
    int mStackLevel = 1;

    @Override
    protected void onCreate(Bundle savedInstanceState) {
        super.onCreate(savedInstanceState);
        setContentView(R.layout.activity_main);

        Button button = (Button)findViewById(R.id.new_fragment);

        button.setOnClickListener(new OnClickListener() {
            public void onClick(View v) {
                addFragmentToStack();
            }
        });

        if (savedInstanceState == null) {
            // 添加初始碎片
            Fragment newFragment = CountingFragment.newInstance(mStackLevel);
            FragmentTransaction ft = getFragmentManager().beginTransaction();
            ft.add(R.id.fragment1, newFragment).commit();
        }
        else
        {
            mStackLevel = savedInstanceState.getInt("level");
        }
    }

    @Override
    public void onSaveInstanceState(Bundle outState) {
        super.onSaveInstanceState(outState);
        outState.putInt("level", mStackLevel);
    }

    void addFragmentToStack() {
        mStackLevel++;

        // 实例化新的碎片
        Fragment newFragment = CountingFragment.newInstance(mStackLevel);

        // 添加碎片到活动,并将其放入后退栈中
        FragmentTransaction ft = getFragmentManager().beginTransaction();
        ft.setCustomAnimations(R.animator.fragment_slide_left_enter,
                R.animator.fragment_slide_left_exit,
                R.animator.fragment_slide_right_enter,
                R.animator.fragment_slide_right_exit);
        ft.replace(R.id.fragment1, newFragment);
        ft.addToBackStack(null);
        ft.commit();
    }

    public static class CountingFragment extends Fragment {
        int mNum;
        /**
         * 创建CountingFragment的实例,提供"num"作为参数
         */
        static CountingFragment newInstance(int num) {
            CountingFragment f = new CountingFragment();

            Bundle args = new Bundle();
            args.putInt("num", num);
            f.setArguments(args);
            return f;
        }

        /**
         * 在创建时,获取实例的number参数.
         */
        @Override
        public void onCreate(Bundle savedInstanceState) {
            super.onCreate(savedInstanceState);
            mNum = getArguments() != null ? getArguments().getInt("num") : 1;
        }
        /**
         * 碎片的界面仅包含一个TextView,用于显示number
         */
        @Override
        public View onCreateView(LayoutInflater inflater, ViewGroup container,Bundle savedInstanceState) {
            View v = inflater.inflate(R.layout.fragment_stack, container, false);
            View tv = v.findViewById(R.id.text);
            ((TextView)tv).setText("Fragment #" + mNum);
            tv.setBackgroundDrawable(getResources().getDrawable(android.R.drawable.gallery_thumb));
            return v;
        }
    }
}
The following is the content of the AndroidManifest.xml file:
<?xml version="1.0" encoding="utf-8"?>
<manifest xmlns:android="http://schemas.android.com/apk/res/android"
    package="cn.uprogrammer.fragmentcustomanimation"
    android:versionCode="1"
    android:versionName="1.0" >

    <application
        android:allowBackup="true"
        android:icon="@drawable/ic_launcher"
        android:label="@string/app_name"
        android:theme="@style/AppTheme" >

        <activity
            android:name=".MainActivity"
            android:label="@string/app_name" >

            <intent-filter>
                <action android:name="android.intent.action.MAIN" />
                <category android:name="android.intent.category.LAUNCHER" />
            </intent-filter>

        </activity>

    </application>
</manifest>
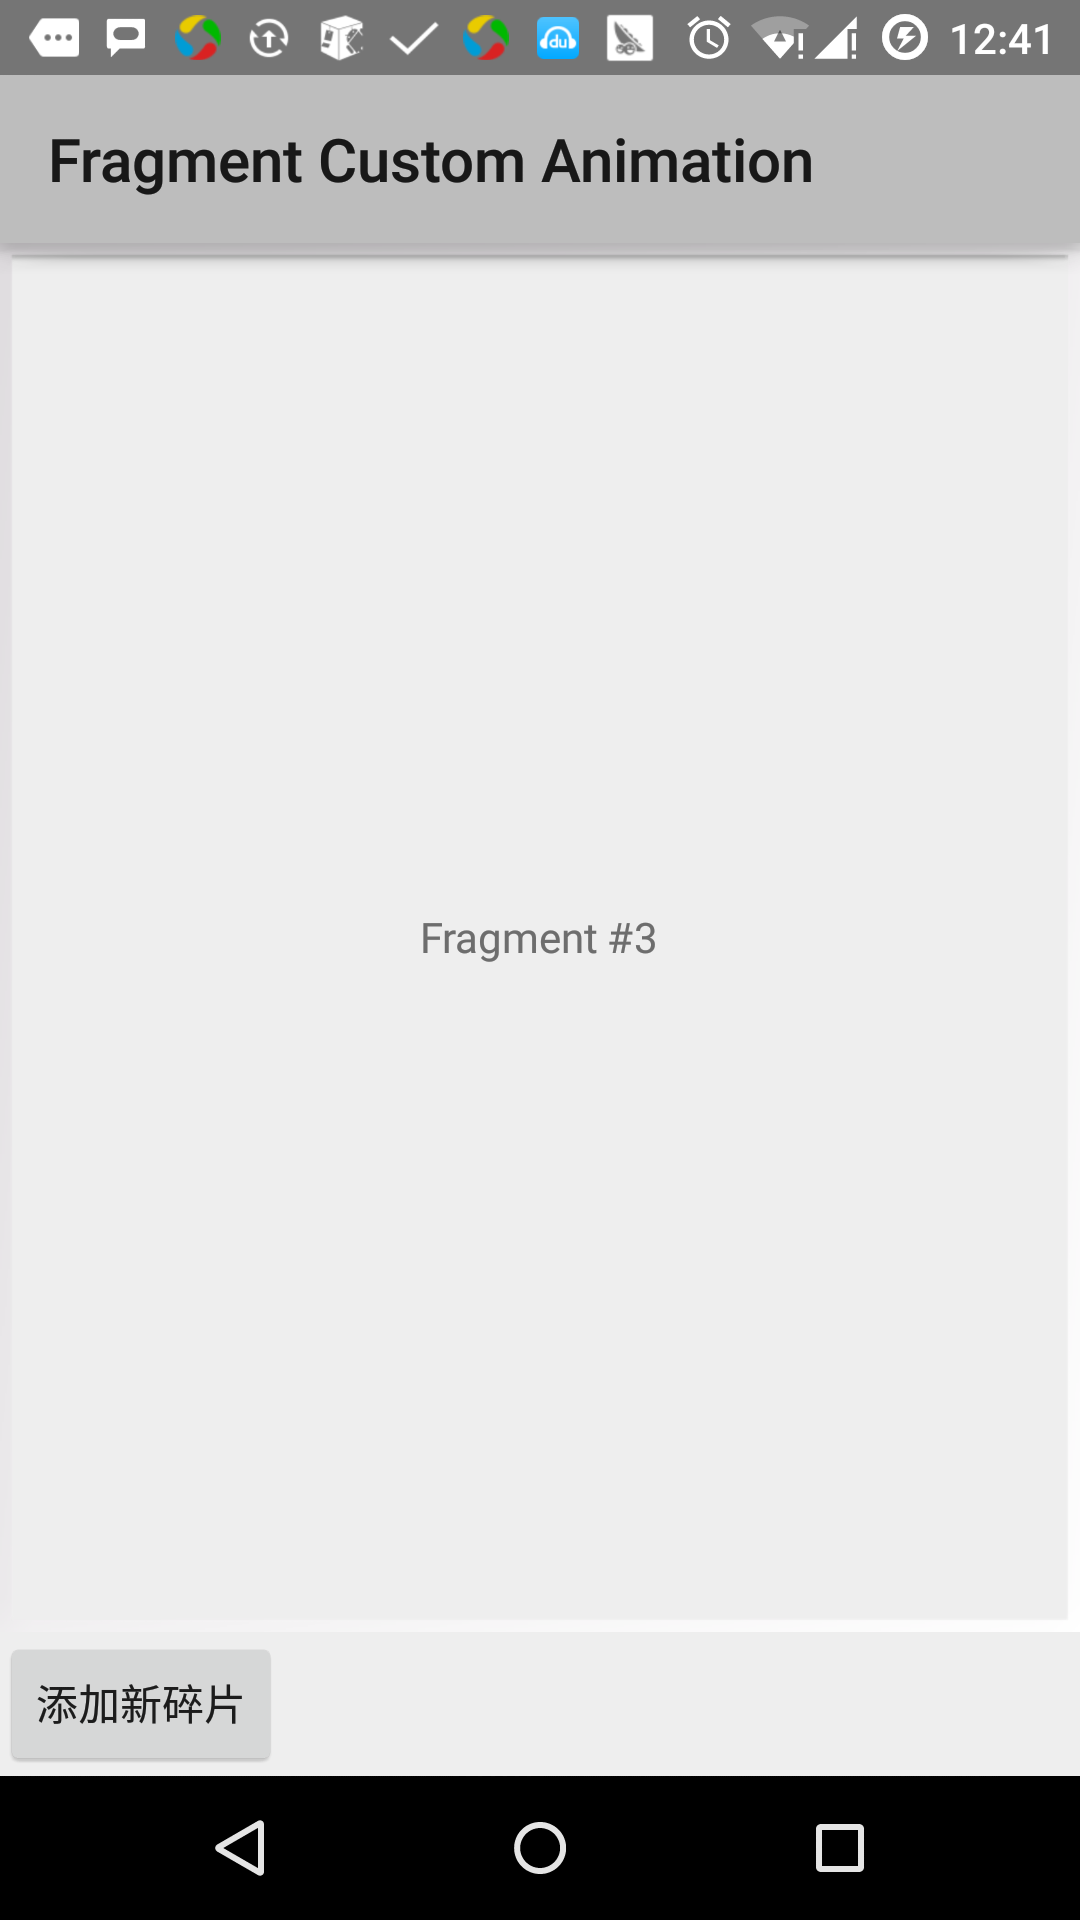
Let's run the just-modified Fragment Custom Animation application. I assume you have already created an AVD during environment setup. Open the activity file in your project, and click the icon to run the app in Android Studio. Android Studio installs the app on the AVD and launches it. If everything goes smoothly, the following will be displayed on the emulator window: