Pillow Drawing Chinese Garbled Text
Adding text to an image is a common requirement in image processing, such as adding watermarks to images, creating posters, etc. Pillow providesImageDrawmodule to implement this functionality.
Basic Steps
The basic steps to add text to an image are as follows:
- Open or create an image
- Create an ImageDraw object
- Specify the font
- Use
text()method to add text - Save the image
Example
Example
# 1. Create a new image
image = Image.new('RGB', (400, 200), color=(255, 255, 255))
# 2. Create an ImageDraw object
draw = ImageDraw.Draw(image)
# 3. Specify the font (using the default font here)
# Note: The default font may not support Chinese
font = ImageFont.load_default()
# 4. Add text
draw.text((10, 10), "Hello, Pillow!", fill="black", font=font)
# 5. Save the image
image.save('output.png')
Adding Chinese Fonts
By default, Pillow's default font does not support Chinese characters.
To add Chinese to an image, we need to use a font file that supports Chinese (usually in .ttf or .otf format).
Obtaining Chinese Fonts
You can obtain Chinese fonts from the following sources:
Use the Chinese fonts that come with the system (such as Windows' simsun.ttc)
Download from free font websites (such as Source Han Sans, Alibaba PuHuiTi, etc.).
Purchase commercial fonts (pay attention to copyright issues)
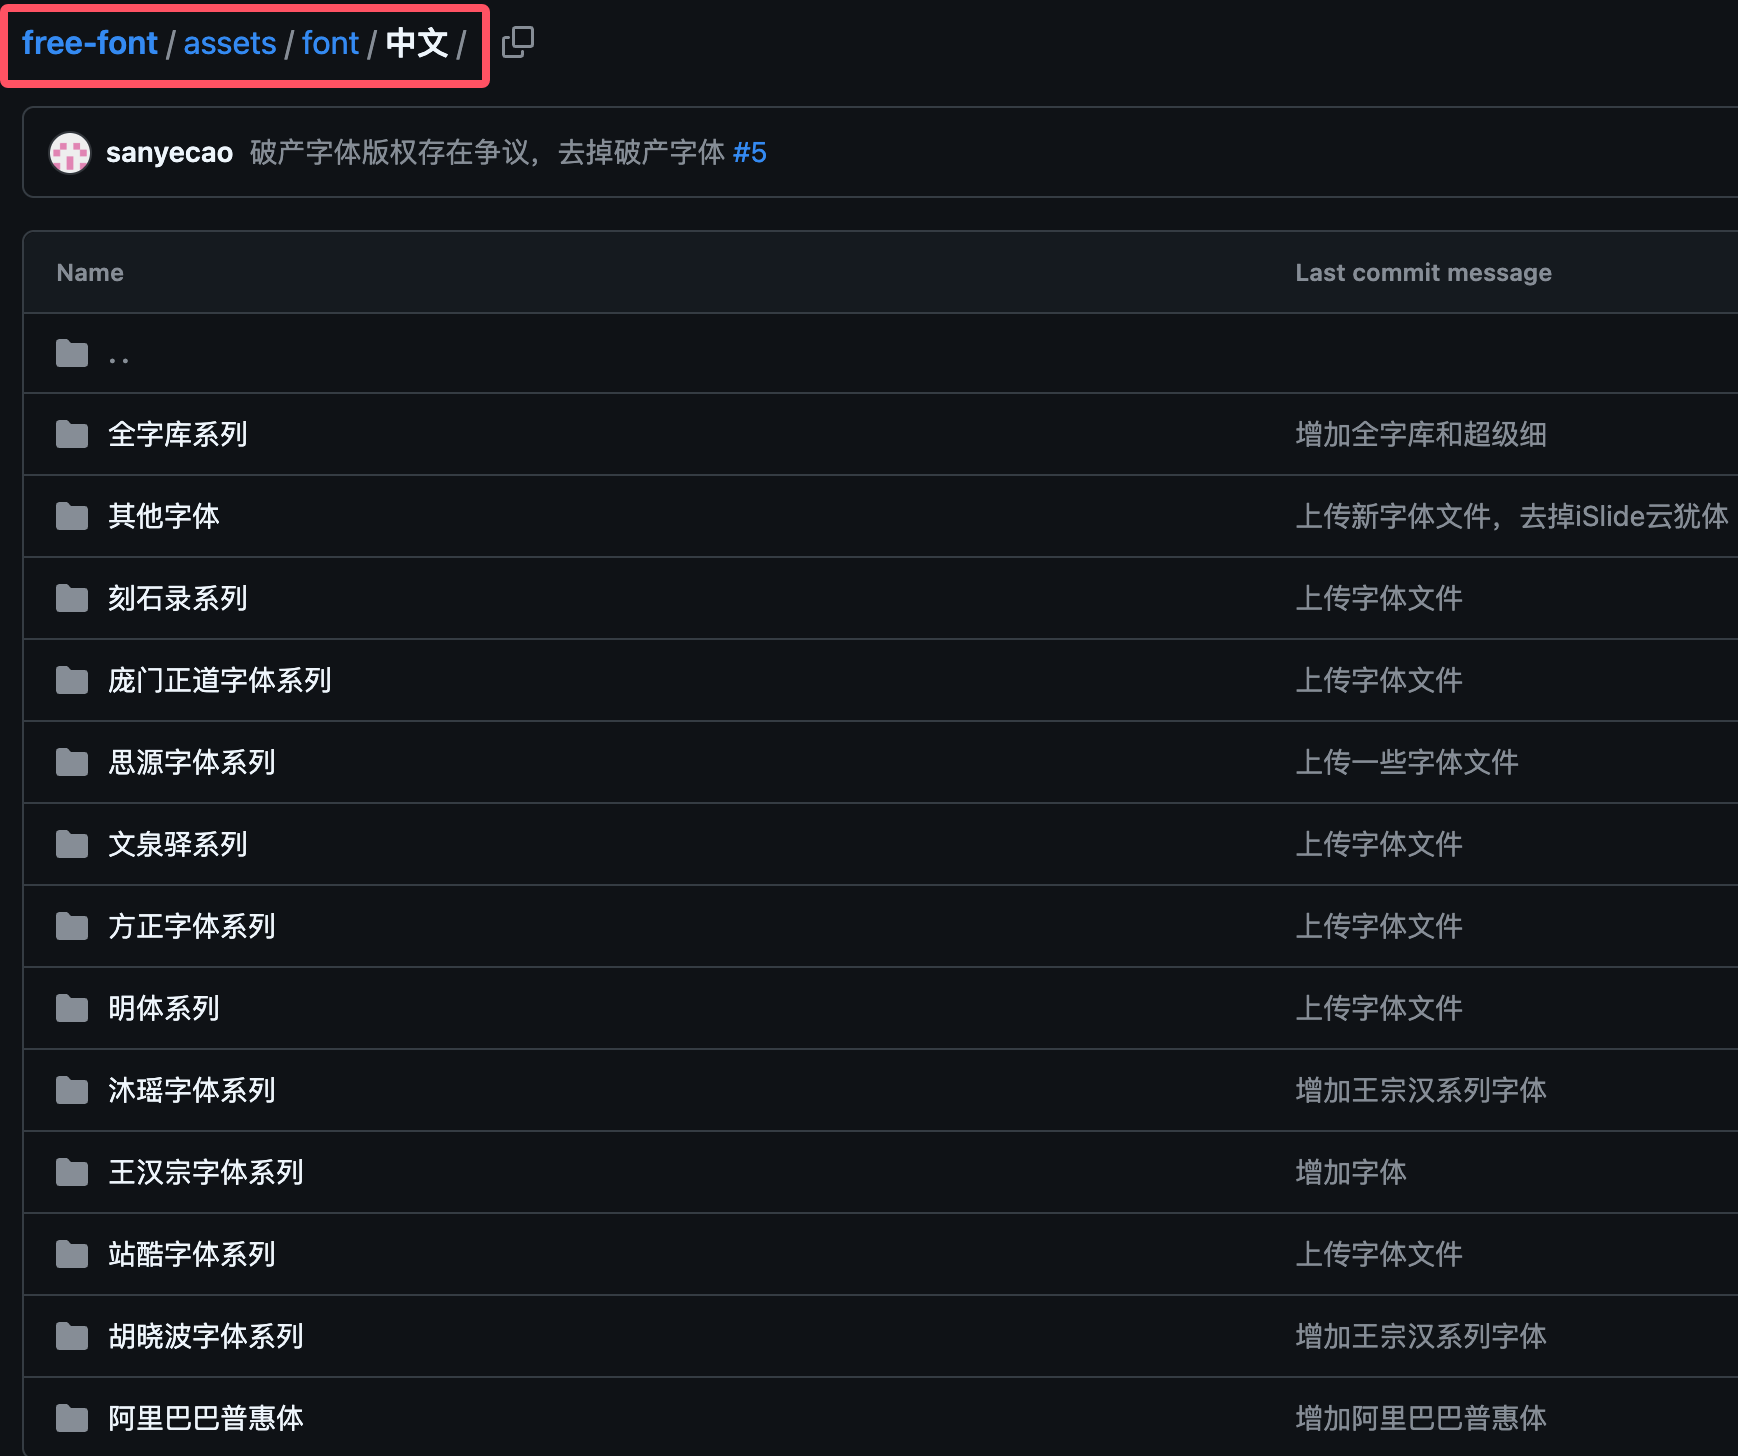
Open source Chinese font library downloads:https://github.com/wordshub/free-font。
Example code for using Chinese fonts
Example
# 1. Create a new image
image = Image.new('RGB', (400, 200), color=(255, 255, 255))
# 2. Create an ImageDraw object
draw = ImageDraw.Draw(image)
# 3. Specify a Chinese font
# Note: Replace it with the path to a font file that exists on your system
font_path = "SimHei.ttf" # SimHei font path
font_size = 20
font = ImageFont.truetype(font_path, font_size)
# 4. Add Chinese text
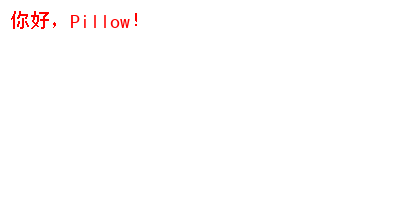
draw.text((10, 10), "Hello, Pillow!", fill="red", font=font)
# 5. Save the image
image.save('chinese_output.png')
The output is as follows, Chinese displays correctly:
Advanced Text Layout Techniques
Text Position Control
text()The first parameter of the method is the coordinate (x, y), which indicates the top-left position of the text. We can control the text position through calculation.
Example
# 1. Create a new image
image = Image.new('RGB', (400, 200), color=(255, 255, 255))
# 2. Create an ImageDraw object
draw = ImageDraw.Draw(image)
# 3. Specify a Chinese font
# Note: Replace it with the path to a font file that exists on your system
font_path = "SimHei.ttf" # SimHei font path
font_size = 20
font = ImageFont.truetype(font_path, font_size)
# 4. Add Chinese text
# Center the text
text = "Centered text"
bbox = draw.textbbox((0, 0), text, font=font)
text_width = bbox[2] - bbox[0]
text_height = bbox[3] - bbox[1]
image_width, image_height = image.size
x = (image_width - text_width) / 2
y = (image_height - text_height) / 2
draw.text((x, y), text, fill="red", font=font)
# 5. Save the image
image.save('chinese_output.png')
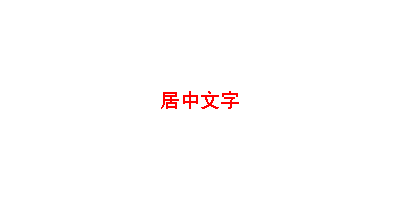
The output is as follows, the text is centered:
Multiline Text Processing
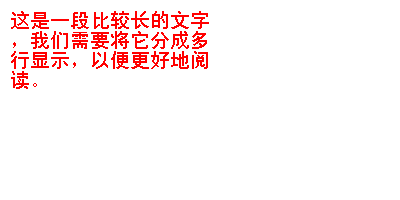
Pillow itself does not directly support automatic line wrapping, but we can implement it manually:
Example
# 1. Create a new image
image = Image.new('RGB', (400, 200), color=(255, 255, 255))
# 2. Create an ImageDraw object
draw = ImageDraw.Draw(image)
# 3. Specify a Chinese font
# Note: Replace it with the path to a font file that exists on your system
font_path = "SimHei.ttf" # SimHei font path
font_size = 20
font = ImageFont.truetype(font_path, font_size)
# 4. Add Chinese text
# Multiline display
# The Chinese text to display
text = This is a relatively long piece of text, and we need to split it into multiple lines for better readability.
max_width = 200 # Maximum width per line (pixels)
lines = [] # Store the text after line breaking
current_line = "" # The current line being processed
# Iterate through the text by characters to determine whether a line break is needed
for char in text:
test_line = current_line + char
# Calculate the width of the current line to determine if it exceeds the maximum width
if draw.textbbox((0, 0), test_line, font=font)[2] <= max_width:
current_line = test_line
else:
lines.append(current_line) # The current line is full, add it to the result
current_line = char # A new line starts with the current character
if current_line:
lines.append(current_line) # Add the last line
y_text = 10 # Initial y coordinate
# Draw text line by line
for line in lines:
draw.text((10, y_text), line, fill="red", font=font)
bbox = draw.textbbox((0, 0), line, font=font)
line_height = bbox[3] - bbox[1] # Calculate the height of the current line
y_text += line_height # Update the y coordinate to prepare for drawing the next line
# 5. Save the image
image.save('chinese_output.png')
The output is as follows:
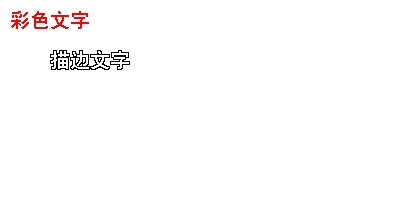
Text Style Settings
We can set text styles through font files or Pillow's functionality:
Example
# 1. Create a new image
image = Image.new('RGB', (400, 200), color=(255, 255, 255))
# 2. Create an ImageDraw object
draw = ImageDraw.Draw(image)
# 3. Specify a Chinese font
# Note: Replace it with the path to a font file that exists on your system
font_path = "SimHei.ttf" # SimHei font path
font_size = 20
font = ImageFont.truetype(font_path, font_size)
# 4. Add Chinese text
# Set text color
draw.text((10, 10), "Colored text", fill=(255, 0, 0), font=font) # Red
# Add text outline (implemented by drawing multiple times)
text = "Outlined text"
position = (50, 50)
# First draw a black background (outline)
for x_offset in [-1, 0, 1]:
for y_offset in [-1, 0, 1]:
if x_offset != 0 or y_offset != 0:
draw.text((position[0]+x_offset, position[1]+y_offset), text, fill="black", font=font)
# Then draw white foreground
draw.text(position, text, fill="white", font=font)
# 5. Save the image
image.save('chinese_output.png')
The output is as follows:
Practical Application Examples
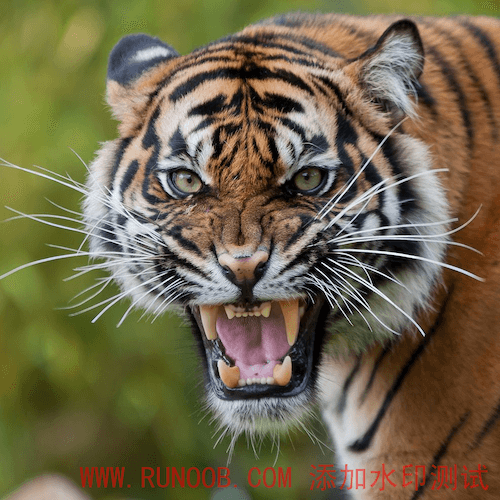
Adding a Watermark to an Image
Example
# 1. Create a new image
# Open the original image
original_image = Image.open("tiger.jpeg")
# Create a transparent layer for the watermark
watermark = Image.new("RGBA", original_image.size, (0, 0, 0, 0))
draw = ImageDraw.Draw(watermark)
# Set the watermark font
font_path = "SimHei.ttf" # SimHei font path
font_size = 60
font = ImageFont.truetype(font_path, font_size)
# Add watermark text
text = WWW.example.com Add watermark test
bbox = draw.textbbox((0, 0), text, font=font)
text_width = bbox[2] - bbox[0]
text_height = bbox[3] - bbox[1]
x = original_image.width - text_width - 20
y = original_image.height - text_height - 20
draw.text((x, y), text, fill=(255, 0, 0, 128), font=font) # Semi-transparent red
# Merge the watermark and the original image
watermarked_image = Image.alpha_composite(
original_image.convert("RGBA"),
watermark
)
# Save the result
watermarked_image.save("watermarked_photo.png")
The effect is as follows:
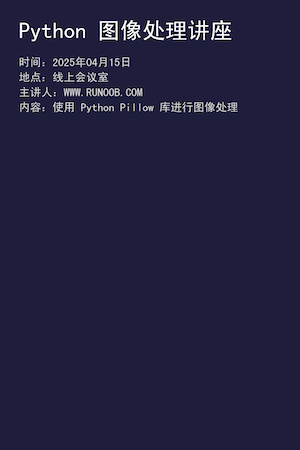
Creating a Poster
Example
# Create poster background
poster = Image.new("RGB", (800, 1200), (30, 30, 60))
draw = ImageDraw.Draw(poster)
# Set the title font
title_font = ImageFont.truetype("SimHei.ttf", 60)
# Set the body font
body_font = ImageFont.truetype("SimHei.ttf", 30)
# Add title
title = Python Image Processing Lecture
draw.text((50, 50), title, fill=(255, 255, 255), font=title_font)
# Add body text
content = """Date: April 15, 2025
Location: Online meeting room
Presenter: WWW.example.com
Content: Use the Python Pillow library for image processing"""
y_position = 150
for line in content.split("\n"):
draw.text((50, y_position), line, fill=(220, 220, 220), font=body_font)
y_position += 40
# Save the poster
poster.save("event_poster.png")
The effect is as follows:
Through the above methods and examples, you should be able to add Chinese fonts in Pillow with ease. Remember to consider font copyright issues in practical applications, and adjust text styles and positions as needed.
Other Extensions