Pillow 描画時の中国語文字化け
画像に文字を追加することは、画像処理でよくある要件です。例えば、画像に透かしを追加したり、ポスターを作成したりします。Pillow はImageDrawモジュールでこの機能を実現します。
基本手順
画像に文字を追加する基本的な手順は次のとおりです:
- 画像を開くか作成する
- ImageDraw オブジェクトを作成する
- フォントを指定する
- 使用して
text()メソッドで文字を追加する - 画像を保存する
実例
実例
# 1. 新しい画像を作成する
image = Image.new('RGB', (400, 200), color=(255, 255, 255))
# 2. ImageDraw オブジェクトを作成する
draw = ImageDraw.Draw(image)
# 3. フォントを指定する(ここではデフォルトフォントを使用)
# 注意:デフォルトフォントは中国語をサポートしていない可能性があります
font = ImageFont.load_default()
# 4. 文字を追加する
draw.text((10, 10), "Hello, Pillow!", fill="black", font=font)
# 5. 画像を保存する
image.save('output.png')
中国語フォントの追加
デフォルトでは、Pillow のデフォルトフォントは中国語の表示をサポートしていません。
画像に中国語を追加するには、中国語をサポートするフォントファイル(通常は .ttf または .otf 形式)を使用する必要があります。
中国語フォントの入手
中国語フォントは以下の方法で入手できます:
システム内蔵の中国語フォントを使用する(例:Windows の simsun.ttc)
無料フォントサイトからダウンロードする(例:思源黑体(Source Han Sans)、阿里巴巴普惠体(Alibaba PuHuiTi)など)。
商用フォントを購入する(著作権に注意)
オープンソースの中国語フォントライブラリのダウンロード:https://github.com/wordshub/free-font。
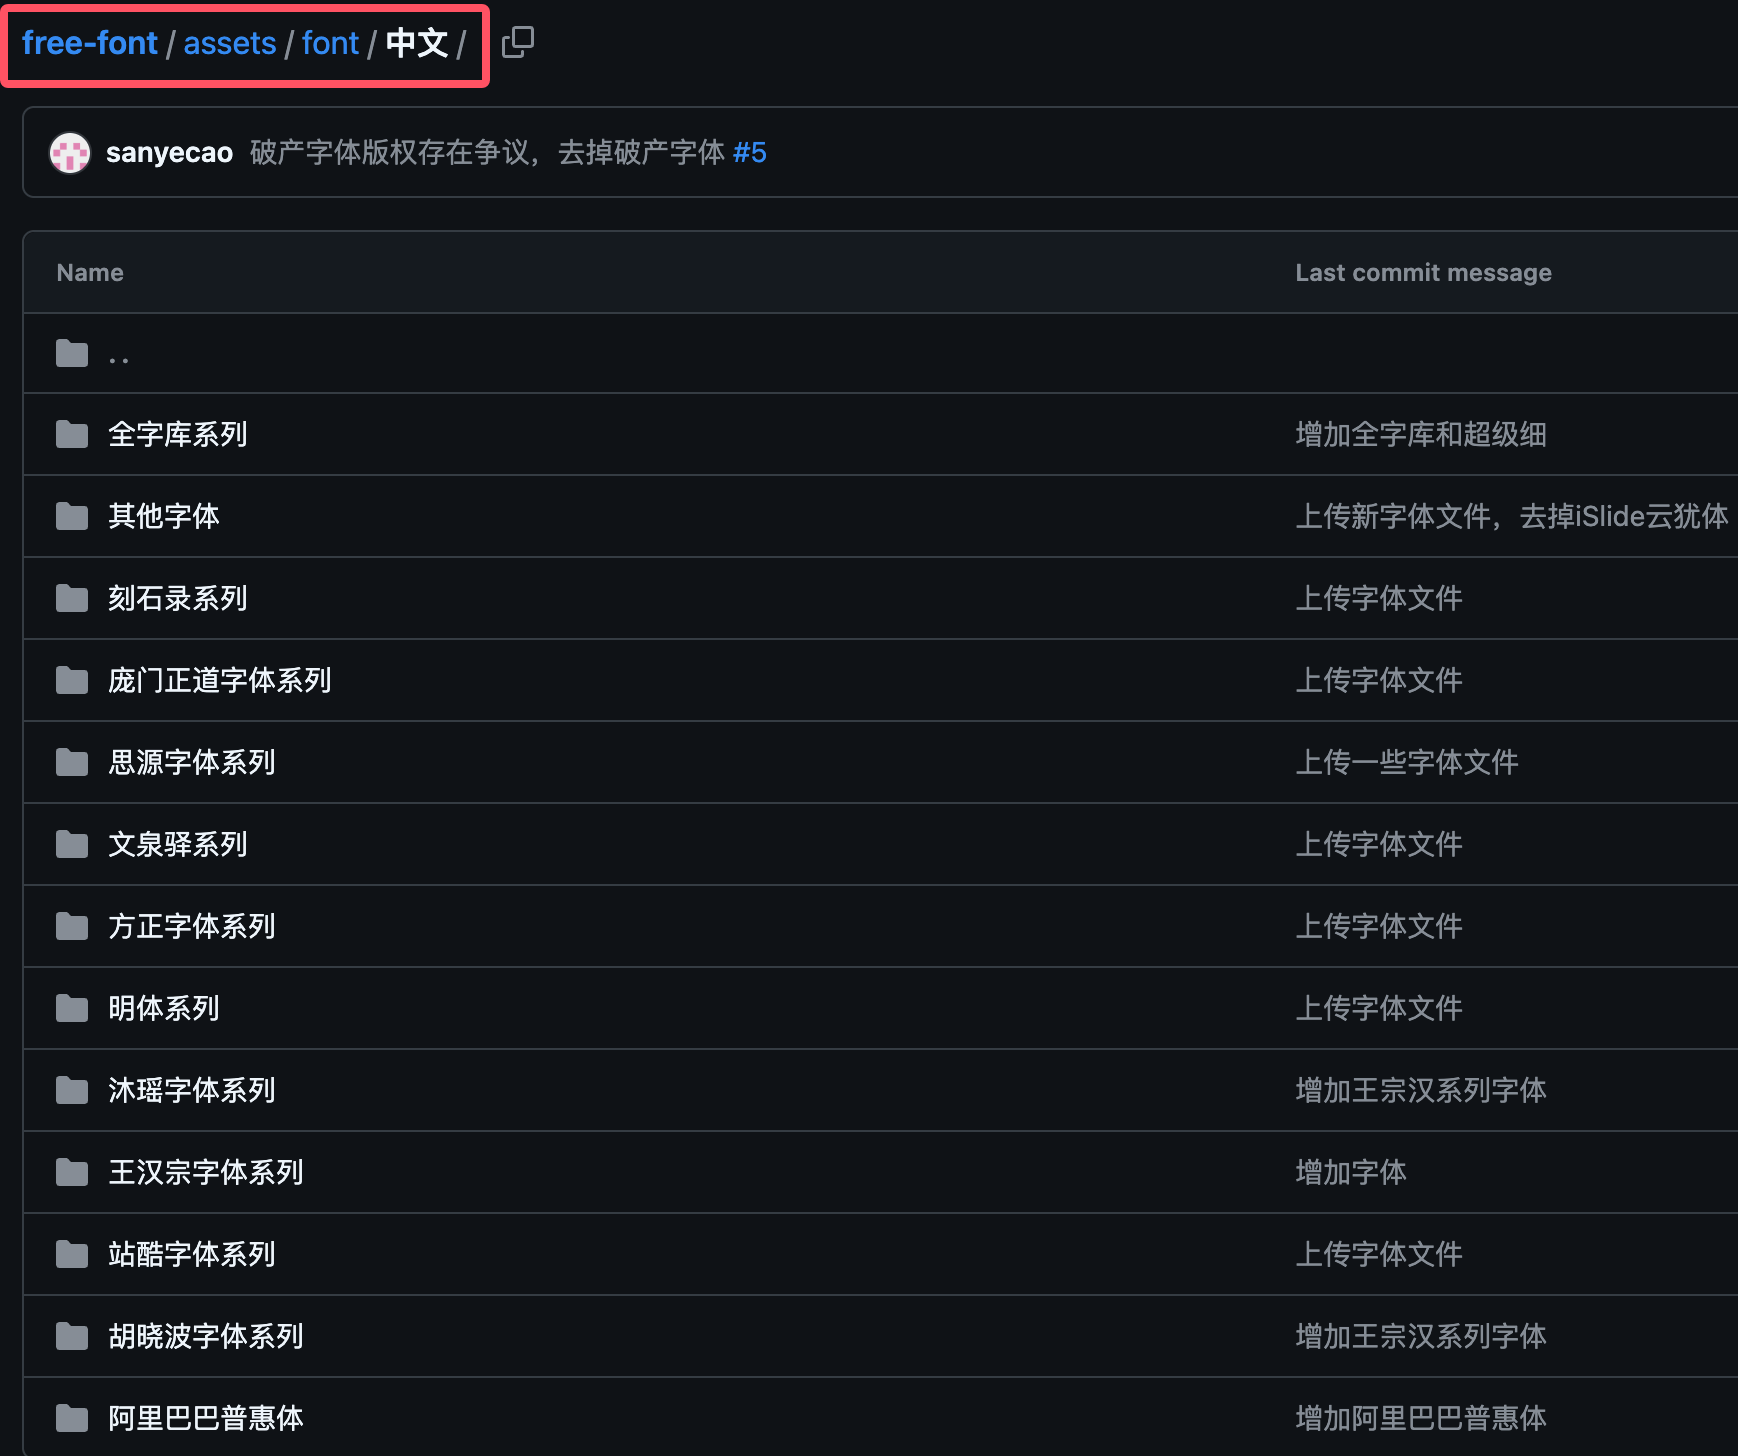
中国語フォントを使用するサンプルコード
実例
# 1. 新しい画像を作成する
image = Image.new('RGB', (400, 200), color=(255, 255, 255))
# 2. ImageDraw オブジェクトを作成する
draw = ImageDraw.Draw(image)
# 3. 中国語フォントを指定する
# 注意:お使いのシステムに存在するフォントファイルのパスに置き換える必要があります
font_path = "SimHei.ttf" # 黑体(ゴシック体)フォントのパス
font_size = 20
font = ImageFont.truetype(font_path, font_size)
# 4. 中国語の文字を追加する
draw.text((10, 10), "你好,Pillow!", fill="red", font=font)
# 5. 画像を保存する
image.save('chinese_output.png')
出力結果は以下のようになり、中国語が正常に表示されます:
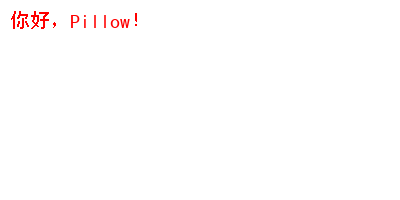
文字レイアウトの高度なテクニック
文字位置の制御
text()メソッドの最初のパラメータは座標 (x, y) で、文字の左上の位置を表します。計算によって文字の位置を制御できます。
実例
# 1. 新しい画像を作成する
image = Image.new('RGB', (400, 200), color=(255, 255, 255))
# 2. ImageDraw オブジェクトを作成する
draw = ImageDraw.Draw(image)
# 3. 中国語フォントを指定する
# 注意:お使いのシステムに存在するフォントファイルのパスに置き換える必要があります
font_path = "SimHei.ttf" # 黑体(ゴシック体)フォントのパス
font_size = 20
font = ImageFont.truetype(font_path, font_size)
# 4. 中国語の文字を追加する
# 文字を中央に表示する
text = "居中文字"
bbox = draw.textbbox((0, 0), text, font=font)
text_width = bbox[2] - bbox[0]
text_height = bbox[3] - bbox[1]
image_width, image_height = image.size
x = (image_width - text_width) / 2
y = (image_height - text_height) / 2
draw.text((x, y), text, fill="red", font=font)
# 5. 画像を保存する
image.save('chinese_output.png')
出力結果は以下のようになり、文字が中央に表示されます:
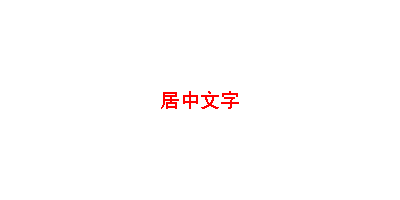
複数行テキストの処理
Pillow 自体は自動改行を直接サポートしていませんが、手動で実装できます:
実例
# 1. 新しい画像を作成する
image = Image.new('RGB', (400, 200), color=(255, 255, 255))
# 2. ImageDraw オブジェクトを作成する
draw = ImageDraw.Draw(image)
# 3. 中国語フォントを指定する
# 注意:お使いのシステムに存在するフォントファイルのパスに置き換える必要があります
font_path = "SimHei.ttf" # 黑体(ゴシック体)フォントのパス
font_size = 20
font = ImageFont.truetype(font_path, font_size)
# 4. 中国語の文字を追加する
# 複数行で表示する
# 表示する中国語テキスト
text = "これは比較の長いテキストです。読みやすくするため、複数行に分けて表示する必要があります。"
max_width = 200 # 各行の最大幅(ピクセル)
lines = [] # 分割後のテキストを格納する
current_line = "" # 現在処理中の行
# テキストを文字ごとに走査し、改行が必要かどうかを判断する
for char in text:
test_line = current_line + char
# 現在の行の幅を計算し、最大幅を超えているかどうかを判断する
if draw.textbbox((0, 0), test_line, font=font)[2] <= max_width:
current_line = test_line
else:
lines.append(current_line) # 現在の行が満杯になったため、結果に追加する
current_line = char # 新しい行は現在の文字から始める
if current_line:
lines.append(current_line) # 最後の行を追加する
y_text = 10 # 初期 y 座標
# テキストを1行ずつ描画する
for line in lines:
draw.text((10, y_text), line, fill="red", font=font)
bbox = draw.textbbox((0, 0), line, font=font)
line_height = bbox[3] - bbox[1] # 現在の行の高さを計算する
y_text += line_height # y 座標を更新し、次の行を描画する準備をする
# 5. 画像を保存する
image.save('chinese_output.png')
出力結果は以下のとおりです:
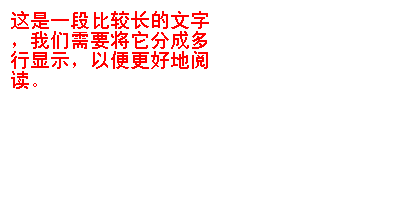
文字スタイルの設定
フォントファイルや Pillow の機能を使用して文字スタイルを設定できます:
実例
# 1. 新しい画像を作成する
image = Image.new('RGB', (400, 200), color=(255, 255, 255))
# 2. ImageDraw オブジェクトを作成する
draw = ImageDraw.Draw(image)
# 3. 中国語フォントを指定する
# 注意:お使いのシステムに存在するフォントファイルのパスに置き換える必要があります
font_path = "SimHei.ttf" # 黑体(ゴシック体)フォントのパス
font_size = 20
font = ImageFont.truetype(font_path, font_size)
# 4. 中国語の文字を追加する
# 文字の色を設定する
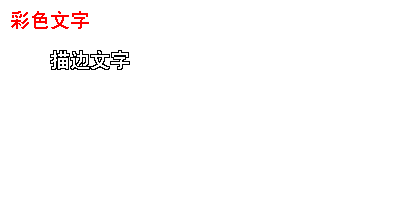
draw.text((10, 10), "彩色文字", fill=(255, 0, 0), font=font) # 赤色
# 文字の縁取りを追加する(複数回の描画で実現)
text = "描边文字"
position = (50, 50)
# 最初に黒い背景(縁取り)を描画する
for x_offset in [-1, 0, 1]:
for y_offset in [-1, 0, 1]:
if x_offset != 0 or y_offset != 0:
draw.text((position[0]+x_offset, position[1]+y_offset), text, fill="black", font=font)
# 次に白い前景を描画する
draw.text(position, text, fill="white", font=font)
# 5. 画像を保存する
image.save('chinese_output.png')
出力結果は以下のとおりです:
実践的な応用例
画像に透かしを追加する
実例
# 1. 新しい画像を作成する
# 元の画像を開く
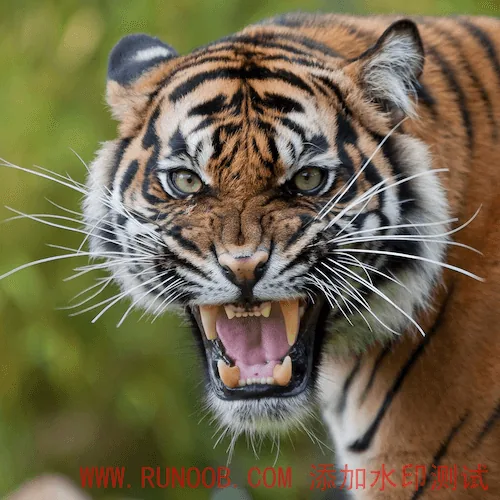
original_image = Image.open("tiger.jpeg")
# 透かし用の透明レイヤーを作成する
watermark = Image.new("RGBA", original_image.size, (0, 0, 0, 0))
draw = ImageDraw.Draw(watermark)
# 透かしフォントを設定する
font_path = "SimHei.ttf" # 黑体(ゴシック体)フォントのパス
font_size = 60
font = ImageFont.truetype(font_path, font_size)
# 透かし文字を追加する
text = "WWW.example.com 添加水印测试"
bbox = draw.textbbox((0, 0), text, font=font)
text_width = bbox[2] - bbox[0]
text_height = bbox[3] - bbox[1]
x = original_image.width - text_width - 20
y = original_image.height - text_height - 20
draw.text((x, y), text, fill=(255, 0, 0, 128), font=font) # 半透明の赤色
# 透かしと元の画像を合成する
watermarked_image = Image.alpha_composite(
original_image.convert("RGBA"),
watermark
)
# 結果を保存する
watermarked_image.save("watermarked_photo.png")
効果は以下のとおりです:
ポスターの作成
実例
# ポスターの背景を作成する
poster = Image.new("RGB", (800, 1200), (30, 30, 60))
draw = ImageDraw.Draw(poster)
# タイトルのフォントを設定する
title_font = ImageFont.truetype("SimHei.ttf", 60)
# 本文のフォントを設定する
body_font = ImageFont.truetype("SimHei.ttf", 30)
# タイトルを追加する
title = "Python 图像处理讲座"
draw.text((50, 50), title, fill=(255, 255, 255), font=title_font)
# 本文を追加する
content = """时间:2025年04月15日
地点:线上会议室
主讲人:WWW.example.com
内容:使用 Python Pillow 库进行图像处理"""
y_position = 150
for line in content.split("\n"):
draw.text((50, y_position), line, fill=(220, 220, 220), font=body_font)
y_position += 40
# ポスターを保存する
poster.save("event_poster.png")
効果は以下のとおりです:

上記の方法と例を通じて、Pillow で中国語フォントを自由に追加できるようになるはずです。実際のアプリケーションではフォントの著作権を考慮し、必要に応じて文字スタイルと位置を調整することを忘れないでください。
その他の拡張