Linux Remote Login
Linux is generally used as a server, and servers are usually placed in a data center, so you cannot operate your Linux server directly in the data center.
At this point, we need to remotely log in to the Linux server to manage and maintain the system.
In Linux systems, remote login is implemented through the ssh service, and the default ssh service port is 22.
On Windows systems, Linux remote login clients include SecureCRT, Putty, SSH Secure Shell, etc. This article uses Putty as an example to log in to a remote server.
Putty download address:https://www.putty.org/
If you have downloaded Putty, double-click putty.exe and the following window will pop up.

In the box below Host Name (or IP address), enter the IP of the remote server you want to log in to (you can use the ifconfig command to view the server IP), then press Enter.

At this point, you are prompted to enter the username you want to log in with.
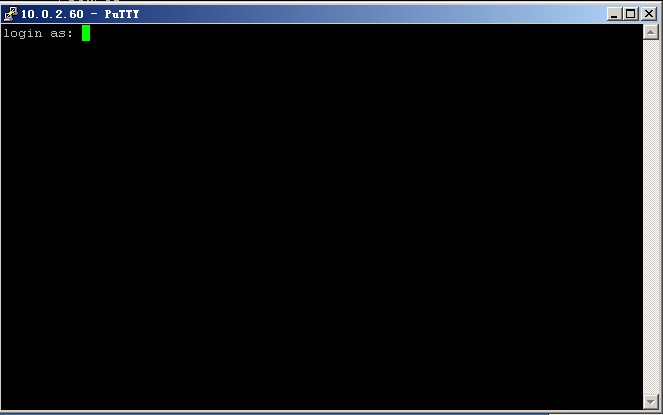
Enter root and press Enter, then enter the password, and you can log in to the remote Linux system.

Use key authentication mechanism to remotely log in to Linux
SSH is the abbreviation for Secure Shell, formulated by the Network Working Group of the IETF.
SSH is a security protocol built on top of the application layer and transport layer.
First, use the tool PUTTYGEN.EXE to generate a key pair. After opening PUTTYGEN.EXE, it looks like the following figure:

This tool can generate keys in three formats: SSH-1(RSA), SSH-2(RSA), SSH-2(DSA). We use the default format, which is SSH-2(RSA). "Number of bits in a generated key" refers to the size of the generated key. The larger this value, the more complex the generated key and the higher the security. Here we set it to 2048.

Then click Generate to start generating the key pair:

Note that during this process, you need to move the mouse back and forth, otherwise the progress bar will not move.

At this point, the key pair has been generated. You can enter a password for your key (at the Key Passphrase field), or leave it blank. Then click Save public key to save the public key, and click Save private Key to save the private key. The author recommends putting them in a safe place, both to prevent others from peeking and to prevent accidental deletion. Next, you need to configure it on the remote Linux host.
1) Create the directory /root/.ssh and set permissions
[root@localhost ~]# mkdir /root/.ssh The mkdir command is used to create directories. It will be introduced in detail later; for now, just be aware of it.
[root@localhost ~]# chmod 700 /root/.ssh The chmod command is used to modify file attribute permissions. It will be introduced in detail later.
2) Create the file /root/.ssh/authorized_keys
[root@localhost ~]# vim /root/.ssh/authorized_keys The vim command is used to edit a text file. It will also be introduced in detail in later chapters.
3) Open the public key file just generated. It is recommended to open it with WordPad for a more comfortable view. Copy all content from the beginning at AAAA to the line "---- END SSH2 PUBLIC KEY ----", and paste it into the /root/.ssh/authorized_keys file, making sure all characters are on one line. (You can first copy the content to Notepad, edit it into one line, and then paste it into the file).
Here is a brief introduction on how to paste. After opening that file with vim, since the file does not exist, vim will automatically create it. Press the letter "i", then press shift + Insert simultaneously to paste (or simply right-click), provided that it has already been copied to the clipboard. After pasting, move the cursor to the very beginning of that line and enterssh-rsa, then press Space. Then press ESC, then enter colon wq, i.e. :wq, and it will be saved. The format is shown in the figure below:

4) Then set the Putty options. Click SSh -> Auth on the left side of the window, click Browse... on the right side of the window, select the private key just generated, then click Open. At this point, enter root and you can log in without entering a password.

If you set a Key Passphrase earlier, you will be prompted to enter it now. For greater security, it is recommended that everyone set a Key Passphrase.
Other Extensions