Obsidian Installation
Go toobsidian.mdDownload the installer for your platform:
- macOS: Download.dmgfile, drag it into the Applications folder
- Windows: Download.exeinstaller, and follow the prompts to install
- Linux: Provides.AppImage、.deb、.rpmthree formats
- iOS / Android: Search for "Obsidian" on the App Store / Google Play
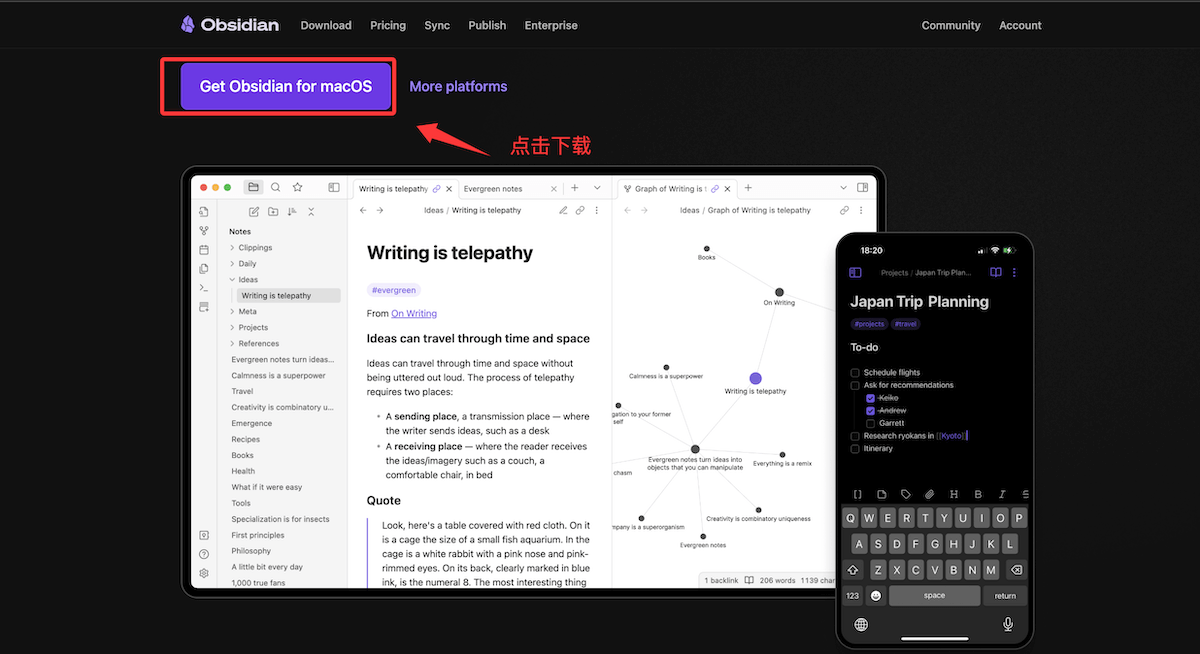
Obsidian is completely free for personal use; all core features are available without registering an account.
You can choose the version corresponding to your operating system (Windows/Mac/iOS/Android/Linux) to download and install.
Obsidian download page:https://obsidian.md/download
Obsidian GitHub address:https://github.com/obsidianmd
After downloading, you can double-click to install and configure settings such as language:
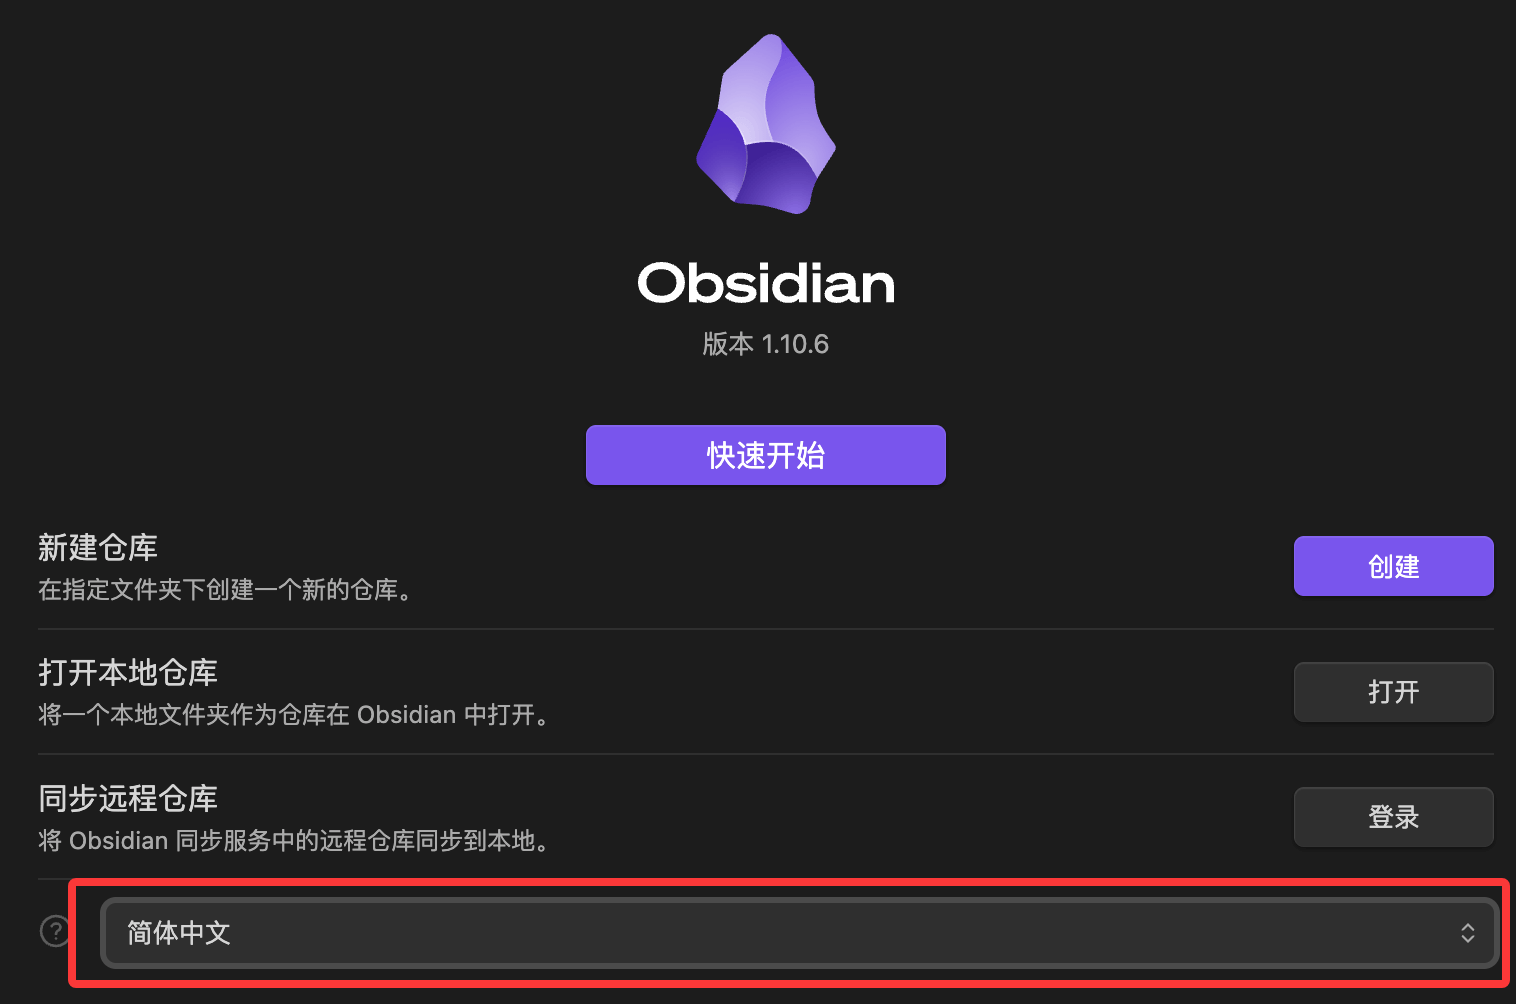
First Launch Interface
When you first open Obsidian, you will see three options:
创建新库         在本地新建一个 Vault
打开已有文件夹    将现有文件夹作为 Vault
从 Obsidian Sync 打开    (付费功能)
Then choose Quick Start to directly enter the page and see the layout:
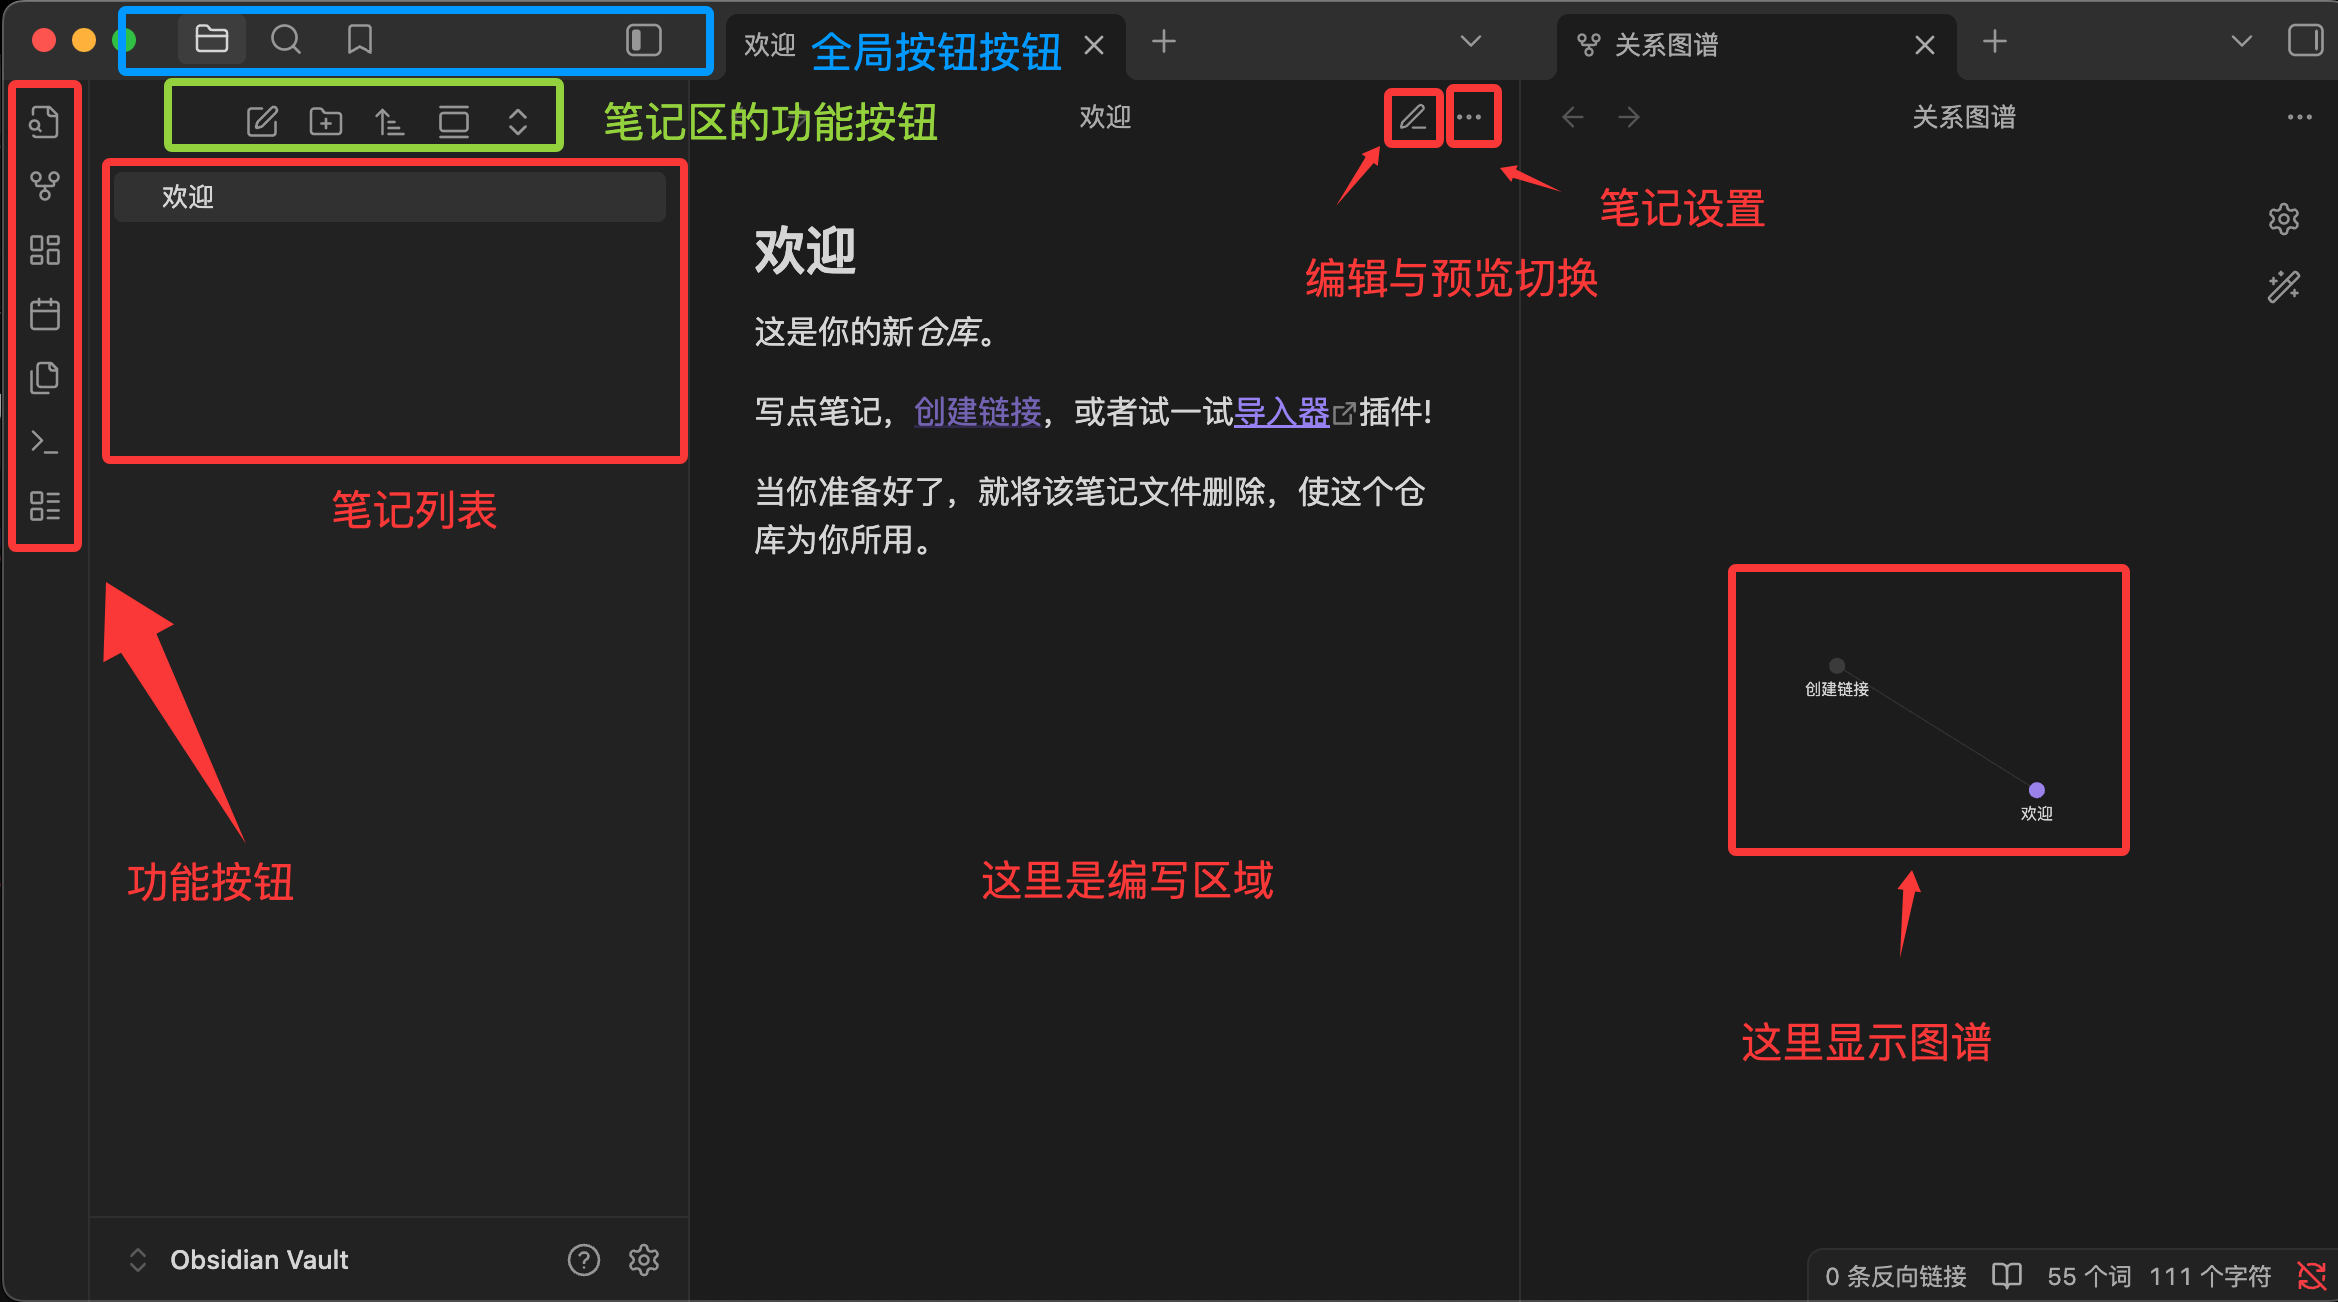
- Left sidebar (File explorer):Manages your folders and note list.
- Middle area (Editor):The place where you mainly write. It supports "Live Preview" mode, meaning when you type Markdown symbols, they are immediately rendered into formatting.
- Right sidebar (Panel):By default, it displaysbacklinks(i.e., which other notes mention the note you are currently viewing) and outline.
- Command palette (Ctrl/Cmd + P):A must-have tool for beginners! Press this shortcut, type the action you want to perform (e.g., "Create new note"), without needing to click through menus.
ChooseCreate new vault, give your knowledge base a name and choose a storage location.
It is recommended to place it~/Documents/under a folder, for easy backup and Git management.
Interface Language Settings
Obsidian displays the interface in English by default. Steps to switch to Chinese:
- Open Settings:Cmd/Ctrl + ,
- Select About on the left side
- Find the Language dropdown menu
- Select "Simplified Chinese"
- Click Relaunch (Restart)
Understanding the Three-Column Layout
After restarting, you will see the main interface of Obsidian, which consists of three areas:
- Left sidebar: File list, search, bookmarks, tag list
- Editing area / Reading area: This is where you write notes. It supports edit/preview dual modes or split-screen simultaneous viewing
- Right sidebar: Auxiliary panels such as backlinks, outline, tags, etc.
Shortcut Key Quick Reference
| Action | macOS | Windows / Linux |
|---|---|---|
| Open Settings | Cmd + , | Ctrl + , |
| Quickly open file | Cmd + O | Ctrl + O |
| Create new note | Cmd + N | Ctrl + N |
| Open command palette | Cmd + P | Ctrl + P |
| Toggle edit/reading mode | Cmd + E | Ctrl + E |
| Open/close left sidebar | Cmd + [ | Ctrl + [ |
| Open/close right sidebar | Cmd + ] | Ctrl + ] |
Recommended Initial Appearance Configuration

Go to Settings → Appearance. It is recommended to make the following adjustments:
Theme: The official default theme is already very usable. If you prefer a cleaner style, you can search for and install Minimal in the community themes; it is currently one of the most popular third-party themes.
Font settings(Recommended for developers):
- Interface font: System default, or PingFang SC (macOS) / Microsoft YaHei (Windows)
- Body font: Same as above, or Source Han Serif for reading
- Monospace font: JetBrains Mono or Fira Code (used for code blocks)
Go to Settings → Editor. It is recommended to adjust:
- Line width: It is recommended to set it to 88 or 100, to stay consistent with coding habits
- Live Preview(Live Preview): Enabled by default, recommended to keep it
- Auto-pair brackets: Enable; when writing[[it will auto-complete.]]
- Show line numbers: You can enable it; it feels more familiar for developers