OpenCV Installation (C++)
OpenCV (Open Source Computer Vision Library) is an open-source computer vision and machine learning software library that contains hundreds of computer vision algorithms and is widely used in fields such as image processing, video analysis, object detection, and face recognition.
C++ is the original development language of OpenCV and is suitable for high-performance applications.
Before using OpenCV in a C++ project, you first need to install the OpenCV library.
Download OpenCV
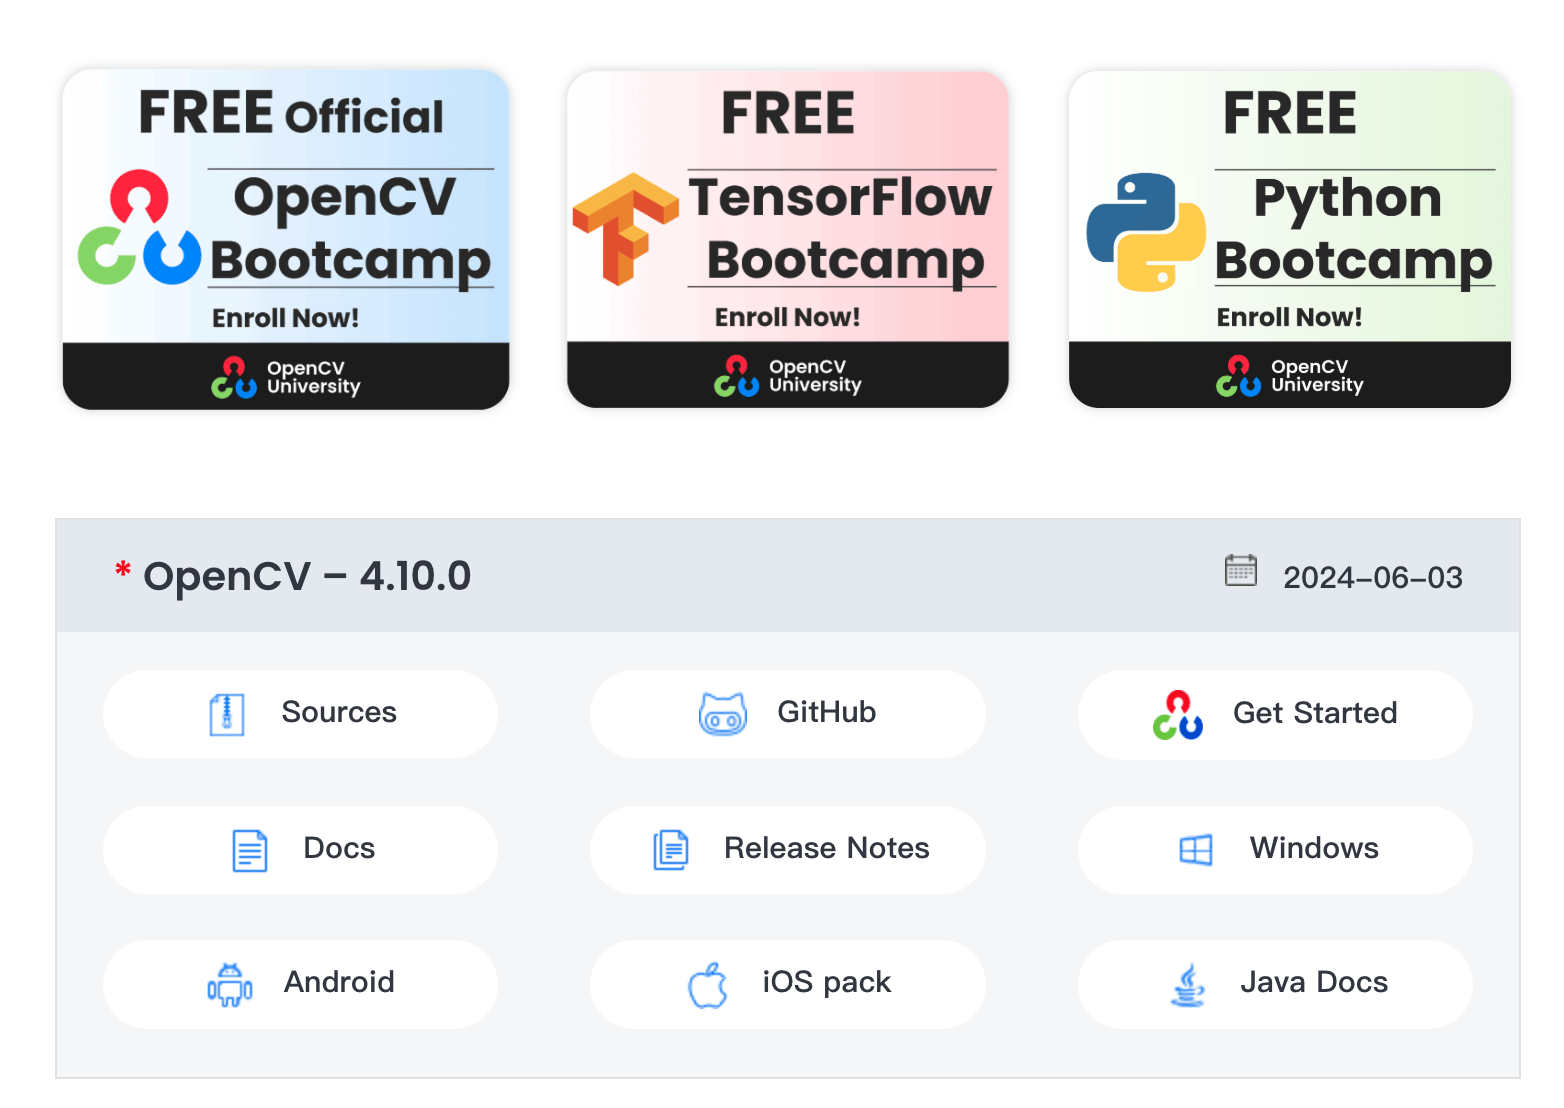
Visit the official OpenCV download page:https://opencv.org/releases/。
Choose the version suitable for your operating system (e.g., Windows, Linux, macOS) and download it, for example, the Windows pre-built package of OpenCV 4.x.
Install OpenCV on Windows
Extract the downloaded OpenCV file:Extract it to a directory, for example C:\opencv.
-
Set environment variables:Add the OpenCV bin directoryC:\opencv\build\x64\vc15\bin (choose vc14 or vc15 according to your Visual Studio version)to the system's PATH environment variable.
-
Configure the development environment:If you use Visual Studio, you need to configure the OpenCV header file path and library file path in the project. Right-click This PC -> Properties -> Advanced system settings -> Environment Variables -> Edit,
Pathand add the above path.
Configure Visual Studio
1. Open Visual Studio and create a C++ project.
2. Configure include directories
Right-click the project -> Properties -> VC++ Directories -> Include Directories, add:
C:\opencv\build\include
3. Configure library directories
Right-click the project -> Properties -> VC++ Directories -> Library Directories, add:
C:\opencv\build\x64\vc15\lib
4. Configure the linker
Right-click the project -> Properties -> Linker -> Input -> Additional Dependencies, add:
opencv_world4xx.lib
4xxis the OpenCV version number, for exampleopencv_world450.lib 。
Build and Install from Source
Prerequisites
Before installing OpenCV, make sure your system has the following tools installed:
- CMake: used to generate build files.
- C++ compiler: such as GCC (Linux/macOS) or MSVC (Windows).
- Git: used to clone the OpenCV source code from GitHub.
Download OpenCV Source Code
We can download from OpenCV'sGitHub repositorydownload the source code, or directly from OpenCV'sofficial websitedownload the pre-compiled version.
Clone the source code using Git:
git clone https://github.com/opencv/opencv.git
git clone https://github.com/opencv/opencv_contrib.git  # 可选,包含额外的模块
Configure OpenCV with CMake
1. Create a build directory and enter it:
mkdir build
cd build
2. Use CMake to generate build files:
cmake -D CMAKE_BUILD_TYPE=Release -D CMAKE_INSTALL_PREFIX=/usr/local ..
If you need additional modules (such asopencv_contrib), you can add the following parameters:
cmake -D CMAKE_BUILD_TYPE=Release -D CMAKE_INSTALL_PREFIX=/usr/local -D OPENCV_EXTRA_MODULES_PATH=../opencv_contrib/modules ..
3. Build and install OpenCV:
make -j4  # 使用 4 个线程进行编译
sudo make install
4. Configure Environment Variables (Optional)
On Linux or macOS, you may need to add the OpenCV library path to environment variables:
export LD_LIBRARY_PATH=/usr/local/lib:$LD_LIBRARY_PATH
On Windows, you can add the OpenCV library path via System Properties -> Advanced system settings -> Environment Variables.
Using OpenCV in a C++ Project
After installation, you can use OpenCV in your C++ project.
The following is a simple example program that demonstrates how to load and display an image using OpenCV.
1. Create a C++ Project
Create a new C++ source file, for examplemain.cpp。
Write the following code:
Example
#include <iostream>
int main() {
// Read the image
cv::Mat image = cv::imread("example.jpg");
// Check whether the image loaded successfully
if (image.empty()) {
std::cout << "Failed to load image!" << std::endl;
return -1;
}
// Display the image
cv::imshow("Display Image", image);
// Wait for a key press
cv::waitKey(0);
return 0;
}
2. Compile and Run
Compile the code using the following command:
g++ main.cpp -o main `pkg-config --cflags --libs opencv4`
3. Run
Run the generated executable file:
./main
If everything works normally, you should see the image displayed in the window.
Common Issues and Solutions
1. Cannot Find OpenCV Libraries
If you encounter an error about missing OpenCV libraries during compilation, make sure you have installed OpenCV correctly and that the environment variables are configured correctly.
We can usepkg-configto check the OpenCV installation path:
pkg-config --cflags --libs opencv4
2. Image Fails to Load
If the image fails to load, check whether the image path is correct and whether the image file exists. You can use an absolute path to ensure the path is correct.
3. Window Does Not Display
If the window does not display, make sure your system supports a graphical interface and that the OpenCV GUI module is installed correctly.
Other Extensions