Next.js Installation
Before you start, make sure you have installed Node.js and npm. You can check whether they are installed with the following commands:
node -v
npm -v
If your system does not support Node.js and NPM yet, you can refer to ourNode.js Tutorial。
Using npm in China is very slow. You can use the Taobao-customized cnpm (with gzip compression support) command-line tool instead of the default npm:
$ npm install -g cnpm --registry=https://registry.npmmirror.com
$ npm config set registry https://registry.npmmirror.com
Then you can use the cnpm command to install modules:
$ cnpm install [name]
For more information, please refer to:http://npm.taobao.org/。
Use create-react-app to quickly build a Next.js development environment
Next.js provides an official scaffolding tool, create-next-app, for quickly setting up a project.
create-react-app is from Facebook. With this command, we can quickly build a Next.js development environment without configuration.
The project automatically created by create-react-app is based on Webpack + ES6.
Run the following command to create a project:
npx create-next-app@latest my-next-app
During installation, you will see the following prompts. Just press Enter all the way through:
Would you like to use TypeScript? No / Yes
Would you like to use ESLint? No / Yes
Would you like to use Tailwind CSS? No / Yes
Would you like your code inside a `src/` directory? No / Yes
Would you like to use App Router? (recommended) No / Yes
Would you like to use Turbopack for `next dev`?  No / Yes
Would you like to customize the import alias (`@/*` by default)? No / Yes
What import alias would you like configured? @/*
- Use
create-next-appthe scaffolding tool to create a new Next.js project. my-next-appis the name of the project. You can change it to any name as needed.- It will automatically install the dependencies required by the project.
npx is a Node.js tool for running binaries in packages without installing them globally.
After running this command, create-next-app will automatically complete the following operations:
- Create a folder named my-next-app.
- Initialize the project and install necessary dependencies.
- Create the basic project structure, including the app folder, public folder, package.json file, etc.
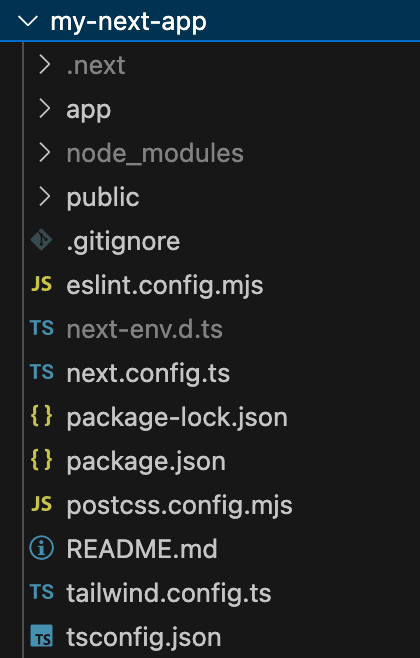
After creation is complete, navigate to the project directory:
cd my-next-app
In the project directory, run the following command to start the development server:
npm run dev
Or if you use yarn:
yarn dev
The development server runs by default athttp://localhost:3000, open your browser and visit http://localhost:3000, you should see the default welcome page of Next.js.
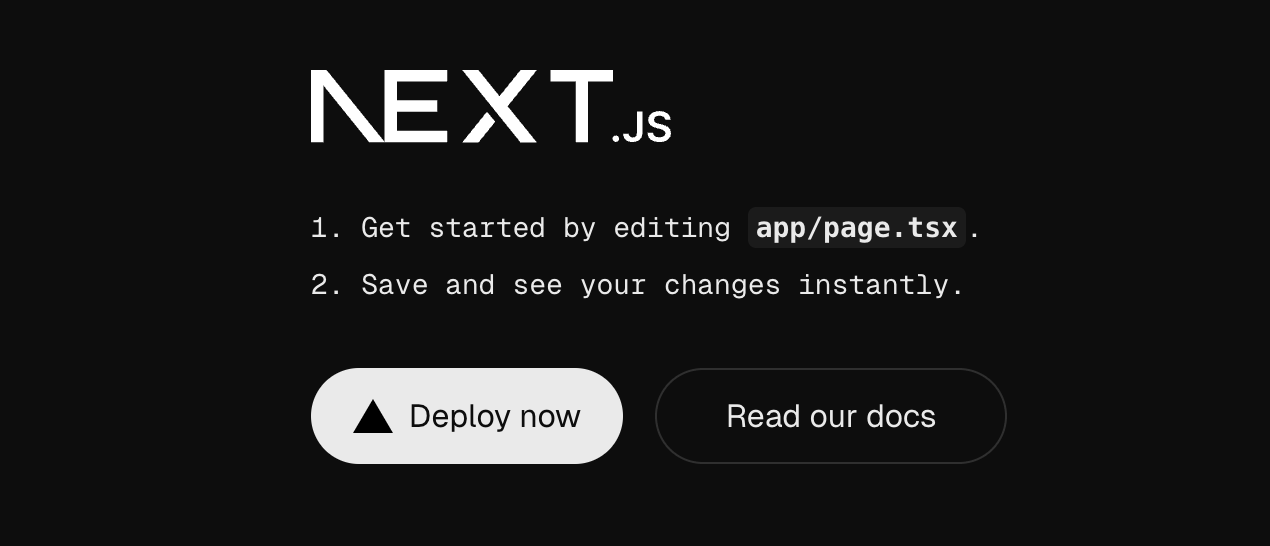
We can modify the page.tsx file in the app directory. The modified code is:
app/page.tsx
return <div>Hello, World!</div>;
}
Visit http://localhost:3000, the result is displayed as follows:
Hello, World!
Manually Install Next.js
To manually create a new Next.js application, first install the required packages:
npm install next@latest react@latest react-dom@latest
Next, open your package.json file and add the following scripts:
package.json file:
"scripts": {
"dev": "next dev", // Start Next.js in development mode
"build": "next build", // Build the application for production use
"start": "next start", // Start the Next.js production server
"lint": "next lint" // Configure Next.js's built-in ESLint
}
}
These scripts represent different stages of developing an application:
- dev: run
next dev, which starts Next.js in development mode. - build: run
next build, which builds the application for production. - start: run
next start, which starts the Next.js production server. - lint: run
next lint, which sets up Next.js's built-in ESLint configuration.
Create the app directory
Next.js uses file-system routing, which means the routes of the application are determined by the file structure.
Create an app folder, then add a layout.tsx and a page.tsx file. When users visit the application root path/, these files will be rendered.
Create the root layout file
Inapp/layout.tsxcreate the root layout file in it, including the required<html>and<body>tags:
Example
children,
}: {
children: React.ReactNode
}) {
return (
<html lang="en">
<body>{children}</body>
</html>
)
}
Create the home page file
Finally, create a home page file in app/page.tsx and add initial content:
Example
return <h1>Hello, Next.js!</h1>
}
Notes
- If you forget to create
layout.tsx, Next.js will, when running the development server (next dev), automatically create this file. - You can optionally use, in the project root directory, the
srcdirectory to separate application code from configuration files.
Create the public folder (optional)
You can optionally create apublicfolder in the project root directory to store static assets, such as images, fonts, etc.publicFiles in the folder can be referenced via/path.
At this point, you have completed manually installing and initializing a basic Next.js project structure.
Run the development server
Run the following command to start the development server:
npm run dev
Visit http://localhost:3000 to view the application.
Editapp/page.tsxfile and save it, then you can see the updated result in the browser.
Other Extensions