LangChain Environment Setup
This guide will walk you through installing and configuring LangChain so you can successfully run your first LangChain program.
Environment Requirements
| Project | Minimum Version | Recommended Version |
|---|---|---|
| Python | 3.10 | 3.11 or 3.12 |
| pip | 22.0 | Latest version |
| Operating System | macOS / Linux / Windows all supported | |
Check the Python version:
$ python --version
Python 3.12.7
If you haven't installed Python yet, refer to ourPython3 Environment Setup。
Reference for Python package and environment management tools:uv Getting Started Tutorial。
Installing LangChain
LangChain uses a modular design, with core functionality and third-party integrations installed separately.
Install the Core Package
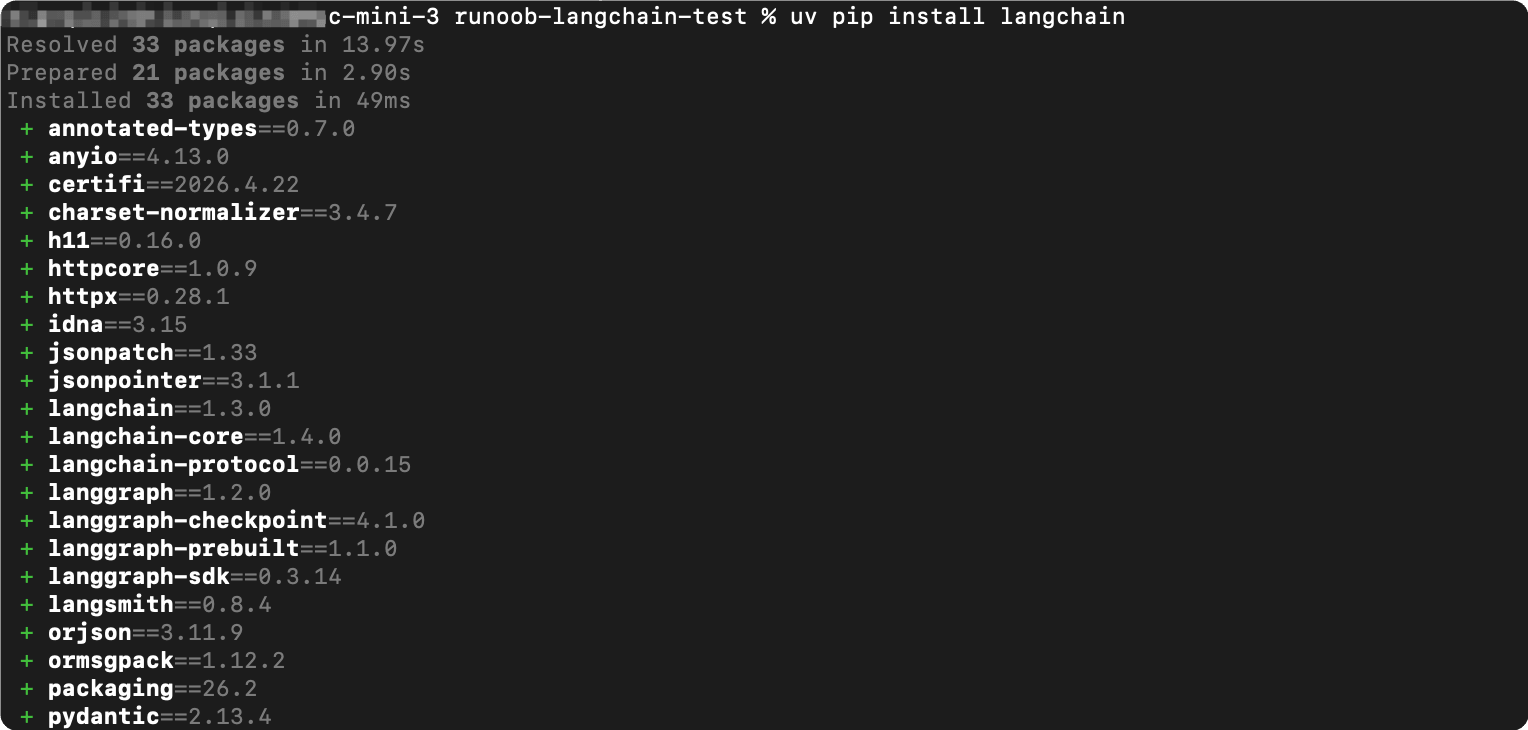
$ pip install langchain
This command installs thelangchainmain package, which includes core APIs such as init_chat_model() and create_agent(), and automatically installs langchain-core as a dependency.
Install the Model Provider Package
LangChain itself does not include specific model implementations. You need to install the corresponding provider package based on the model you are using:
| Model Provider | Installation Command | Models Used |
|---|---|---|
| OpenAI | pip install langchain-openai | GPT-4, GPT-5, etc. |
| Anthropic | pip install langchain-anthropic | Claude series |
| DeepSeek | pip install langchain-deepseek | DeepSeek-V3, R1, etc. |
| pip install langchain-google-genai | Gemini series | |
| Ollama (local models) | pip install langchain-ollama | Local models such as Llama, Qwen, etc. |
| xAI | pip install langchain-xai | Grok series |
| Mistral | pip install langchain-mistralai | Mistral series |
One-Click Installation
Beginners are advised to directly install the following combination:
$ pip install langchain langchain-openai python-dotenv
python-dotenv is used to load API keys from the .env file. This is the best practice for managing sensitive information and avoids hardcoding the key in your code.
Configure API Key
Get an API Key
Taking OpenAI as an example, you need to register an account and obtain an API key first:
- Visithttps://platform.openai.comRegister or log in
- Go to the API Keys page and click "Create new secret key"
- Copy the generated key (format: sk-xxxxxxxx)
The API key is only shown once, so save it immediately in a safe place. Do not commit the key to a Git repository or share it with others.
The process for other providers is similar; please refer to their respective documentation.
Set Environment Variables
It is recommended to use a .env file to manage the API key. Create a .env file in the project root directory:
Example
# Fill in your API key
OPENAI_API_KEY=sk-your-api-key-here
# If you use other models, also configure them here
# ANTHROPIC_API_KEY=sk-ant-your-key
# DEEPSEEK_API_KEY=sk-your-key
Then create a .gitignore file to ensure the .env file is not committed:
# .gitignore
.env
__pycache__/
*.pyc
Load in Code
Example
# Load the .env file at the beginning of the program
import os
from dotenv import load_dotenv
# Load environment variables from the .env file
load_dotenv()
# Verify whether the API key was loaded successfully
api_key = os.getenv("OPENAI_API_KEY")
if api_key:
# Only display the first 8 and last 4 characters to avoid leaking the full key
print(f"API key loaded: {api_key[:8]}...{api_key[-4:]}")
else:
print("Warning: OPENAI_API_KEY not found. Please check the .env file")
Verify Installation
Run the following script to verify whether the installation was successful:
Example
# Verify LangChain installation and API key configuration
from dotenv import load_dotenv
load_dotenv()
# Test 1: Verify langchain import
try:
import langchain
print(f"langchain version: {langchain.__version__}")
except ImportError:
print("Error: langchain is not installed. Please run pip install langchain")
# Test 2: Verify langchain-openai import
try:
import langchain_openai
print("langchain-openai is installed")
except ImportError:
print("Error: langchain-openai is not installed. Please run pip install langchain-openai")
# Test 3: Verify API key configuration
import os
api_key = os.getenv("OPENAI_API_KEY")
if not api_key:
print("Error: OPENAI_API_KEY is not configured. Please set it in the .env file")
else:
print(f"API key configured successfully: {api_key[:8]}...{api_key[-4:]}")
# Test 4: Send a test request
from langchain.chat_models import init_chat_model
model = init_chat_model("openai:gpt-4o-mini")
response = model.invoke("Introduce Python in one sentence.")
print(f"\nModel reply: {response.content}")
Output:
langchain 版本: 1.3.0
langchain-openai 已安装
API Key 配置成功: sk-proj-z...xxxx
Model reply: Example is a Chinese technical learning platform for programming beginners.
If the last step reports an error, check: (1) whether the API key is correct; (2) whether a network proxy is affecting the connection; (3) whether the account balance is sufficient.
In China, we can use the DeepSeek large model for testing. If you don't have one yet, you need to firsthttps://platform.deepseek.com/api_keyscreate an API key.
DeepSeek's API documentation reference:https://api-docs.deepseek.com/zh-cn/。
If you need to manage multiple third-party models in a unified way, you can choose to install LiteLLM as a model gateway:
pip install -U litellm
However, the examples in this article directly useChatOpenAItogether withopenai_api_baseparameters to connect to DeepSeek, so there is no need to install LiteLLM additionally.
Example
from langchain_openai import ChatOpenAI
# It is recommended to put the API key in an environment variable, or assign it directly here (do not hardcode it in production)
# os.environ["DEEPSEEK_API_KEY"] = "sk-your-DeepSeek-key"
# Initialize the model
llm = ChatOpenAI(
model="deepseek-v4-pro", # DeepSeek V4 model name
openai_api_key="sk-your-Key", # Fill in your DeepSeek API key
openai_api_base="https://api.deepseek.com", # DeepSeek API endpoint
temperature=0.7,
max_tokens=1024
)
# Let's test it
response = llm.invoke("Hello, DeepSeek! Please give a brief self-introduction.")
print(response.content)
After executing the above code, the output will be:
你好!很高兴认识你!

我是DeepSeek,由深度求索公司创造的AI助手。我的特点包括:
。。。
Suggested Project Directory
Recommended project directory structure:
langchain-learning/
├── .env                  # API Key 配置(不提交到 Git)
├── .gitignore            # Git 忽略规则
├── config.py             # 公共配置加载
├── 01_hello_world.py     # 第一篇的示例
├── 02_first_agent.py     # Agent 示例
└── ...                   # 更多练习
Other Extensions