SSL無料証明書の申請 - Certbot
SSL(Secure Sockets Layer)証明書がウェブサイトやオンラインサービスにとって非常に重要であることは知られています。SSL証明書はユーザーとサーバー間の通信を暗号化し、データの傍受や改ざんを防ぎます。
この章では、Certbotツールを使用して無料のSSL証明書を申請する方法を紹介します。
Certbotとは?
Certbotは、Let's Encryptが提供する無料のSSL/TLS証明書を取得および更新するためのオープンソースの自動化ツールです。
Let's Encryptは、インターネットセキュリティ研究グループ(ISRG)が運営する認証局(CA)であり、証明書を生成・更新する自動化プロセスを提供しているため、ウェブサイト管理者はサイトでHTTPS暗号化を簡単に有効化できます。
Certbotの主な特徴は次のとおりです:
- 自動化:ドメインの所有権を自動的に検証し、証明書を申請できます。
- 無料:Let's Encryptが提供する無料証明書を使用します。
- 互換性:Apache、Nginx など、さまざまなWebサーバーをサポートします。
- 使いやすさ:コマンドラインインターフェースを提供し、インストールと使用を簡単にします。
- 更新:証明書の更新を自動的に処理し、ウェブサイトのHTTPS接続が常に有効であることを保証します。
Let's Encryptが発行する証明書の有効期限は90日間です。Certbotは証明書の更新タスクを自動的に設定し、証明書が期限切れにならないようにします。
Certbotのインストール
1. Ubuntu/Debian システムに Certbot をインストールする
APTを使用してインストール:
sudo apt update
sudo apt install certbot
インストールが完了すると、Certbotを使用できます。
Snap版をインストール:
SnapはCertbot公式が推奨するインストール方法であり、特に長期サポート版のUbuntuに適しています。
sudo snap install core
sudo snap refresh core
sudo snap install --classic certbot

sudo ln -s /snap/bin/certbot /usr/bin/certbot  # 这一步是为了确保 certbot 命令能全局使用
2. CentOS/RHEL システムに Certbot をインストールする
EPELリポジトリをインストール(CentOS 7以下向け):
sudo yum install epel-release
sudo yum install certbot
3. macOS に Certbot をインストールする
macOSではHomebrewを使用してCertbotをインストールできます:
brew install certbot
詳細については、Certbotのウェブサイトでhttps://certbot.eff.org/各システムプラットフォームのインストール方法をご覧ください:
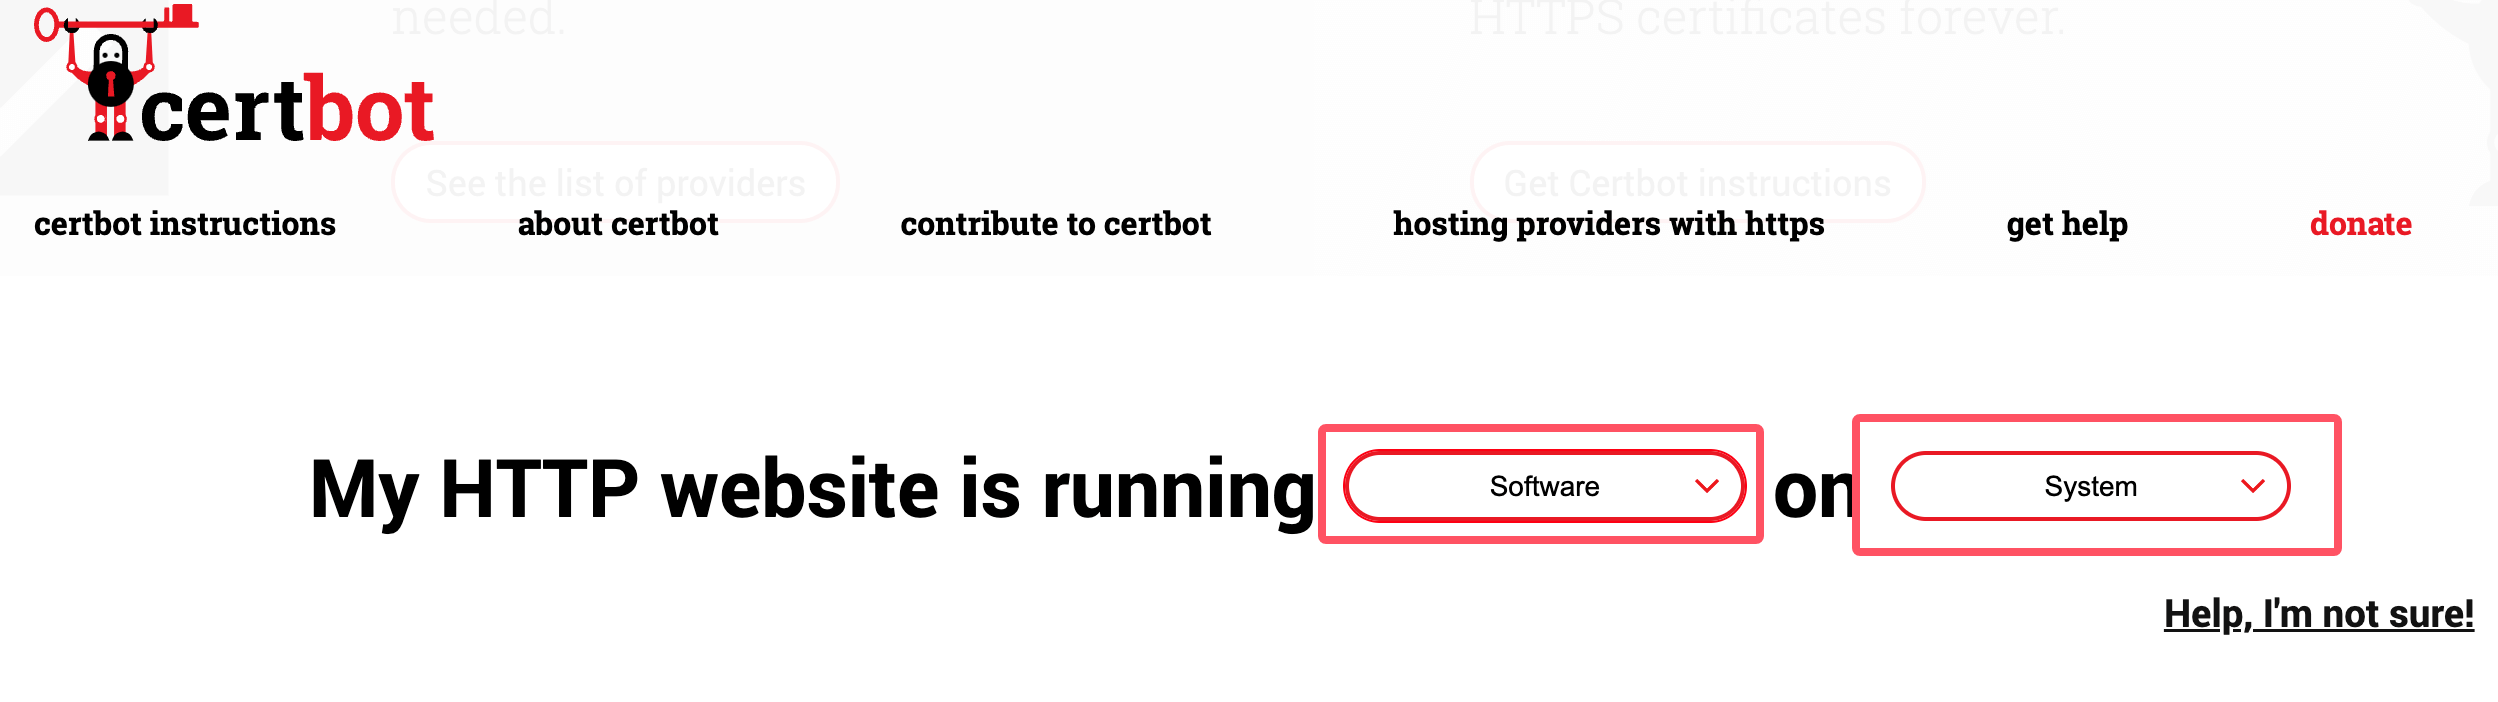
インストールが完了したら、次のコマンドを使用してCertbotのインストールバージョンを確認します:
certbot --version
証明書の申請と更新
Certbotをインストールしたら、以下のコマンドを使用して証明書を申請できます。*.example.com はご自身のドメインに置き換える必要があります:
certbot certonly -d *.example.com --manual --preferred-challenges dns --server https://acme-v02.api.letsencrypt.org/directory
上記のコマンドを実行後、情報を入力します:
Saving debug log to /var/log/letsencrypt/letsencrypt.log
Enter email address (used for urgent renewal and security notices)
 (Enter 'c' to cancel): xxx@qq.com. # 这里输入你的邮箱

- - - - - - - - - - - - - - - - - - - - - - - - - - - - - - - - - - - - - - - -
Please read the Terms of Service at
https://letsencrypt.org/documents/LE-SA-v1.4-April-3-2024.pdf. You must agree in
order to register with the ACME server. Do you agree?
- - - - - - - - - - - - - - - - - - - - - - - - - - - - - - - - - - - - - - - -
(Y)es/(N)o: Y    # 输入 Y

- - - - - - - - - - - - - - - - - - - - - - - - - - - - - - - - - - - - - - - -
Would you be willing, once your first certificate is successfully issued, to
share your email address with the Electronic Frontier Foundation, a founding
partner of the Let's Encrypt project and the non-profit organization that
develops Certbot? We'd like to send you email about our work encrypting the web,
EFF news, campaigns, and ways to support digital freedom.
- - - - - - - - - - - - - - - - - - - - - - - - - - - - - - - - - - - - - - - -
(Y)es/(N)o: Y       # 输入 Y

Account registered.
Requesting a certificate for *.example.com

- - - - - - - - - - - - - - - - - - - - - - - - - - - - - - - - - - - - - - - -
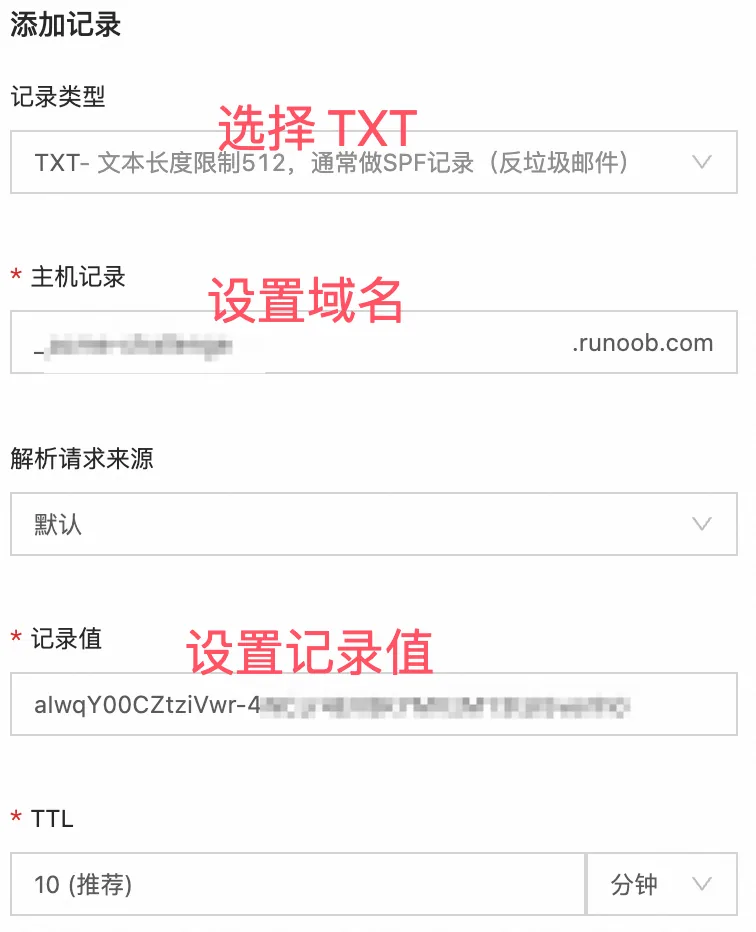
Please deploy a DNS TXT record under the name:

xxxxxxx.example.com. # 这里需要设置域名解析,需要到域名后台填写信息,参考下图

with the following value:

aIwqY00CZtziVwr-xxxxxxxxxxxxxx  # 这里是域名解析的内容,参考下图

Before continuing, verify the TXT record has been deployed. Depending on the DNS
provider, this may take some time, from a few seconds to multiple minutes. You can
check if it has finished deploying with aid of online tools, such as the Google
Admin Toolbox: https://toolbox.googleapps.com/apps/dig/#TXT/_acme-challenge.example.com.
Look for one or more bolded line(s) below the line ';ANSWER'. It should show the
value(s) you've just added.

- - - - - - - - - - - - - - - - - - - - - - - - - - - - - - - - - - - - - - - -
Press Enter to Continue  # 参考下图设置完域名解析后,按回车就可以生成了,记住一定要先解析设置完成后再回车,然后生成的证书信息如下:

Successfully received certificate.
Certificate is saved at: /etc/letsencrypt/live/example.com/fullchain.pem
Key is saved at:         /etc/letsencrypt/live/example.com/privkey.pem
This certificate expires on 2024-12-21.
These files will be updated when the certificate renews.

NEXT STEPS:
- This certificate will not be renewed automatically. Autorenewal of --manual certificates requires the use of an authentication hook script (--manual-auth-hook) but one was not provided. To renew this certificate, repeat this same certbot command before the certificate's expiry date.

- - - - - - - - - - - - - - - - - - - - - - - - - - - - - - - - - - - - - - - -
If you like Certbot, please consider supporting our work by:
 * Donating to ISRG / Let's Encrypt:   https://letsencrypt.org/donate
 * Donating to EFF:                    https://eff.org/donate-le
- - - - - - - - - - - - - - - - - - - - - - - - - - - - - - - - - - - - - - - -
証明書の検証のためにドメインの名前解決を設定します:
Let's Encryptが発行する証明書の有効期限は90日間です。以下のコマンドで証明書を更新できます:
certbot certonly --force-renewal --manual -d '*.example.com' \
--preferred-challenges dns \
--server https://acme-v02.api.letsencrypt.org/directory
上記の更新コマンドを実行すると、DNSの名前解決レコードを更新するよう求められます:
Saving debug log to /var/log/letsencrypt/letsencrypt.log
Requesting a certificate for *.jysahre.com

- - - - - - - - - - - - - - - - - - - - - - - - - - - - - - - - - - - - - - - -
Please deploy a DNS TXT record under the name:

_acme-challenge.jysahre.com.

with the following value:

ckxo1wGXbP1CtNQ3ZRfvHxxxxxx          # 这里会显示你要更改的 DNS 解析记录值,设置好就可以完成更新了

Before continuing, verify the TXT record has been deployed. Depending on the DNS
provider, this may take some time, from a few seconds to multiple minutes. You can
check if it has finished deploying with aid of online tools, such as the Google
Admin Toolbox: https://toolbox.googleapps.com/apps/dig/#TXT/_acme-challenge.jysahre.com.
Look for one or more bolded line(s) below the line ';ANSWER'. It should show the
value(s) you've just added.

- - - - - - - - - - - - - - - - - - - - - - - - - - - - - - - - - - - - - - - -
その他の拡張